Eat This While You Read That: Connie Elliot
In the facebook group of the titular name, I'd put out a call for published authors when I restarted ETWYRT. Several responded, and one commented that she didn't really fit the bill. 'Are you published?' I asked. She was, it was just... well, it's not fiction. It looks like fascinating non-fiction, to be honest, but at textbook prices, I had to settle for looking at it on Amazon and thinking that it sounded really cool. She is the author of chapter 12 of Conflict Prevention and Peace-Building in Post-War Society: Sustaining the Peace and she is also a really good cook. I know that from our conversations in the group. She helped me succeed at making Pho, and always has interesting things to contribute when it comes to Vietnamese cooking.
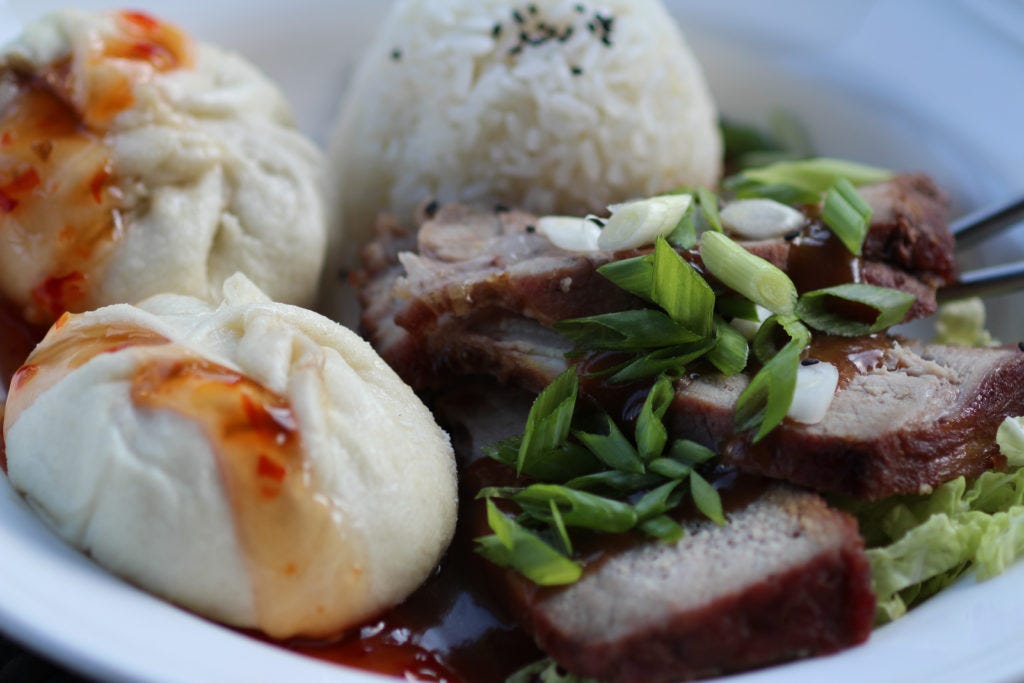
Given that I knew of her heritage, it was no surprise to be given an Asian dish - or in this case, two of them! One leads to the other. Usually, the bao is to use up the leftovers of the char siu. Since I was, as always, busy and under the gun, I did a marathon meal and produced both at the same time. It was totally worth the effort.
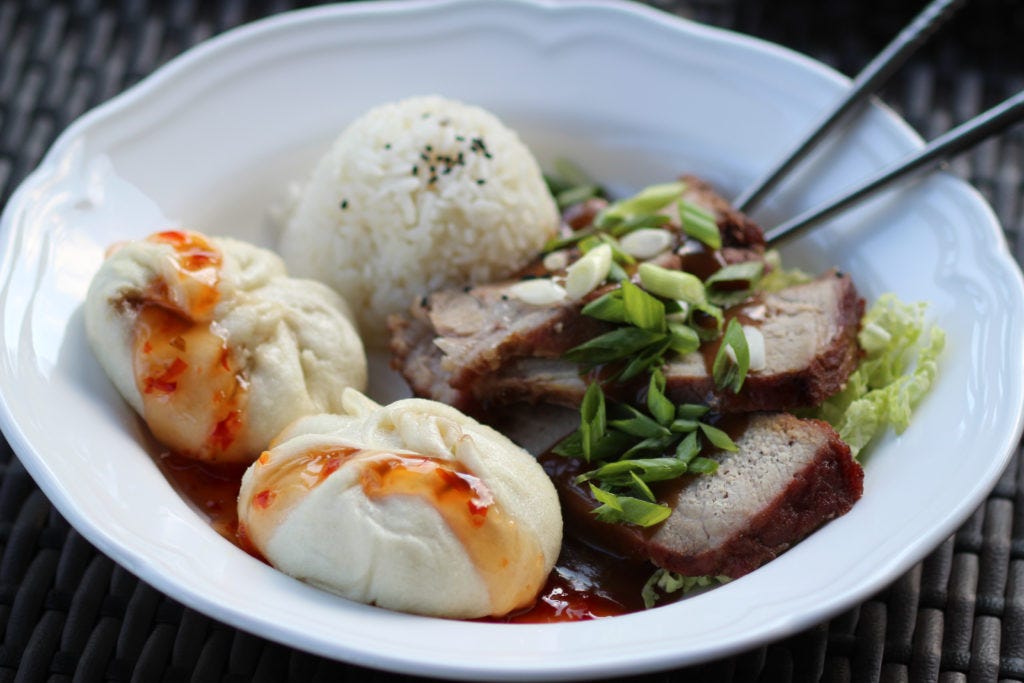
Char Siu, and Bao for dinner!
I did cheat a little. I'd recently acquired an electric pressure cooker, and I'd splurged on bamboo steamers just so I could make this (and many, many other things. I used to have two sets, but things happen when you move three times in five years). So the char siu, Barbecue Pork, isn't properly long slow cooked. In fact, it was done in less than an hour of active cooking time, counting natural release time from the cooker. It's also not bright red, because I didn't feel like adding red food dye to the dinner ingredients.
Also, I made the sauce from scratch. You do not have to - in fact, while I was picking up some things I needed, I found and bought a jar of Char Siu Sauce. So don't be intimidated by my lineup of ingredients!
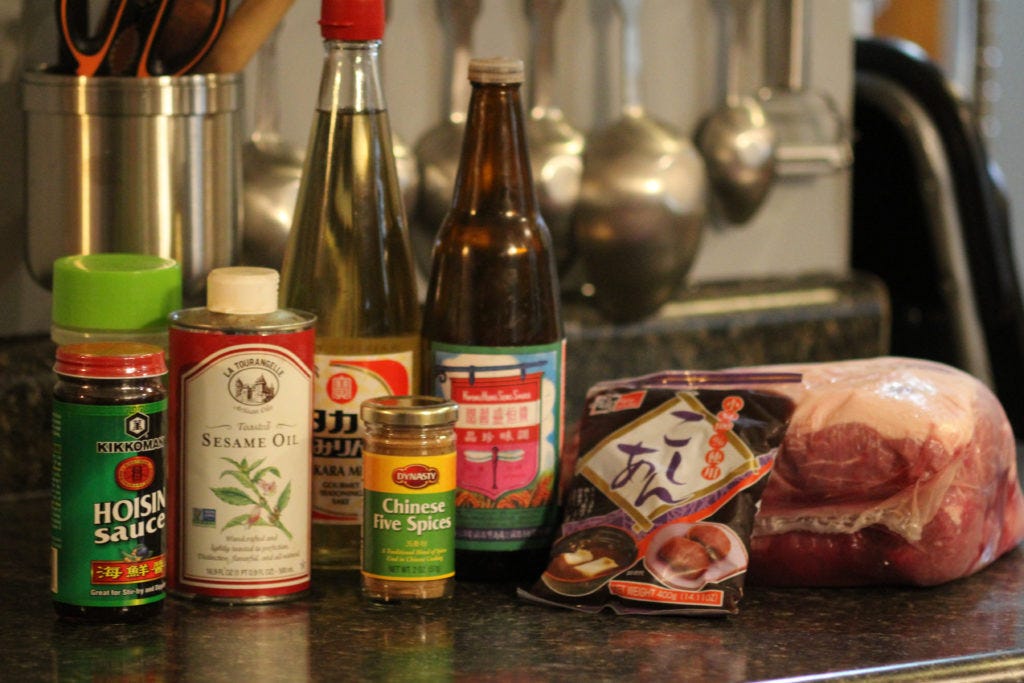
Pulling (most) everything together - this is a complex sauce with wonderful flavor.
You could prepare this in the oven, on the grill, or as I did in the countertop pressure cooker. Since I had limited time, I opted for that. And because new toy, I'm not kidding anyone here... But you should start prep at least 2 1/2 to 3 hours before you plan to serve. This is not a fast process if you want to do both things simultaneously. I started the meat marinading, then started the dough, and left both to rise/soak up flavor respectively for two hours while I worked on the housework. Then I put the meat in the pressure cooker, finished it in a hot oven, and almost immediately got it into the buns and in the steamer. There was a bit of coordination involved here, so plan ahead and keep an eye on your times to get the rice started so it will be done when the buns are. Or you could do it the easy way and make the bao out of leftover pork the day after!
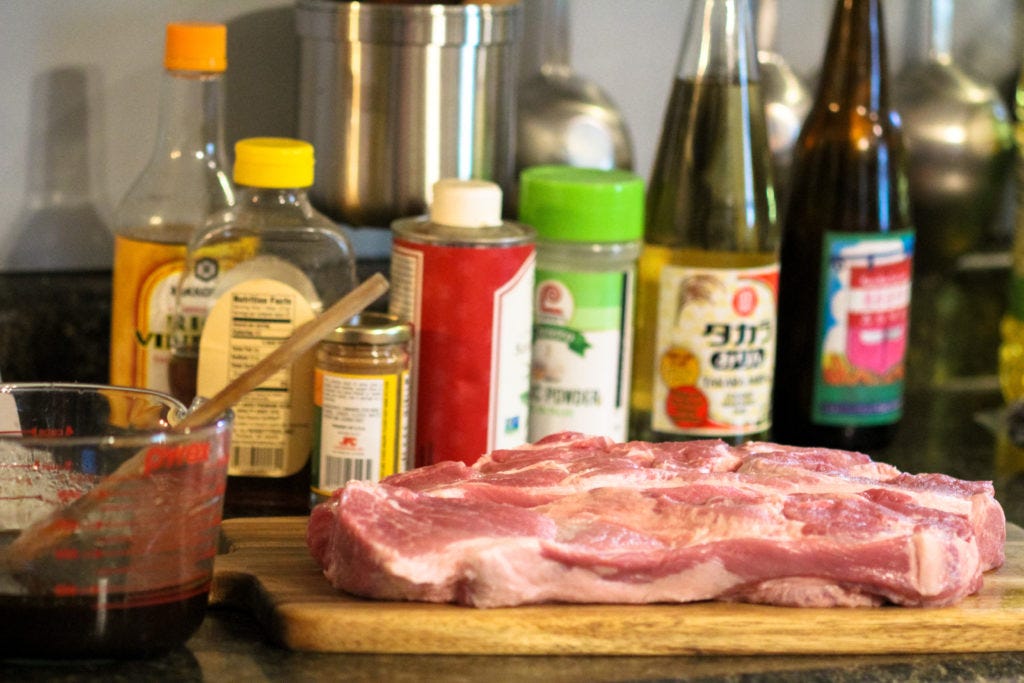
I stabbed the meat ferociously on both sides with a fork, for better marinade penetration. Overnight marination would be ideal, here.
Note that I chose to use slabs of a pork butt roast. You could do this with any pork roast, really, that can be slabbed into thick slices (these are about 1 1/2 inches).
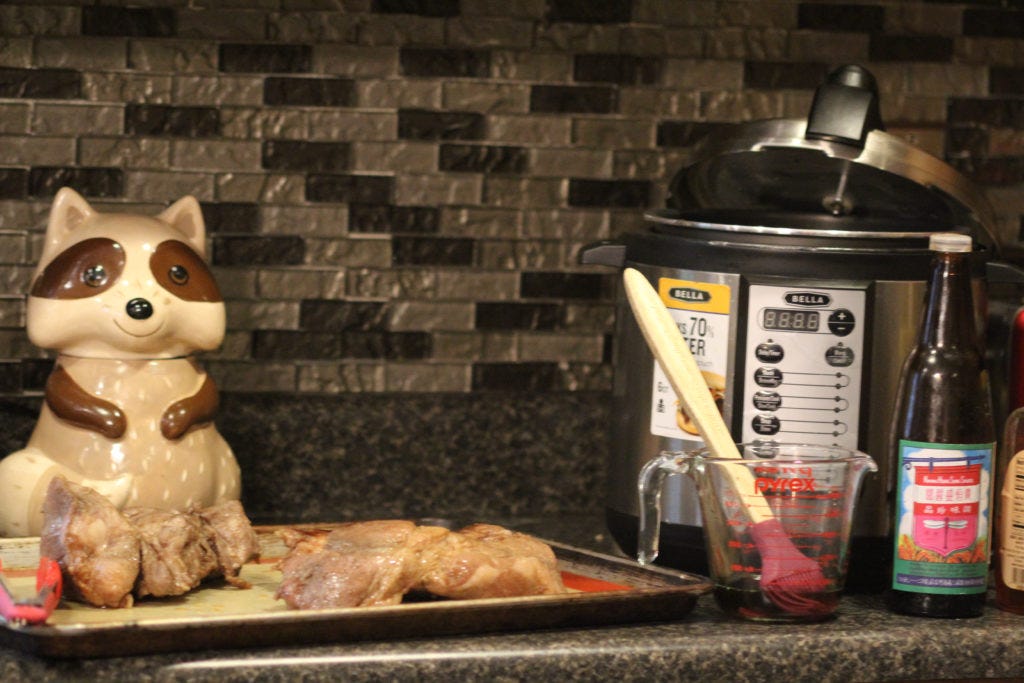
The meat came out of the pressure cooker done, but flabby. It needed the final step.
Marinade:
1/2 c red bean paste
1/4 c honey
3 tbsp light soy sauce (note: this is not the low sodium sort, and regular will work fine)
2 tbsp mirin (cooking sake, essentially)
1 tsp five spice powder
1/2 tsp sesame oil
2 tbsp vegetable oil
1 tsp garlic powder
Whisk together, and pour into a ziploc bag with your poked pork. Seal, excluding as much air as possible, and refrigerate at least two hours - preferably overnight.
to cook in electric pressure cooker:
Preheat oven to 450 deg about midway through pressure cook. Place meat, marinade and all, in the pot. cook on 'meat' setting for 20 min, allow to naturally depressurize (takes about 15 min), then remove the cooked meat to a baking pan, either on a silicon mat or a baking rack. Place in hot oven after brushing with glaze.
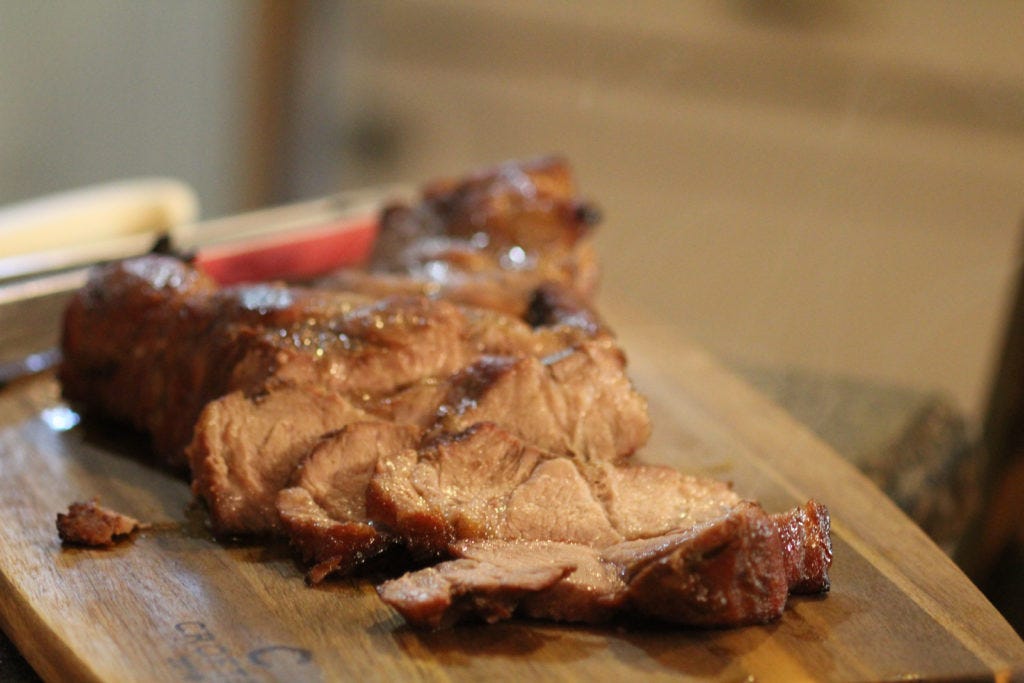
Slicing the twice-cooked pork. So juicy and flavorful!
Glaze:
1/8 c soy sauce
1/8 c honey
After baking for 5-6 minutes, turn the meat, brush with glaze, and return to oven for another 5-6 minutes.
Place on a rack to rest. Slice for serving. If making it alone, serve with sauce, rice, sliced green onion, and a little stir-fried veg of your choice. Enjoy!
Sauce:
Pour the cooking liquid from the pressure cooker into a saucepan. Remove about 1/2 c to a small bowl. Put the liquid over high heat and bring to boil. In the bowl, whisk 2 tbsp cornstarch into the cooler liquid, then slowly whisk this into the boiling sauce. Cook for 3-5 minutes, lowering heat as necessary, until sauce is thickened. Remove from heat.
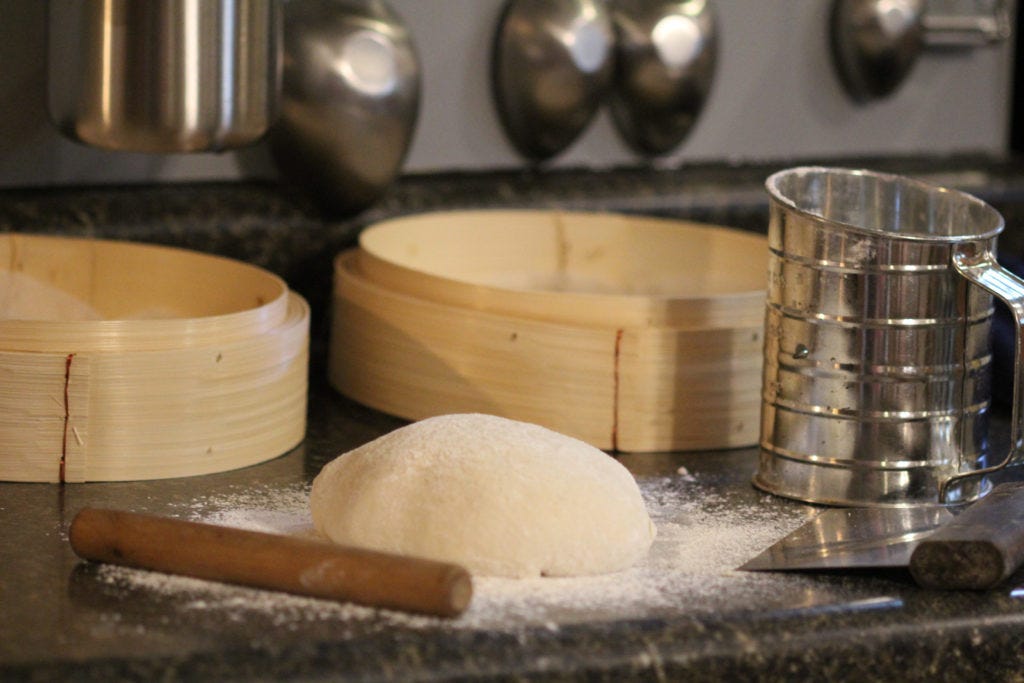
The dough ball after rising, ready to cut into small pieces.
For the Bao:
Dough
active yeast does not need the activation step, but many recipes call for it, and it won't hurt to do this. But if you're in a real hurry, you can safely skip it.
1 tsp active dry yeast
1/4 c warm water
1 tbsp sugar
Allow to stand for ten minutes, until foamy.
Mix in:
4 tbsp sugar
1/2 c warm water
2 c flour
1/4 c vegetable oil
1 c cornstarch
2 1/2 tsp baking powder
In a stand mixer, this forms a stiff ball of dough. Allow to knead for 3 min, then remove. Cover with saran wrap and allow to double in size, roughly two hours.
Cut dough into roughly 12 equal pieces. For each one, roll out into a circle, keeping the middle - the belly - fatter than the edges. There is definitely a trick to making pretty bao, so I've attached a video for you to follow along if this is a first for you.
Into each bao, you will put a small spoonful (about 2 tsps) of diced char siu that has been mixed with sauce and chopped green onion. Close with neat pleats and a pinch, then place in steamer over boiling water for approx ten to twelve minutes. I lined my bamboo steamers with precut parchment paper I bought for the purpose, but lettuce leaves work nicely for keeping them from sticking. The buns are done when they feel firm and springy to the touch.
Serve with some sweet Thai chili sauce for spicy deliciousness!
