Eat This While You Read That: CV Walter
This one was a first, in that I got to hand some of the food I'd prepared for the blog post to the author! And get squee's in response. Also, this is a delicious treat. Both the food, and the book!
When I am making baklava I don't make the filo dough. There are some things beyond even my level of desire to cook from scratch. So while you set out a pound of phyllo (filo, however you want to spell it...) to thaw, pick up The Alien's Accidental Bride and enjoy! Or, if you are already a reader, grab the latest in the series.

Don't let the blue on the cover put you off. Yes, this book is, shall we say, spicy, but it's also a fun romp through a highly unlikely but very human emotional story. Besides, it's perfect pairing for a little sweet, a little tea, and some steam!
Pine Nut Baklava
This is not only safe for those with a nut allergy, it's also more authentic to certain parts of the world where it originated. I've added my own twists to it, as well.
This makes a 13x17 pan, with thinner pastries. Or you could do a deep 9x13 pan with the same recipe and cutting or folding your phyllo sheets.
1 lb filo dough (phyllo pastry?) brought to room temperature
1 cup butter, melted
1 lb pine nuts
1 tsp cinnamon
1/4 tsp ground cardamom
2 tbsp sugar
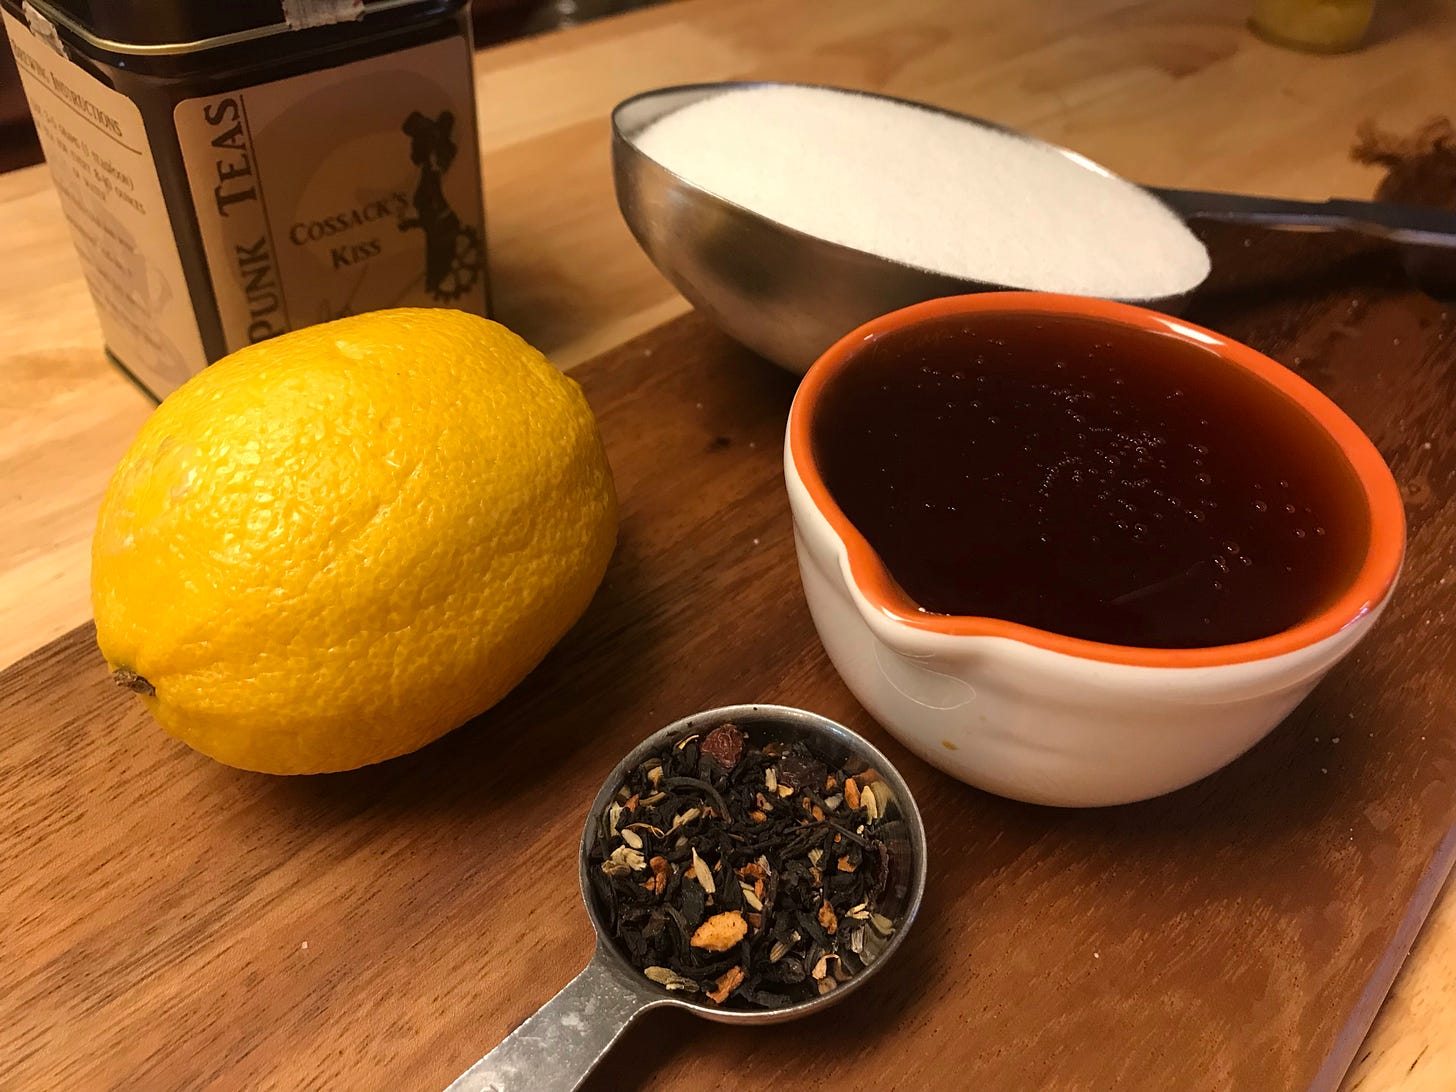
The tea was almost too subtle. Next time I'll up the amount. Or make the water for the syrup into strong tea before using.
Syrup
1 c sugar
2 tbsp lemon juice (juice of 1/2 a lemon)
1 c water
1/2 c honey
1/2 tbsp chai tea, loose
lemon peel (several strips, without pith)
Simmer together, with the occasional stir, until sugar is completely dissolved. Set aside to cool. Note: if you use a tea ball for the tea and lemon peel, it can be easily removed later. If you put them in loose, run the syrup through a sieve while still warm to filter them out.
Set the syrup aside to cool completely while you assemble the pastry.
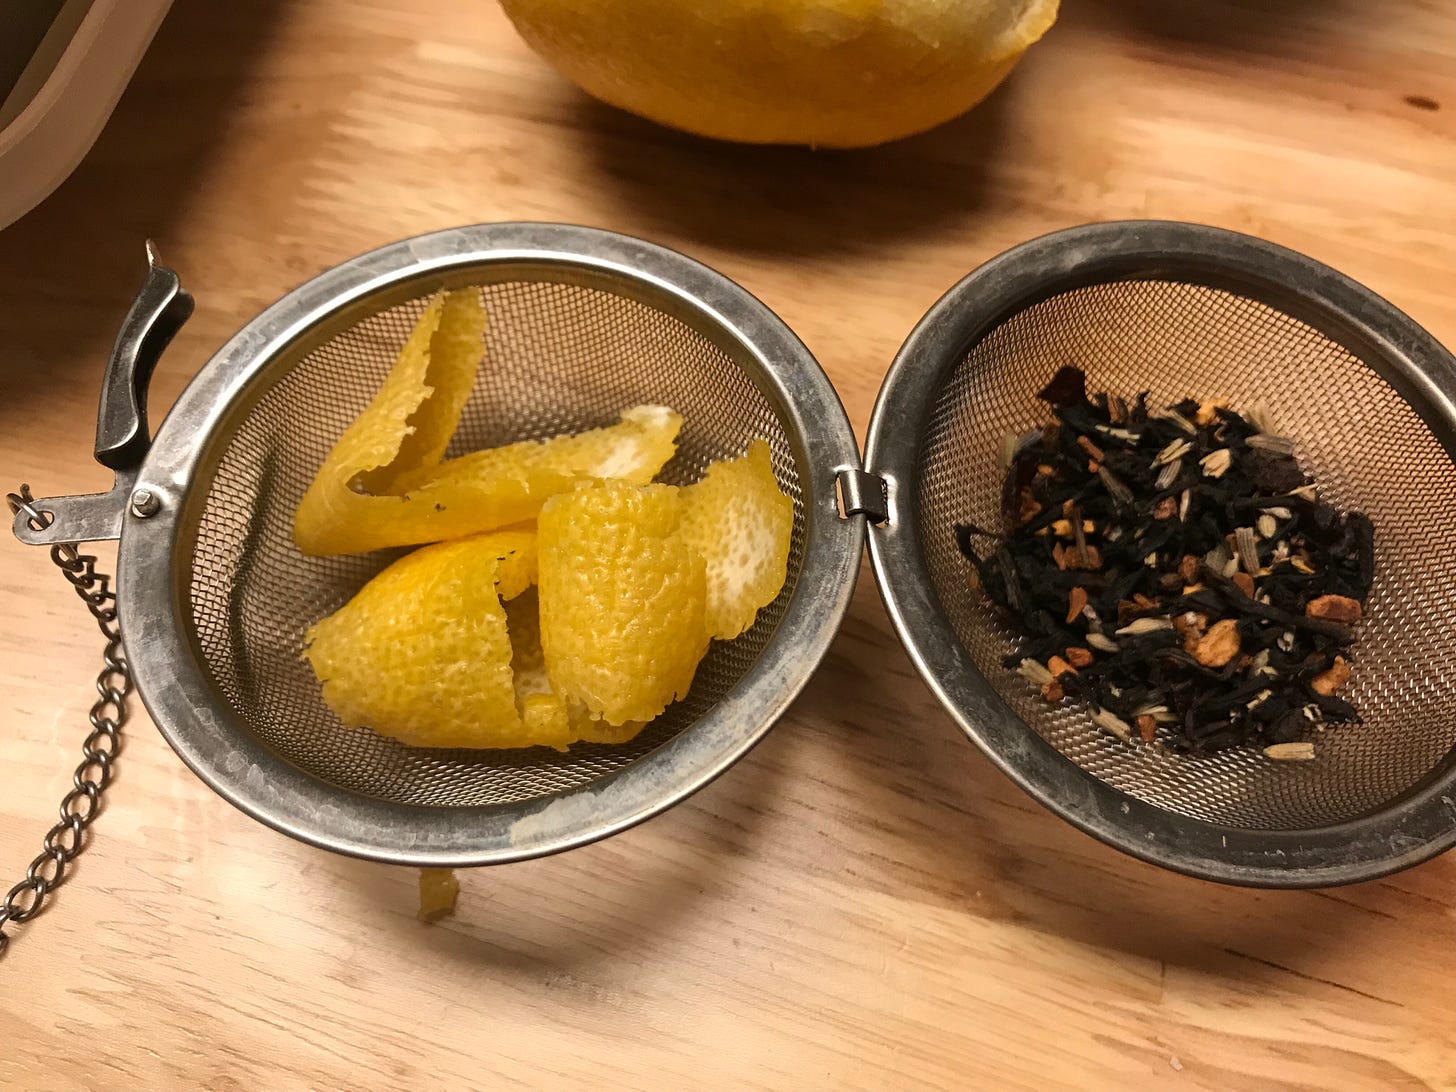
Lemon peel and tea in a diffuser for easy removal.
In a food processor (ideally, it would take a lot more work with a knife), pulse the nuts, 2 tbsp sugar, and spices until the nuts are roughly chopped. You don't want to overdo this, a nice mixture of sizes from crumbs upward is best for texture. Even with pine nuts, this will work best for pastry, as the rough edges help keep pieces together after cutting. Set the nuts aside in a bowl.
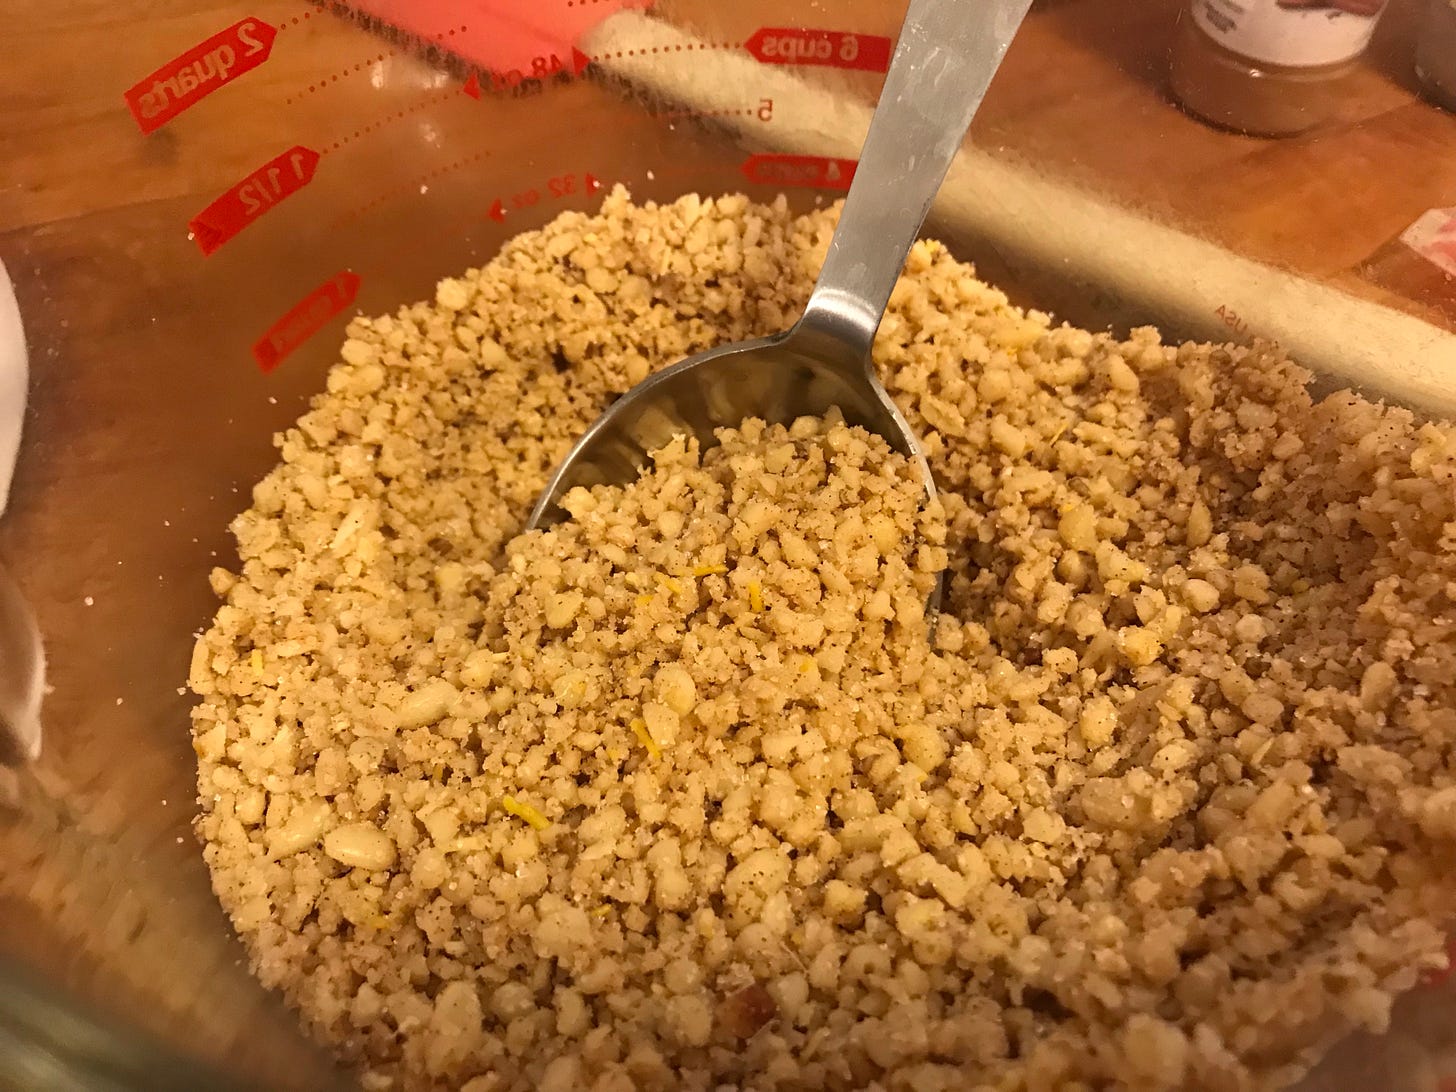
Chopped pine nuts and spices.
Brush a little melted butter on the bottom of your pan. Preheat your oven to 350F. Unwrap your filo dough, and cover it with a damp tea towel, or barely-wet paper towels. You'll want to work quickly here, filo dries out very fast, and the covering will be in the way once you start to assemble.
Lay down a sheet of filo as smoothly as you can, and brush with pastry brush (side note here: I like a silicone brush for this, as the natural bristle pastry brushes I've had tore the filo more readily). I like to start in the center and gently work outward to the edges to keep it smooth and even. Repeat with another sheet. You'll want about 5 sheets for this first layer.
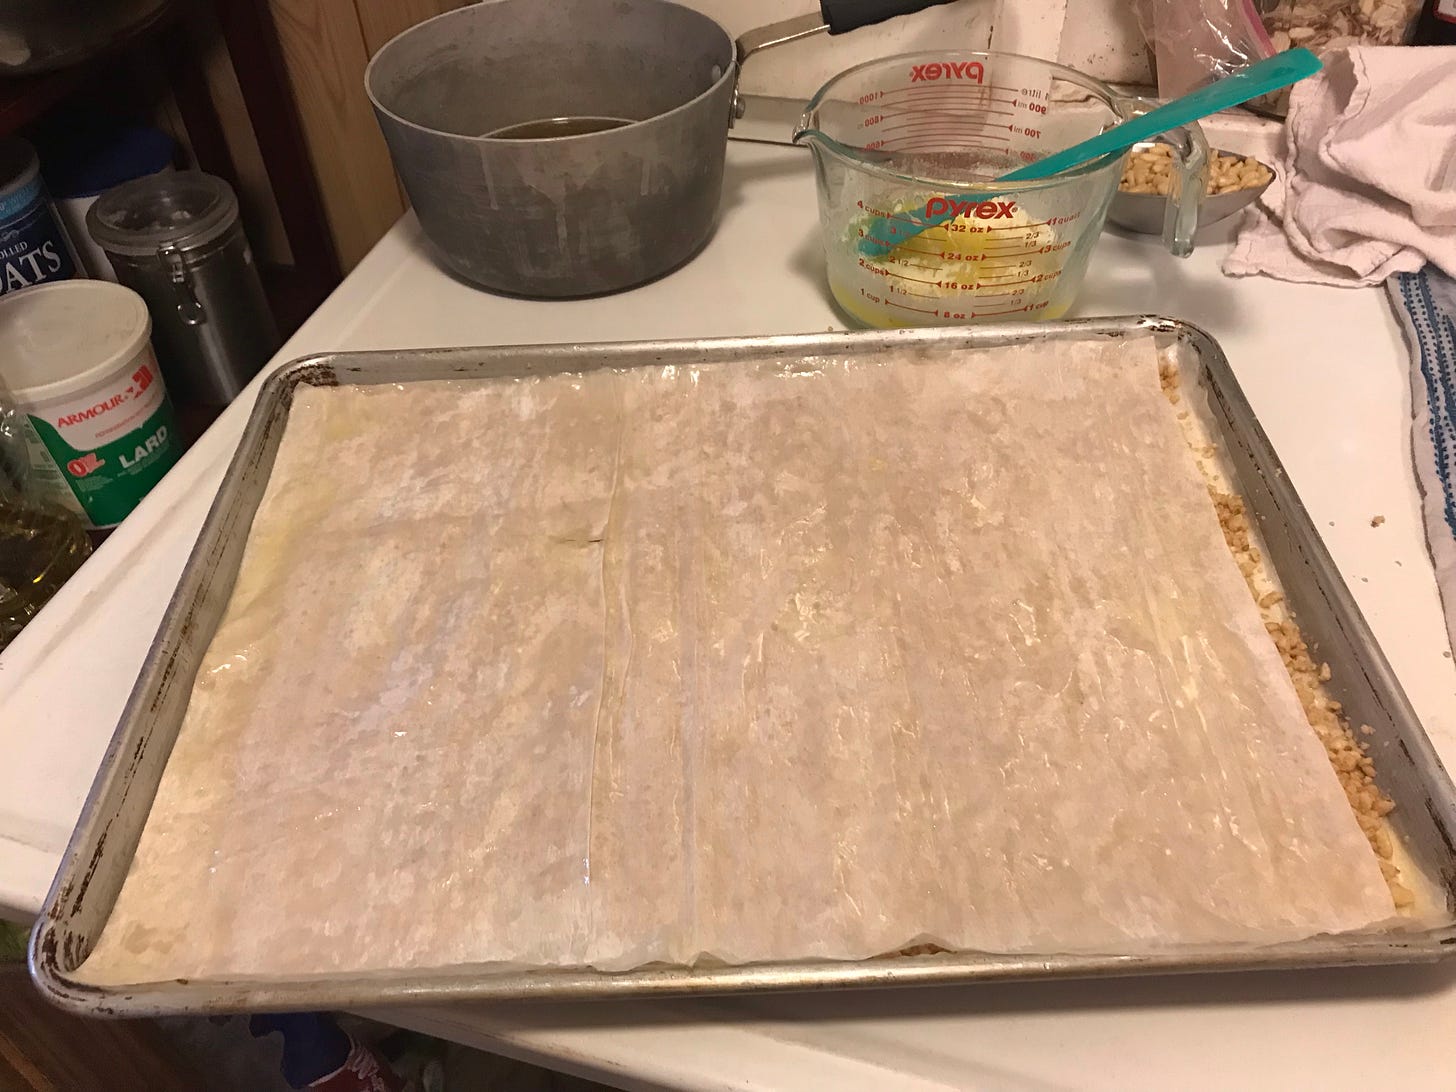
Buttered layer on the first nut layer
Layer on about half the nuts (or a third, if working with the smaller pan) patting them out to be level and even. place on a sheet of filo, butter, and you have the idea. I'd put about 3 layers here. Then do another layer of nuts, and so forth. Finish up the top with as many layers as you have left (probably 6-8) and butter the last sheet.
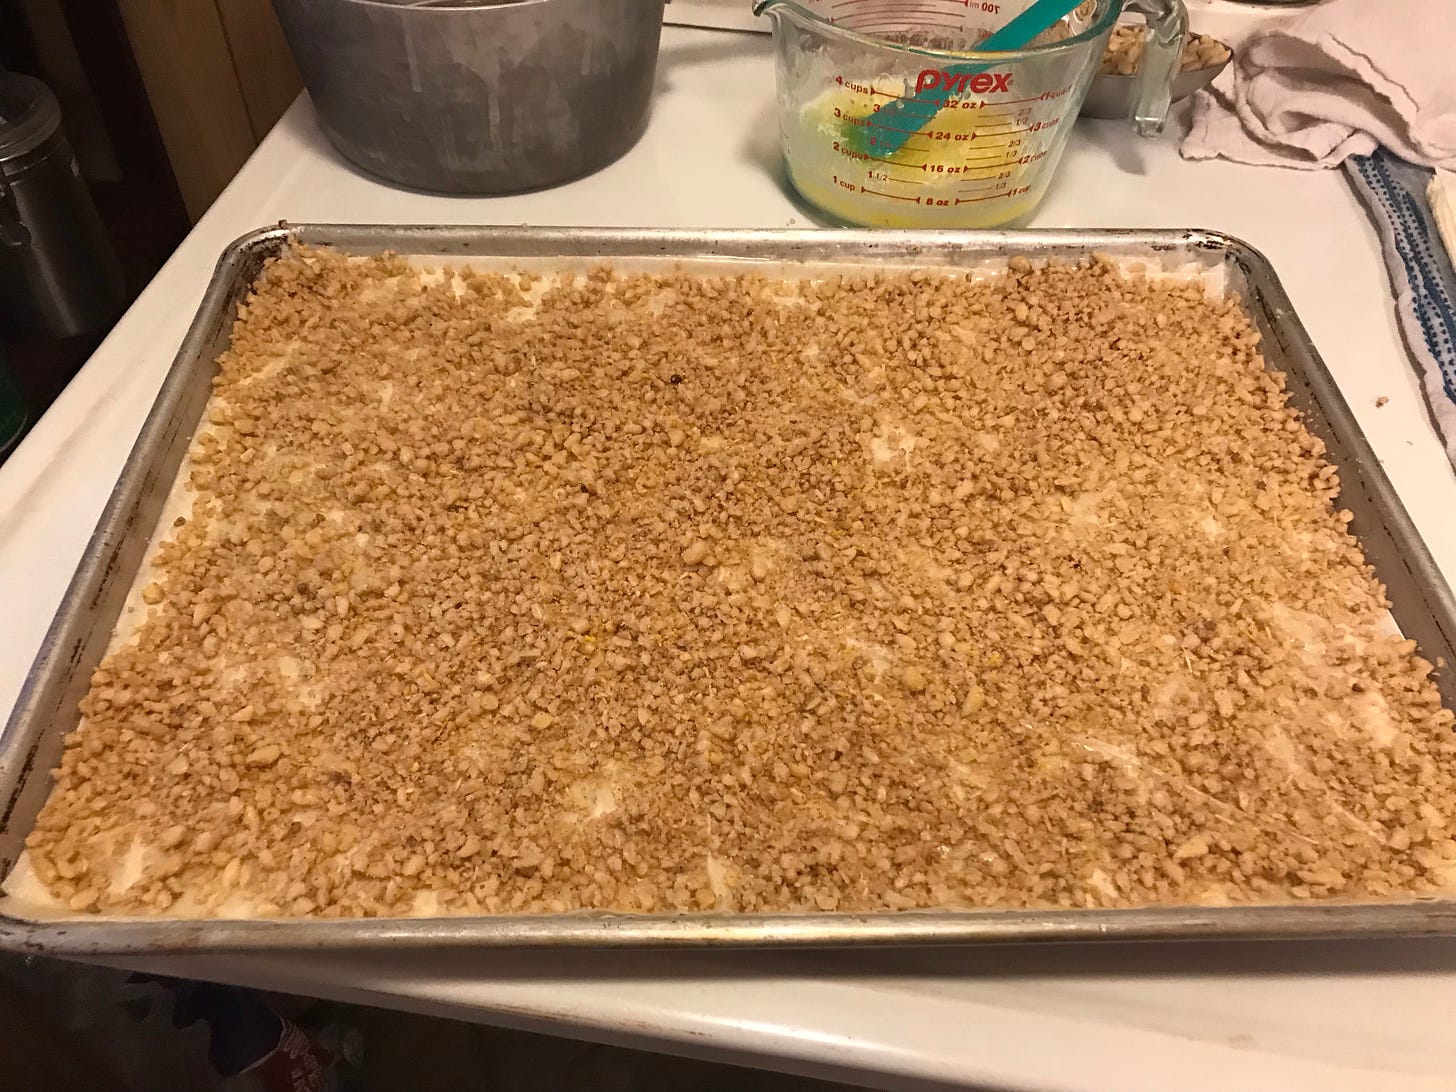
Layer of spiced pine nuts
To get a nice, neat cut, you'll cut this before you bake it. The filo will shatter if you try to cut after baking. Use a good sharp blade (I've even done this with a pizza cutter, but you'll need a knife point in the corners of the pan) cut all the way through. The classic design is diamonds, but you can do whatever you like. Keeping in mind this is almost candy, so smaller pieces are better (mine are usually about 1 1/2" square-ish).
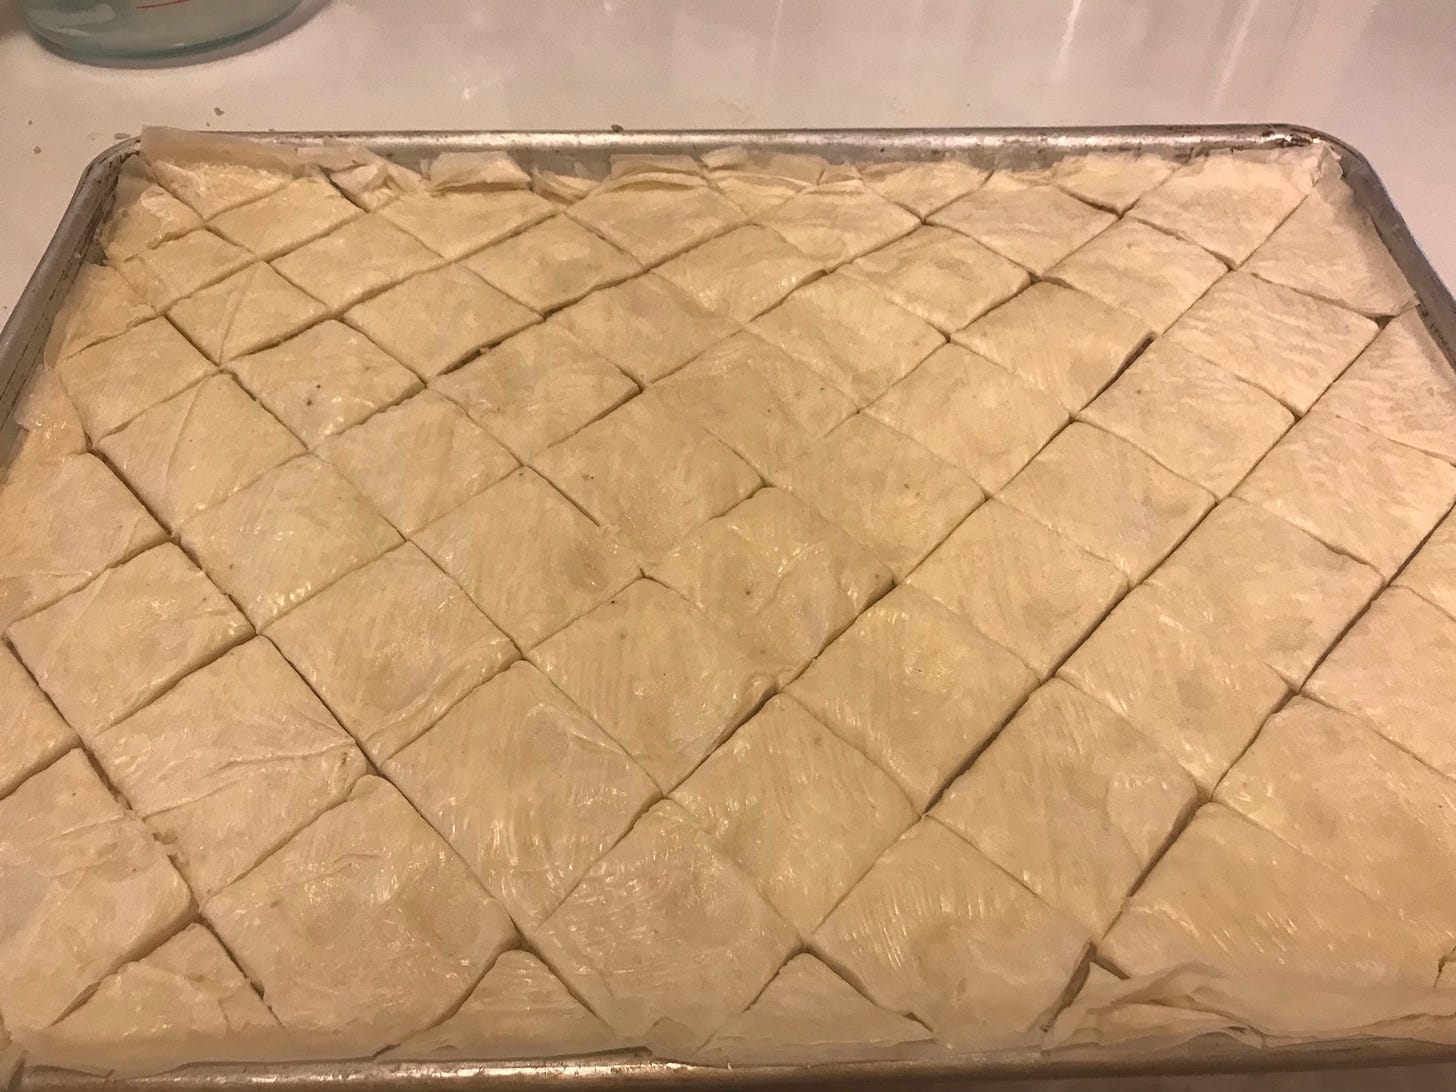
Cut before baking.
Bake this at 350F for 25-30 minutes, until golden-brown and crispy at the edges.
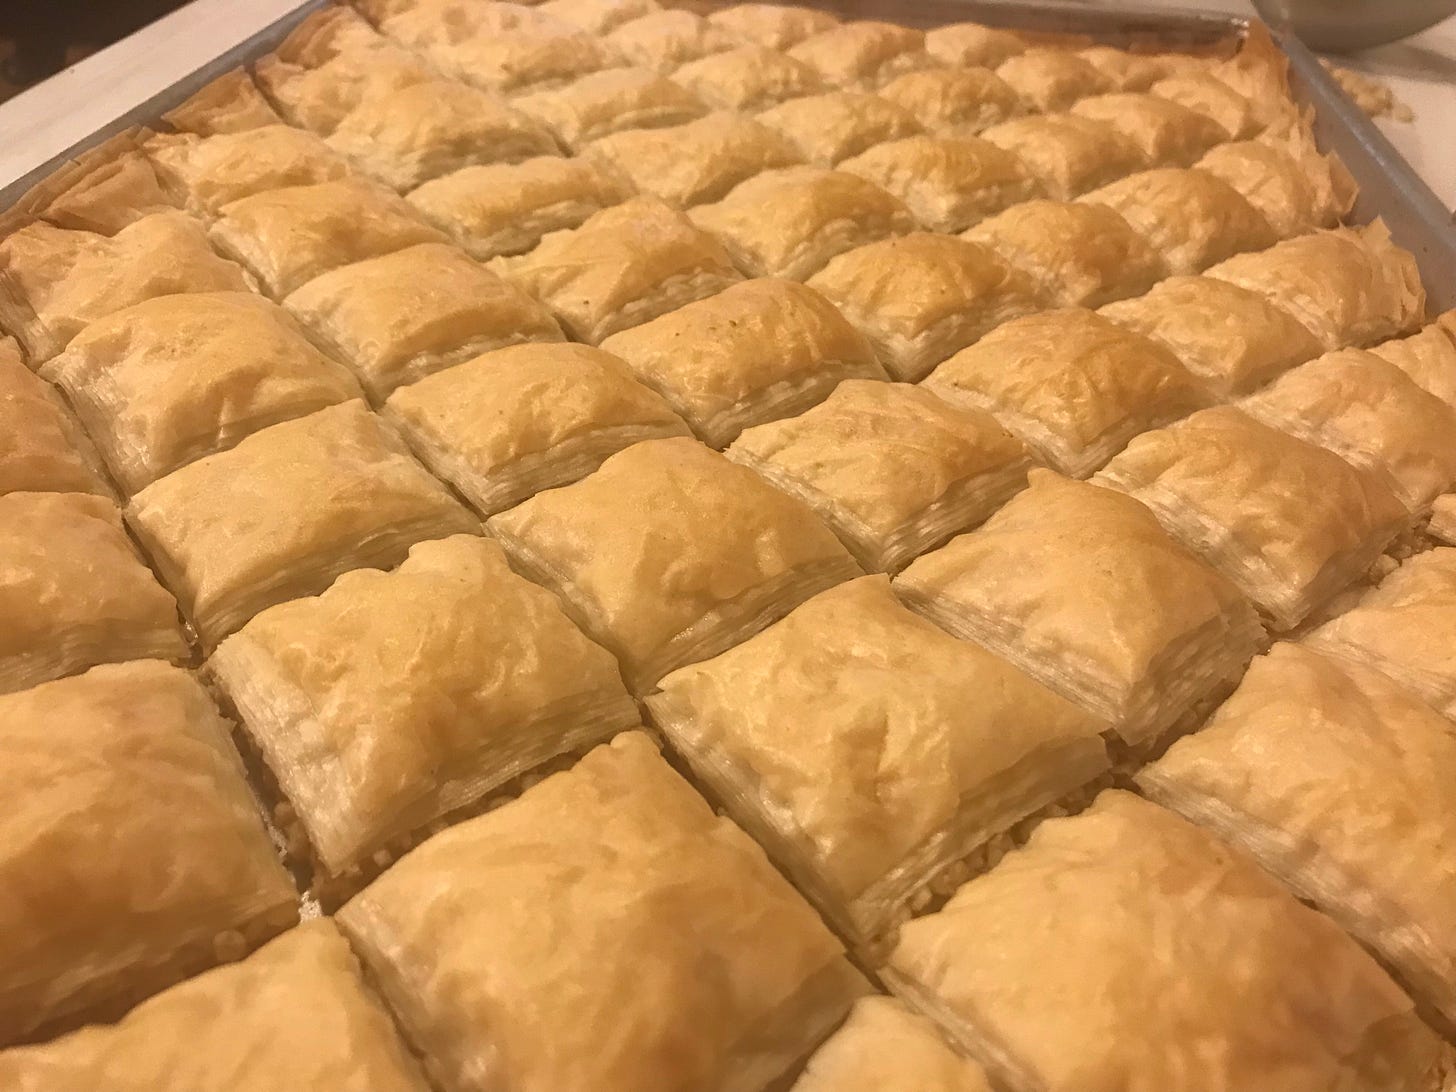
Nice little pillows! Cutting before baking trapped steam so they puffed prettily.
Immediately after removing from the oven, you'll pour the syrup slowly over your sheet of pastries, trying to coat them evenly. After pouring, tilt the pan in every direction to get it all even on the bottom, too. Don't wait until it cools, because you could wind up with soggy baklava. It makes a satisfactory sizzle when you start pouring!
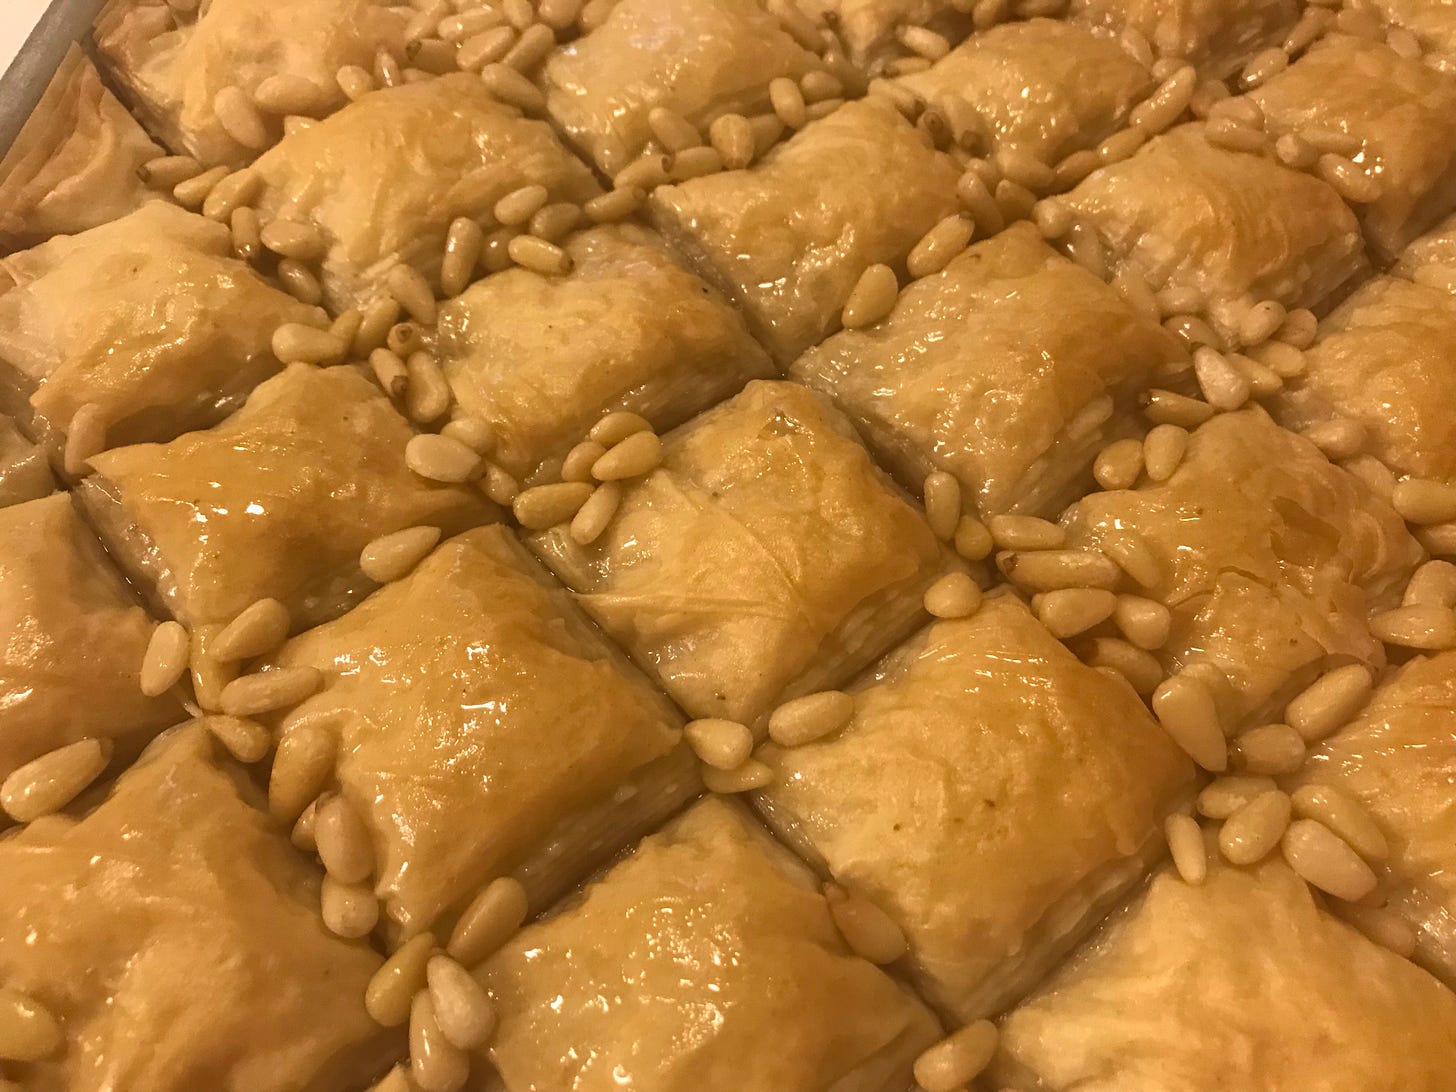
I sprinkled a few whole pine nuts before pouring syrup, but next time I'll chop them first so they adhere to the sticky instead of sliding around. Pine nuts are slippery!
Once the baklava has cooled, you can easily separate the pieces and serve. Goes wonderfully with a cuppa tea, and a steamy romance novel. I mean, bon-bon books are a nice change of speed when you need to unwind, and the sugary crunch of a perfectly sticky piece of baklava is equally tasty.
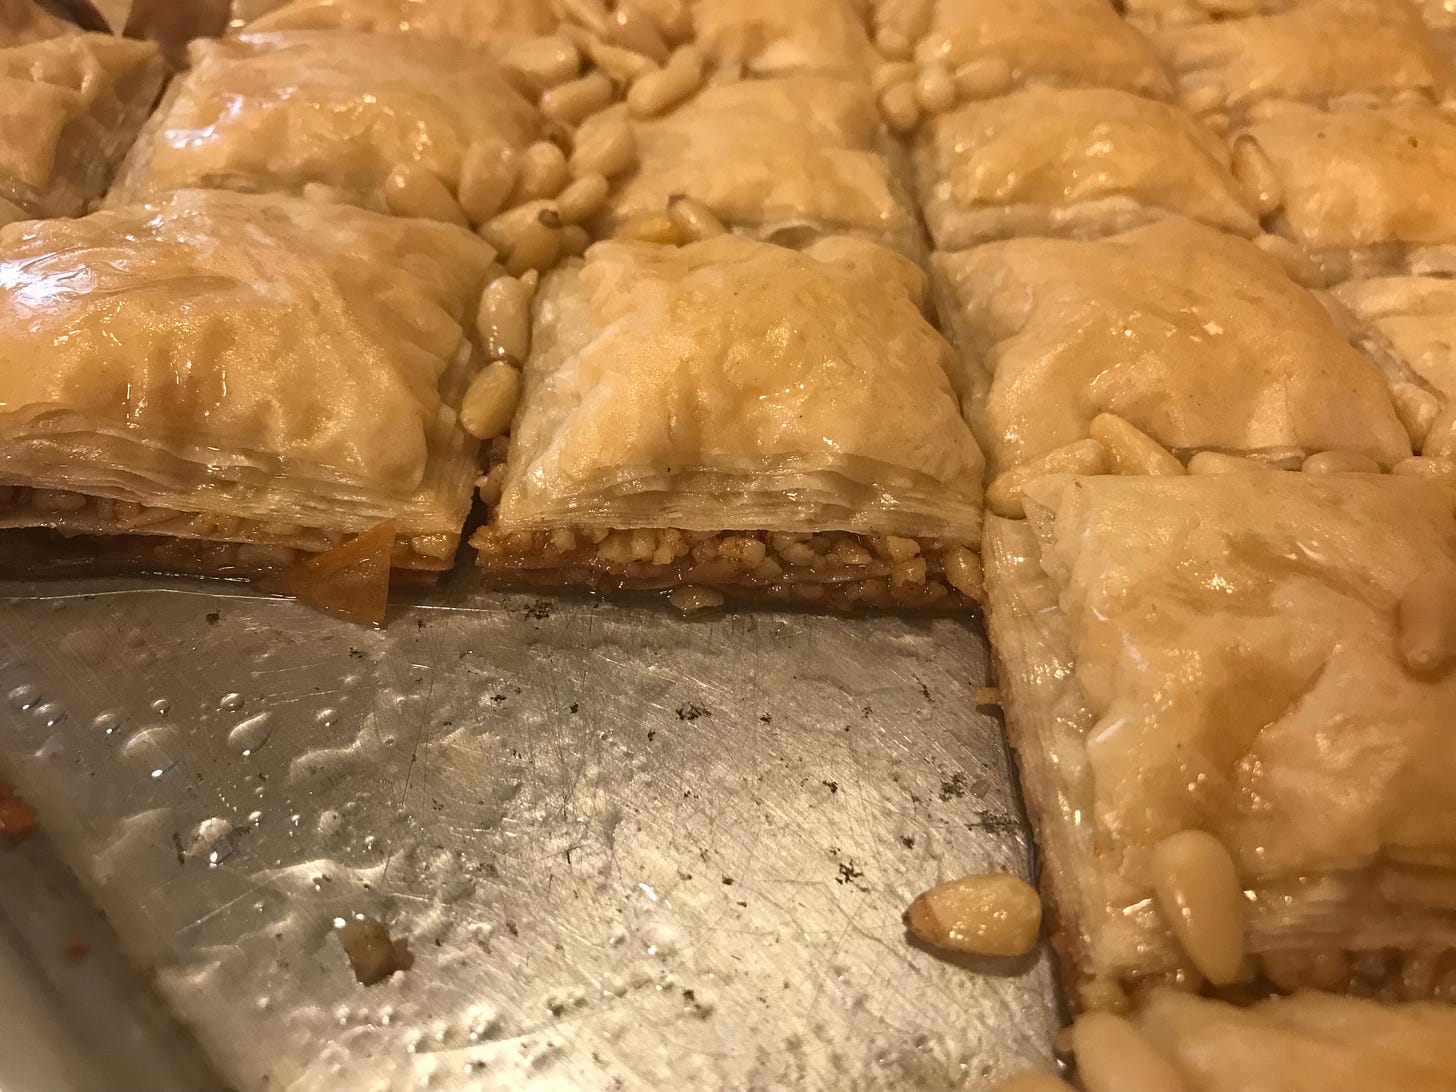
For feeding a crowd, the larger pan and thinner pieces work very nicely.
As it happens, I was sharing this with many friends. But you should know that Baklava freezes well, and can be slowly nibbled over a couple of months a piece at a time when you want a treat with no effort!


