Eat This While You Read That: Misha Burnett and Louise Sorenson
Buckle in, folks! This is going to be a long one! Also, these are less recipes, and more techniques which you can use to make many, many delicious variations on a theme.
When I reached out to Misha, who I know well, to ask him for a book and a dish for ETWYRT, I was curious to see what he'd come up with. He's a fascinating writer - you've met him before on these pages, with the deliciously creepy goblin poem that came from an Odd Prompt. To my surprise, he came back and asked if I would do a post for both him and his coauthor. Of course! I've done that before. But what I hadn't done before was two separate but equal dishes for those authors, so this is fun and different!

First! The book is Duel Visions by Misha Burnett and Louise Sorenson, and surprising no one who has read the goblin poem, it's a grim and macabre collection of ten stories. Designed to terrorize the reader and heighten their senses, it's perhaps suitable that a book which will make you glad to be alive when you finish it, should go with that most necessary of living chores, eating. Both dishes are a delight to the senses, and while you might not choose to make them at the same time, you also might! Especially if you have teenagers to feed...
Misha asked for Cuban Sandwiches, and Louise for sushi. Since I have wanted to make the former for some time, and the latter is a common meal at our house, this was a fun pairing. The new with the familiar, and the kids would get involved, too. Sushi does not necessarily involve raw fish, and it is a kinetic meal to prepare, perfect for kids who want to get handsy with their food.
To begin, you want to make pulled pork. This is not a difficult process, and I'm going to elide over it, because I'll admit I have bags on hand in the freezer for quick and easy meals on demand. Usually, I season this with barbecue sauce for pulled pork sandwiches, but for the Cuban sandwiches you could toss it with a bit of cumin, chili powder, garlic, and some finely chopped fresh cilantro (this is optional for those who abhor the stuff). And if you want to make your own bread for the sandwiches, get that started. Or, if you're like me this last week and not up to it, grab some hearty hoagie rolls.
For the sushi, start the rice. I use a short grain sushi rice, but we have successfully done sushi with arborio as well. Medium or long-grain rice, jasmine, or basmati, will not work. You need rice grains that stay a bit sticky when they are cooked, so they can be structurally sound when building onigiri (rice balls) and sushi rolls. We use a ratio of one cup dry rice to 1 1/2 cups water, and we use a rice cooker. Once the rice is cooked, transfer it to a wooden bowl (this is actually important, as it helps suck up any excess moisture, but the kids say they do it in any old bowl with success, so you can manage without it!) and fold in a mixture of 1 tbsp rice wine vinegar and 1 tsp sugar gently (increase this according to how many cups of uncooked rice you used. You'll get about 3 rolls per cup of rice). You don't want to break or mush up the rice, just coat it in the seasoning.
Lay out a sheet of nori on a bamboo mat, if you have one. If not, a sheet of plastic wrap or waxed paper works fine. You'll see my hands (photography by the Jr. Mad Scientist) and note that I use the nori itself for rolling. The only thing you must do is moisten the nori. We keep a bowl of water handy and dip our fingertips in, then 'fingerpaint' the water onto the dry seaweed paper sheet. Obviously, there's a lot of handwashing before this point! Because we also use our hands to put the rice on the nori. It's sticky, so wetting your fingers keeps too much of the rice from clinging to you and not your rolling paper. Once your rice is leveled out, not too much, not too little, you can lay out the filling bits. We use tons of things for this. Whatever is in the fridge, really. The mainstays the Jr. Mad Scientist (our in-house sushi chef) insists on are carrots, cucumbers, avocado, cream cheese, salad shrimp, and fake crab (I like real crabmeat, and buy a tin of it for this very purpose). You could do this with fruit and cream cheese - we have, and it's tasty! Most of the time we're making California rolls.
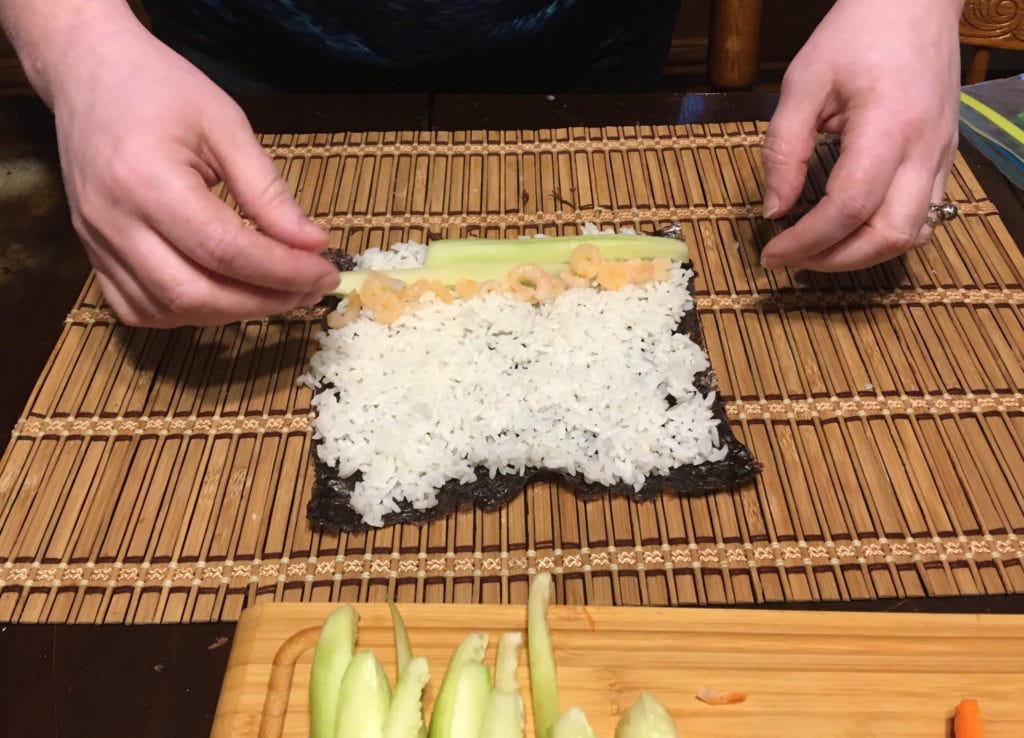
Filling going in. Almost ready to roll!
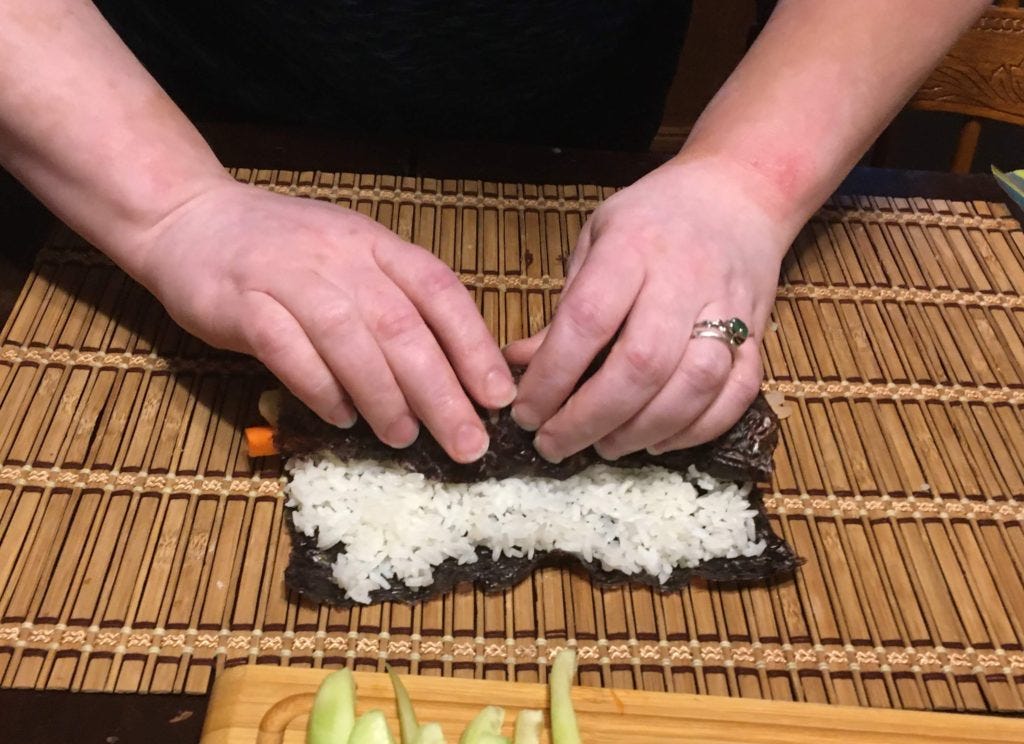
Roll with a gentle, firm, continuous pressure. You are pushing all the sticky rice together and giving the structure the adhesion to stand up to the cutting.
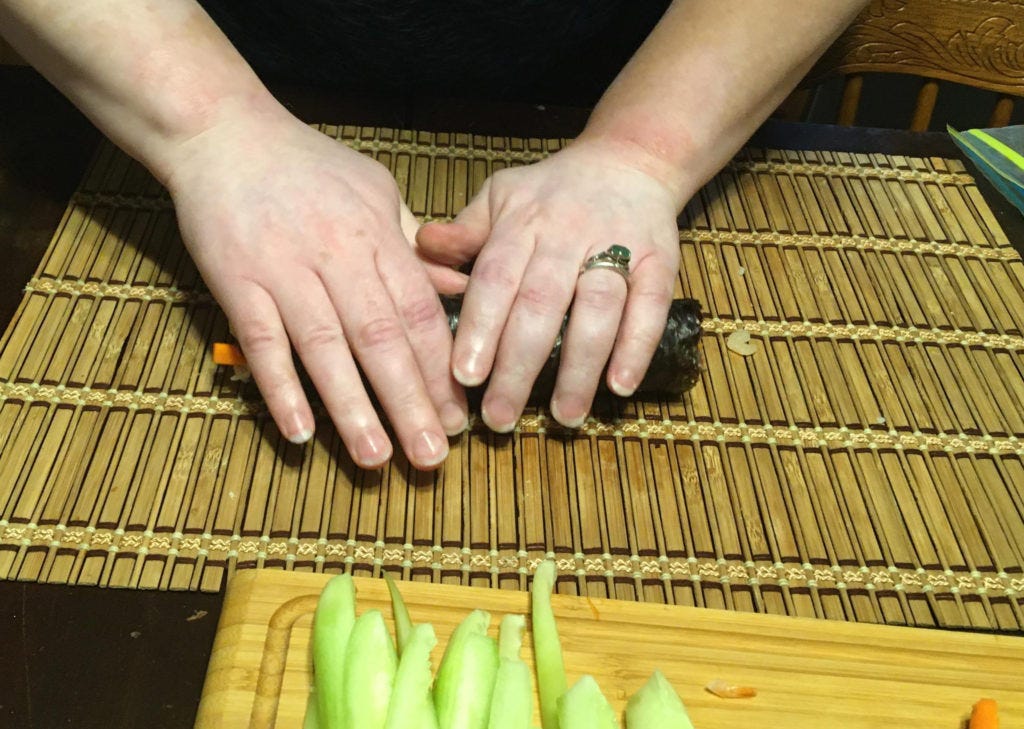
Keep rolling after you have come to the end. This compresses it all. Compression is a theme in this post...
The bamboo mat is handy for rolling because it keeps a constant, even pressure on your roll. I opted to work without it so I could show what was going on to the camera.
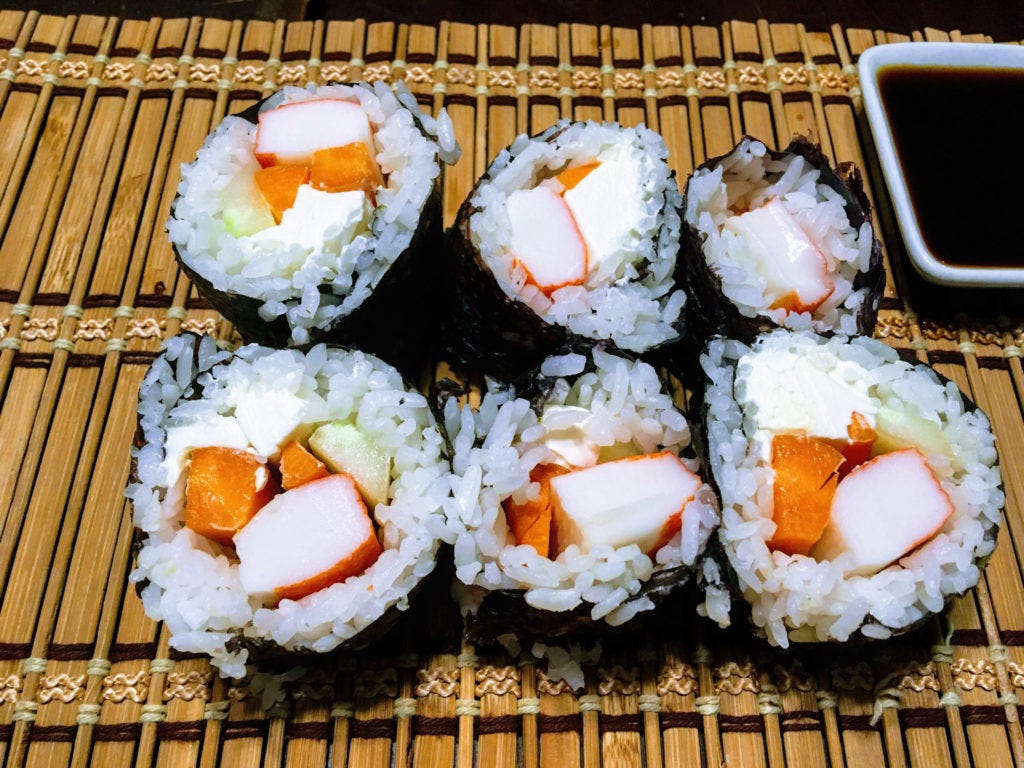
Cut your roll in half, then into equal pieces. The children, being barbarians, will eat a roll whole, like a burrito. I prefer the chopstick method, myself!
I ate my sushi roll with some soy for dipping, and pickled ginger and kimchee on the side. I'm not a big fan of wasabi, and most US wasabi is just colored horseradish, anyway. The real stuff is nicer.
On to the sandwich! You know, both of these are sandwiches, sort of? Portable lunch-type food, easy to eat on the go and light meals. Well, the Cuban sandwiches are not so light!
You'll need:
Hearty rolls, or a baguette-style loaf
pulled pork
bread and butter pickle slices
deli sliced ham (I suppose you could do it with just ham slices, but nice thin ones!)
Mustard
Sliced cheese (we used provolone, it was what we had on hand)
You will also need:
Two cast-iron skillets, or one and a regular skillet for the bottom
A weight (I used to keep a foil-wrapped brick in the kitchen for making gyro meat, I wonder where that went? Can of tomatoes worked well)
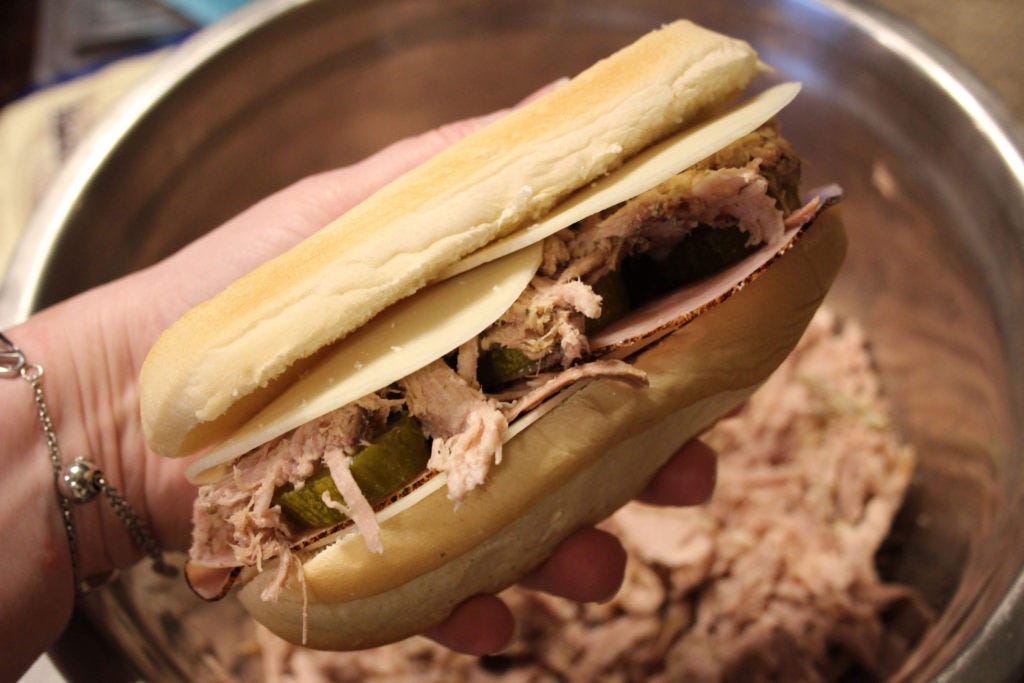
Filled sandwich with maybe a bit too much in there!
Assemble your sandwiches. Split the bread down the length of it. Apply a schmear of mustard to each side. Put a slice(s) of cheese on each side. In between the cheese, put the pulled pork, pickles, and ham. You don't want to overfill this sandwich, as the next step becomes a lot messier and more difficult if you do (learn from my mistakes...). Heat a skillet to medium heat. Not too hot, because you want to get the sandwich warm to the center without blackening the bread. Lay the sandwich down in the pan, then set the second pan on top, with a weight on that pan.
Photographing this was not successful.
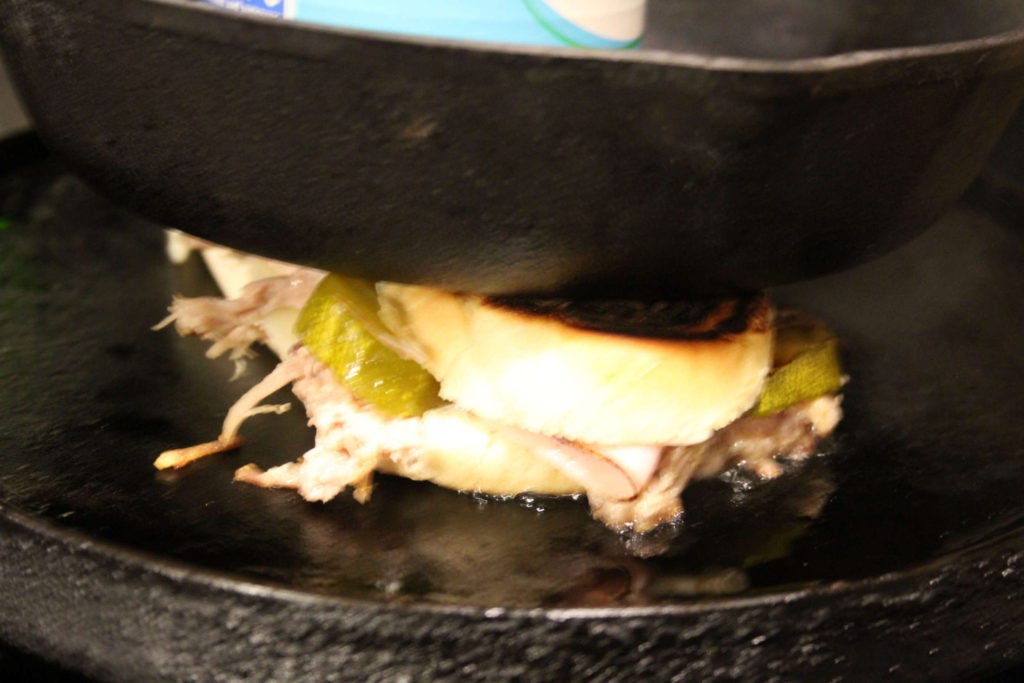
My light was bad. But you get the idea!
Cook the sandwich under pressure for a couple of minutes, then turn it over and weight it back down to cook another 2-3 minutes. You really want the sandwich to compress and heat gently through to get all your flavors going here!
The result? A meal that will make you glad to be alive and enjoying it! We did the big sushi prep on a different day than the sandwiches, so what you see above is *coffwaytoopretty* not my handiwork. However, a couple of pieces of sushi was a nice cool accompaniment to the warm, rich sandwiches!
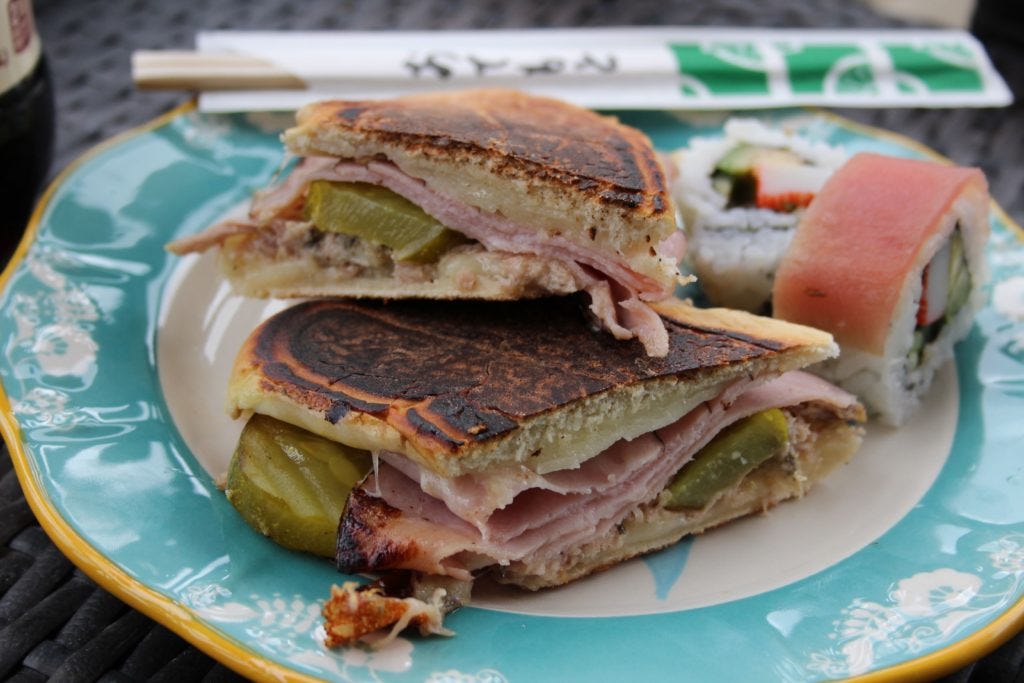
Layers of flavors!
I am already contemplating variations on the Cuban sandwich. I like the pressed sandwich style of cooking, and it's less greasy than my grilled cheese. So yum.
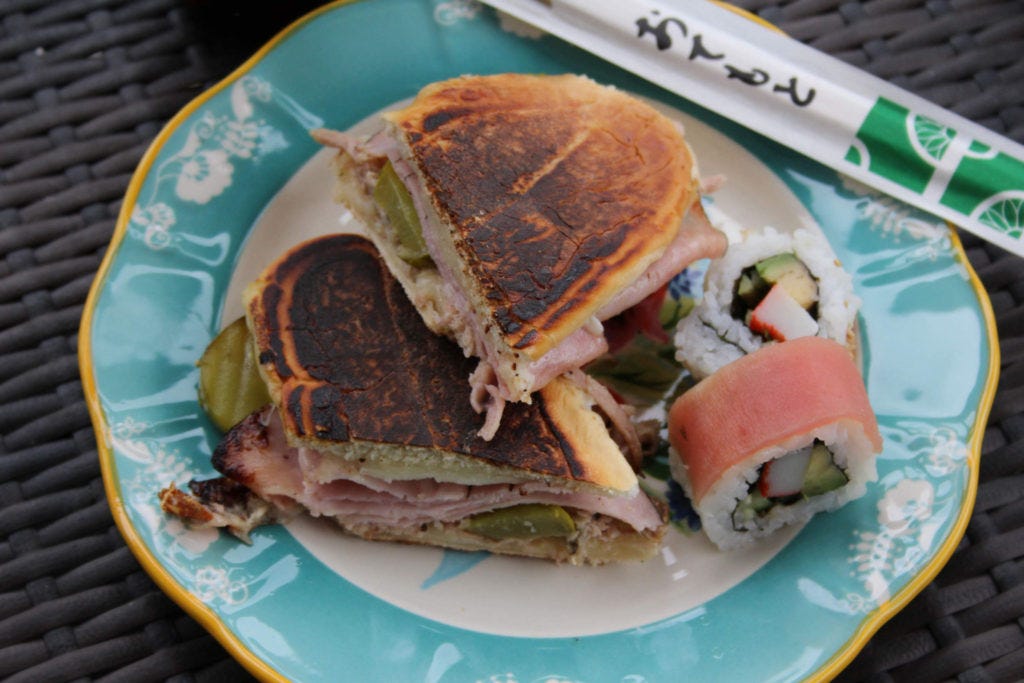
Cuban Sandwiches and Sushi pieces.
For all of the Eat This While You Read That recipes and books, check it out here! I'm up to 71 recipes. Well, 72 if you count this one as two!


