4 raised bed kits: 8x4x1’ (Amazon) - $200
1 load of screened compost, about 5 cubic yards (Wichita Valley Nursery) - $150
6 t-post stakes, 6’ tall (Atwoods) - $30
2 Cattle Panels (50” by 16’) (Atwoods) - $50
Stainless Steel zip ties (100 pk) (Amazon) - $10
1 Naproxen (Medicine Cabinet!) - $0.02
Total - $440.02
All of this is customizable to your space, but I’ve promised several people at this point that I would write up the project, I just did this weekend, so here it is. Assembling the beds is quite manageable with one person in just a couple of hours. Filling them will either take help, or much longer to accomplish.
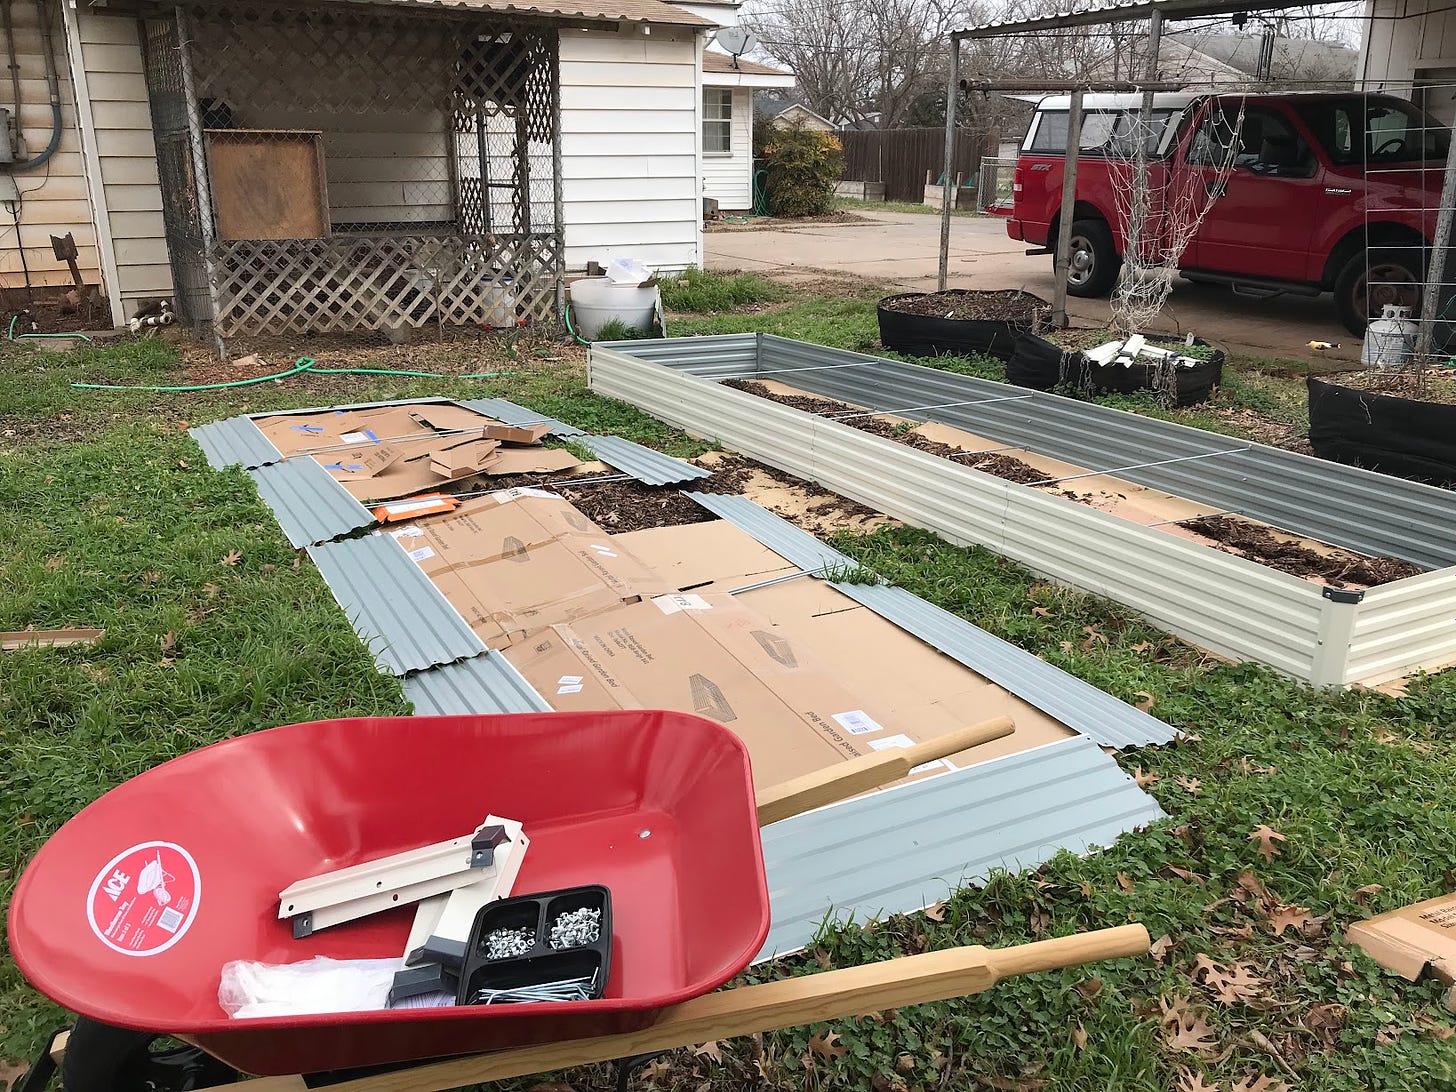
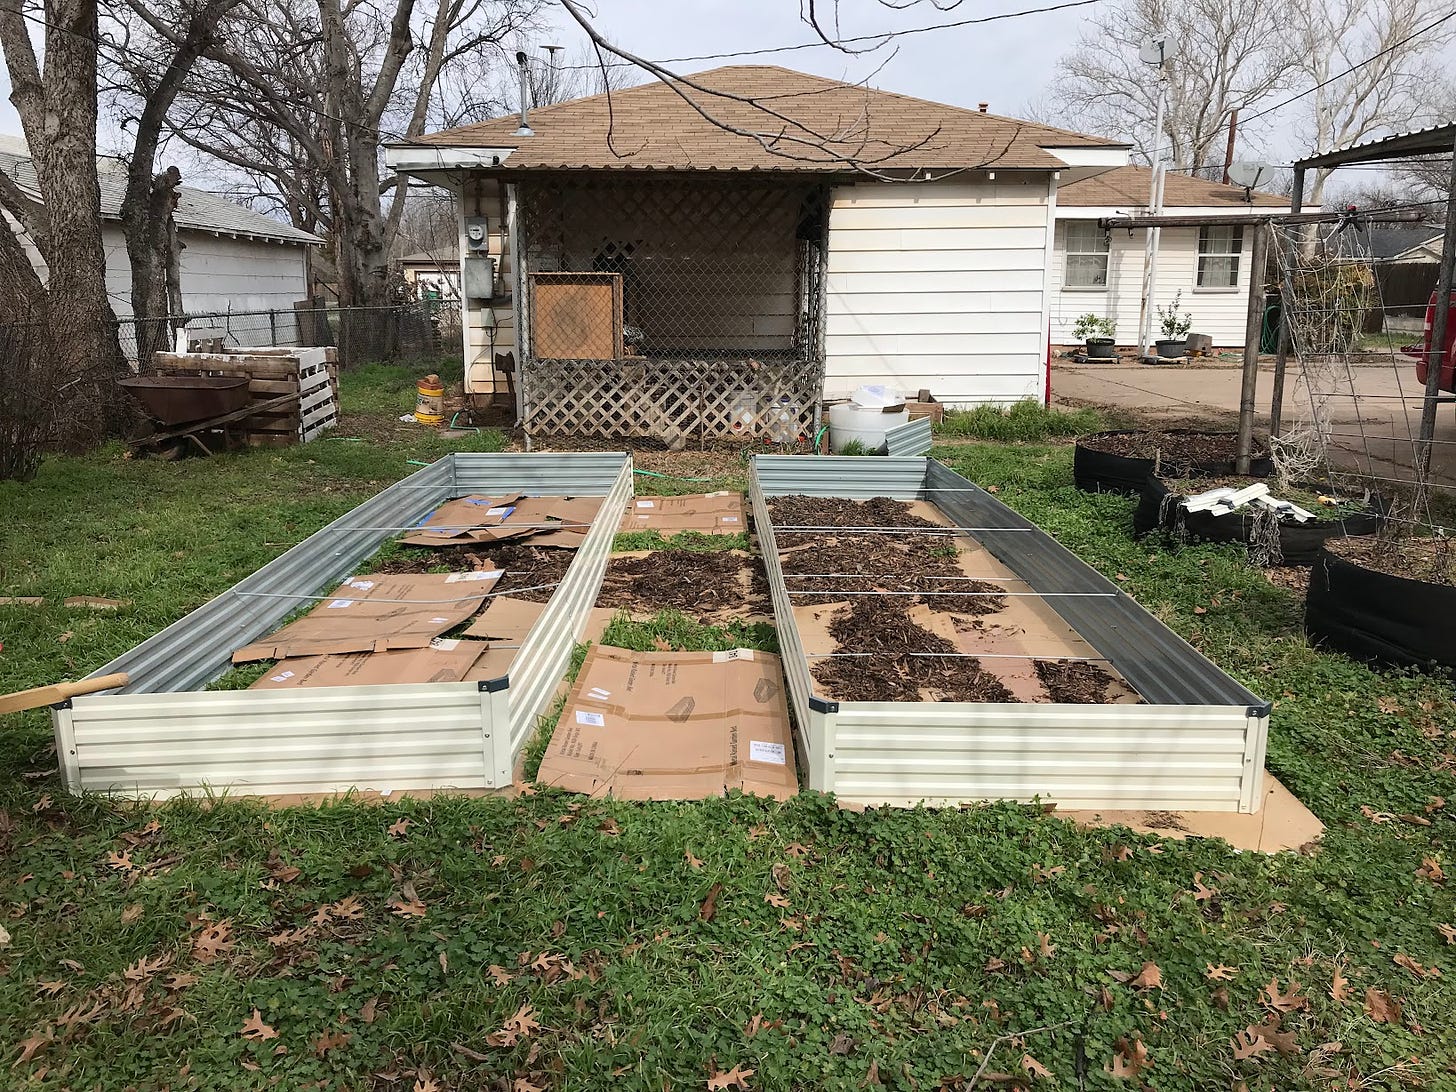
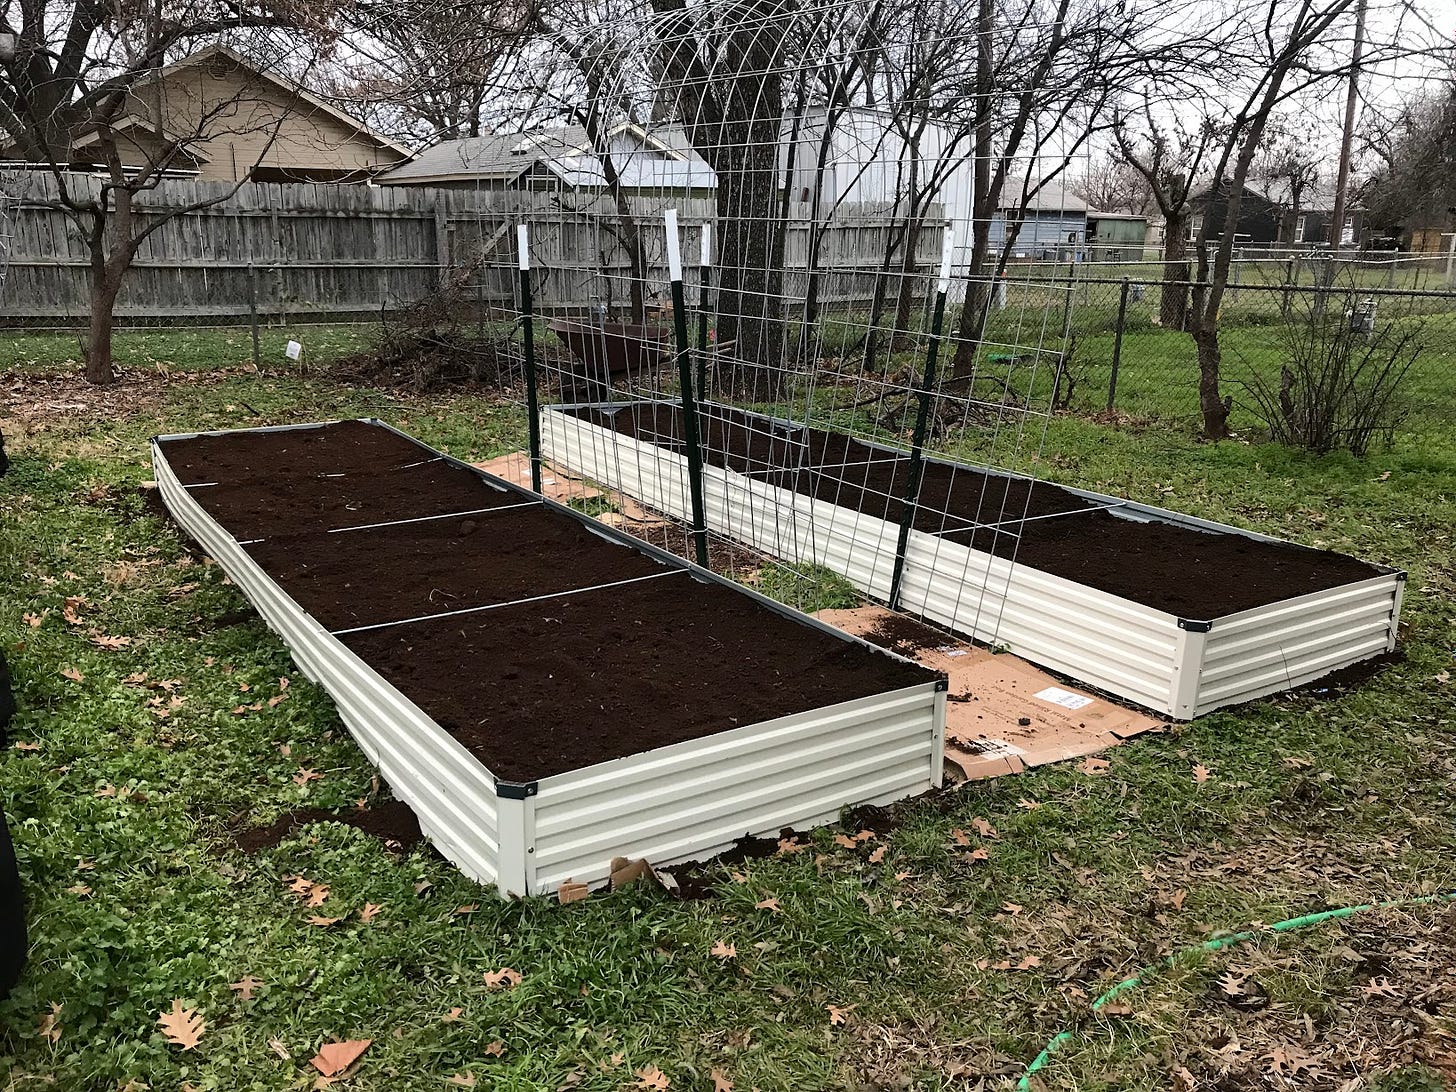
I bought four raised beds, and put them together as two 4x16” beds. This worked well, but I would recommend staking them solidly with rebar or more t-posts to keep them from shifting while filling as they are very light. I don’t really mind – I didn’t exactly level the ground and make sure they were square while laying out and building, but I’m ok with things being wonky if they are done and functional – if you want them to be precise, you’ll want to fix them in place securely.
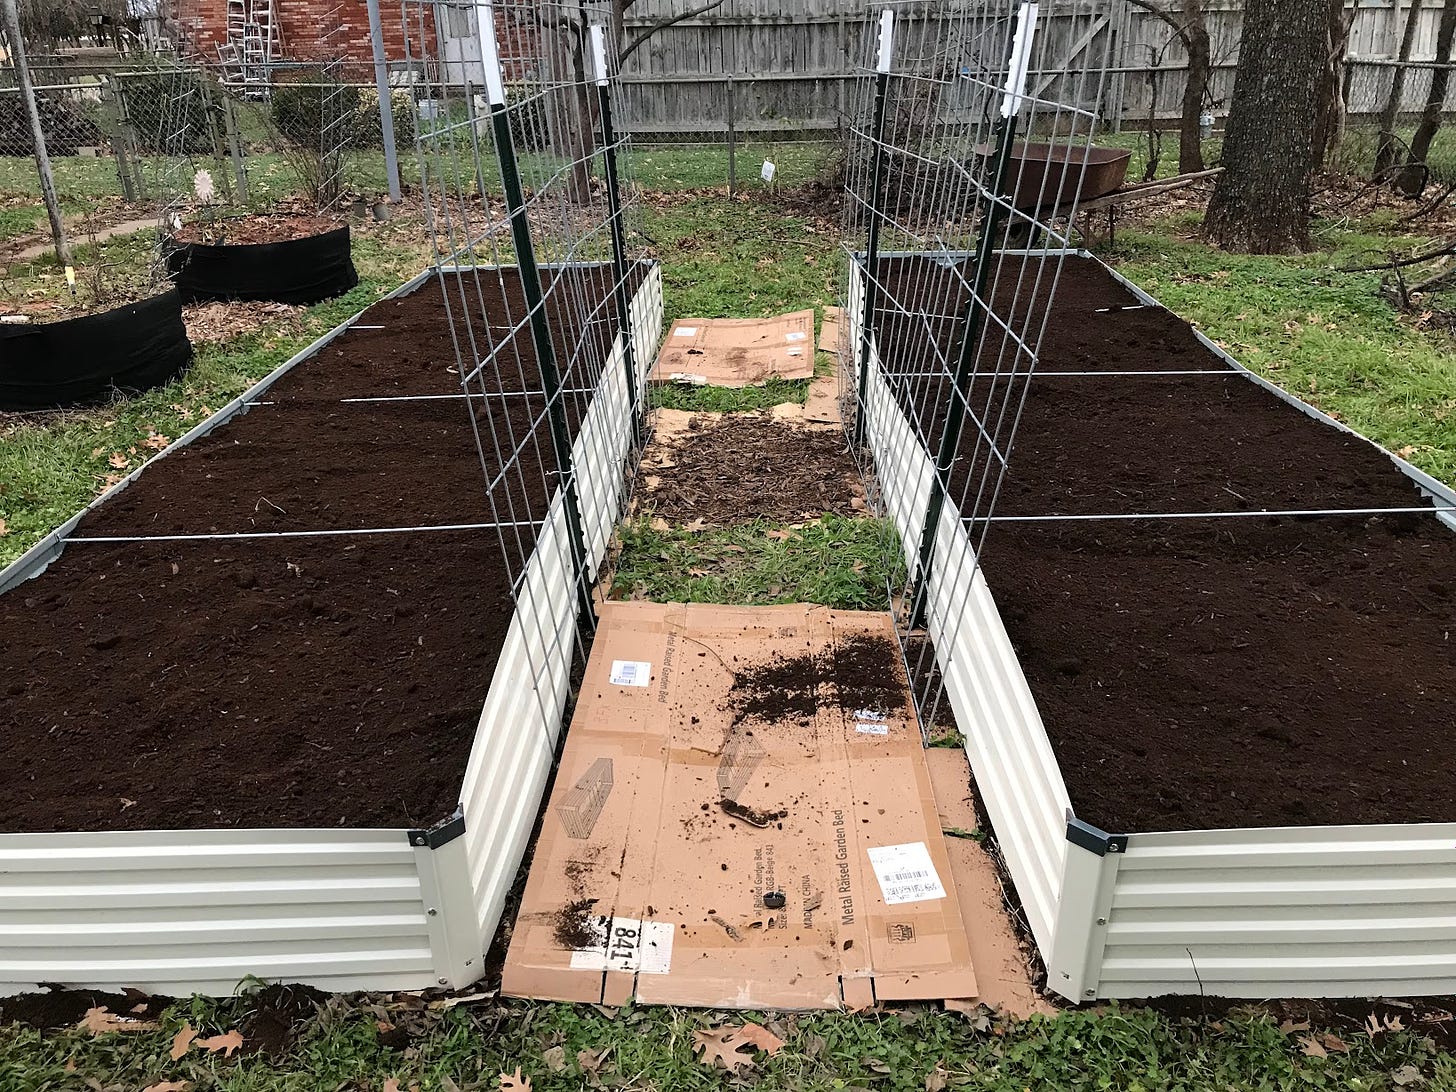
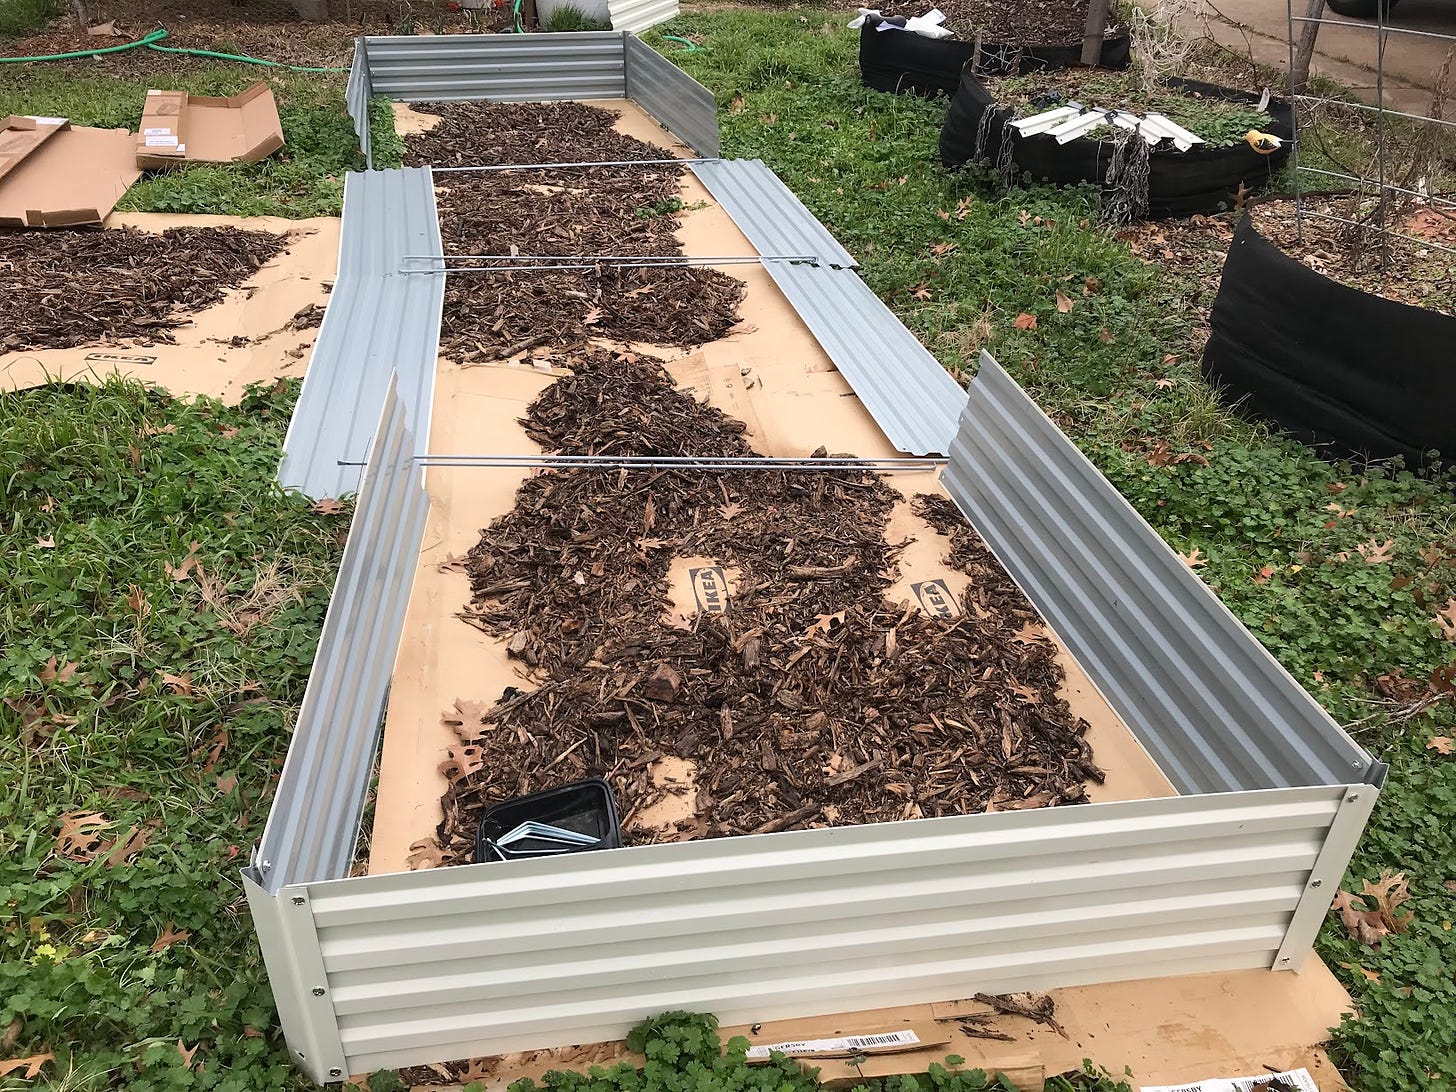
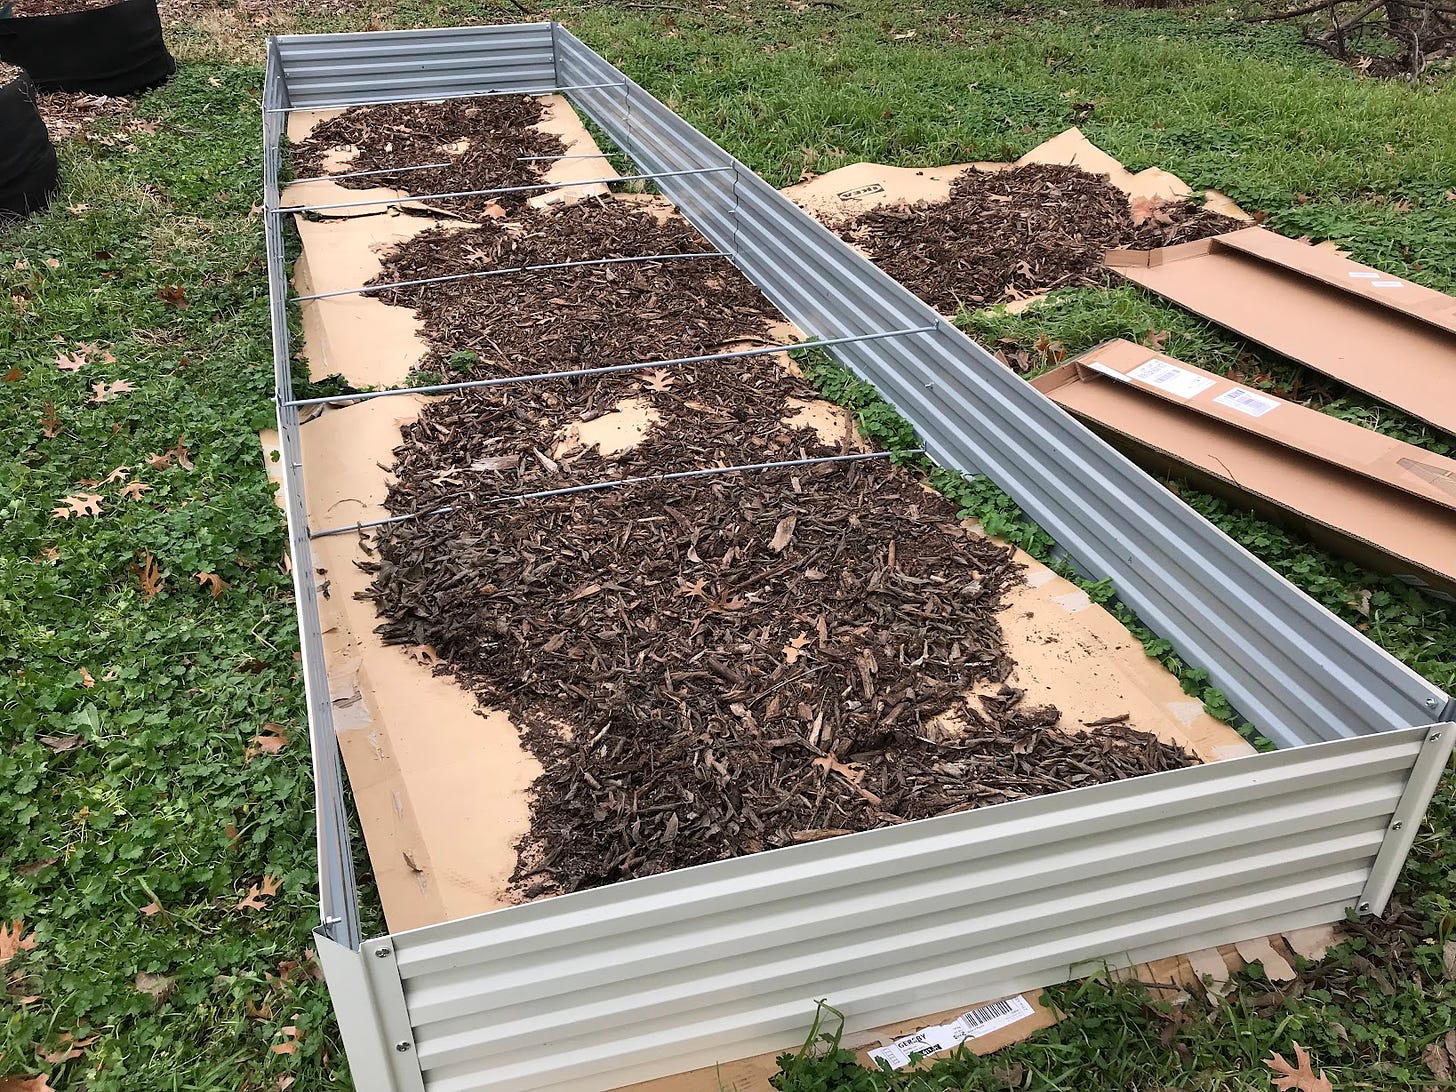
I combined them by omitting the end pieces of the 8’ bed, putting the side panels together there as you do in the middle of the bed when assembling by the directions. The internal ties which prevent the walls of the bed from bowing outward are supplied as three for each bed, I assembled with two in each of the three splices on the wall. This is why the beds wanted to move – not as much cross-braced rigidity. As this is easily resolved by staking internally or externally I don’t think it will be an issue. There is no wall bulge from using two ties on a foot tall bed. I would not recommend doing this with a taller bed, by the way, you have a lot more lateral pressure when it rises much further from the ground.
You will wind up with a third, 4x4’ bed as well, which will not need any internal bracing. There are more than enough nuts and bolts to make this up included in the kits.
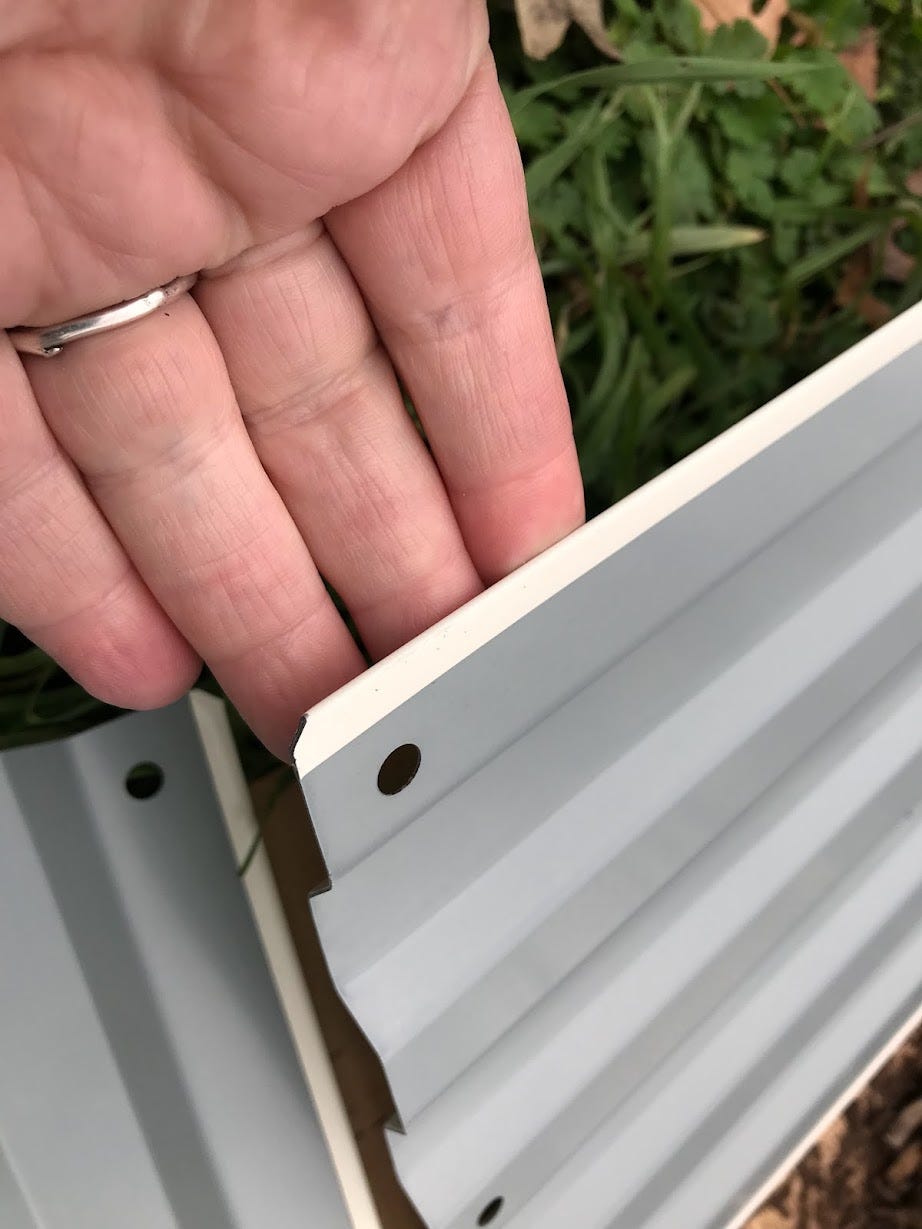
The beds themselves are a coated metal, and the edges are rolled, so there isn’t an additional plastic strip needed to protect your hands once they are built. There are sharp edges during the building process, and the kits provide cotton gloves to be worn to protect you while you put the beds together. Tools aren’t necessary, but a cordless screwdriver to tighten everything down following hand assembly is a good idea. Note that you do not want to overtighten this, as you will scratch the finish and make points where rust can start.
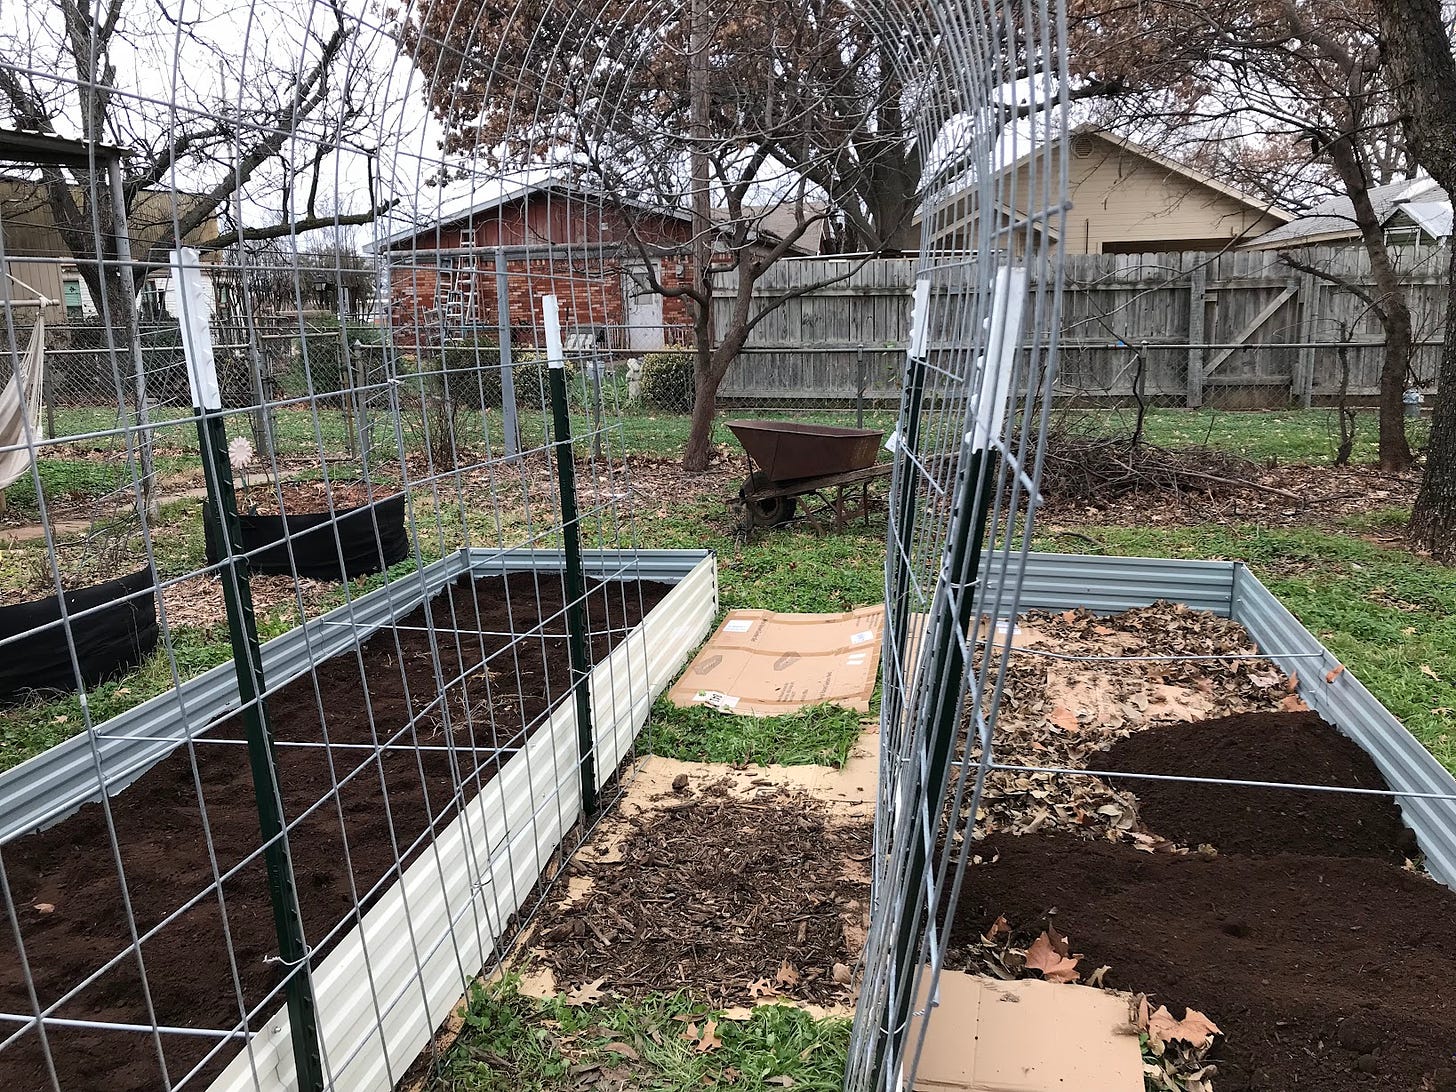
The trellis is completely optional. I wanted it to be able to grow vertical as I have a very small garden space. I also wanted the trellis to be very sturdy so I can grow melons, cucumbers, and other heavy-bearing vines from them. You can absolutely get similar results with other materials. We drove the t-posts into the ground with a sledge, then working as a team, anchored one end of the cattle panel against a post, while pushing it up into the arch as we brought the other end up to the far post, over it, then down and into position. The panel will be pushing against the posts, keeping it securely in place, but we also used the metal zip ties to fasten the panel to the posts, to the second panel as we put them up side-by-side, and to the beds internal cross-bracing. They aren’t going anywhere!
I plan to fill the path between the beds (which is wide enough for my wheelbarrow) with mulch, so I will layer it with cardboard and then put that down. I didn’t have room in my tiny backyard to space the beds wider apart, to allow for the lawn mower to run down this space, but you can and likely should do that.
The screened compost is something available locally to me, from the city landfill, but I paid for the convenience of having a local nursery bring it to me. Well worth the cost not to have to make many trips with my truck. Plus, although this wasn’t planned, my son was able to come in as I built the beds, and work with me for a single day, filling the two big beds for me. It would have taken me weeks!
I lay down layers of cardboard under the beds before filling. As these are short beds, I didn’t do my usual modified Hugelkultur to start off, filling with logs and other yard debris. I did put in a thin layer of last year’s leaves, for a little added organic material. I will also be inoculating the compost by mixing in some of my own soil from the gardens in place, mostly what’s been displaced by planting trees.
As you are filling the beds, level off the first third or so of the fill, then get in and carefully walk all over it, compacting it well. Continue to fill with loose soil. This gives be beds a good foundation, and prevents excessive settling. You will have settling, but here in Texas I need to allow room for drip irrigation lines, and a couple of inches of mulch once plants are in. Raised beds will run warmer than the ground soil, which is why I got the light-colored beds, put them in partial to full shade, and will be mulching the garden. Anywhere else I have gardened I wouldn’t want shade for the garden, but here, it’s a necessity and if you don’t have it, plan to build a shade structure.
Oh, and the naproxen? Yeah, you’ll need that when you try to keep up with your eighteen-year-old son who works as a welder and is a machine with the wheelbarrow. Ow…
Next project? Running drip irrigation to all the garden beds and the fruit trees in the front yard. But that is a few weeks down the road.


I’ve considered doing a table garden for my wife (not me, I am way too ADHD to be trusted with plants). Biggest issue I worry about with it is having all the soil wash away through the cracks.
Yes I could buy a kit, but for me it’s more about the designing and building process than the finished product.
Nicely done, Cedar!
Thank you for the info and the step-by-step! I'm not sure I'll be doing raised beds this year. I'm doing a table herb garden to start and I want to get a fruit tree or two and a bougainvillea to climb the pergola.