Self-Portrait with Flowers: Tutorial
I've been very, very busy recently, as you may have noticed. Also, I wrapped up the AstroLizards illustrations in time for TulKon at the end of the last month. You should get yourself a copy, and maybe one for a friend! In the wake of all those illustrations and handling the stuff of life, I was messing around with art.
Most of my art is done on the iPad these days, my traditional art supplies are packed now, but for a year I haven't had any space to lay out and create with them. That will be changing in the upcoming months as life settles into the new home. In the meantime, when I am very tired (and, frankly, usually flat on my back in bed right before sleep), I will create art on my phone. I regard this as the art on a easy setting, and almost feel guilty using it as my daily art work, but on the other hand I'm human and I'm managing, but also being precious of my rest times.
Which is why I was surprised not only at the positive reactions to my short series of self-portraits with flowers, but my friend Liota asking me for a tutorial on how to make them.
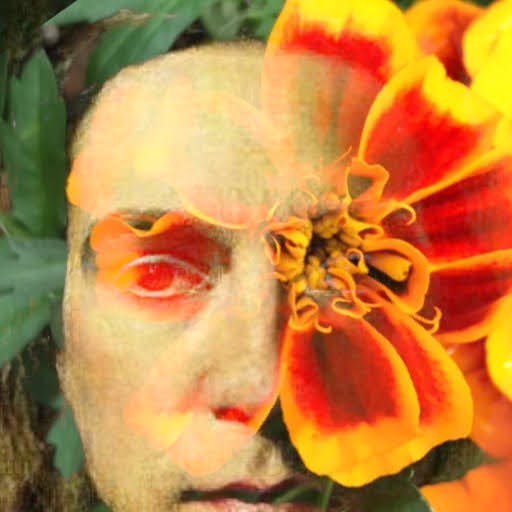
Self-Portrait with Marigold
I have masses and masses of photos of flowers and insects. I have an app on the phone that does interesting things to selfies, so while I rarely take a selfie with the phone, I could use Portrait AI to manipulate one into something that would be useful for an exercise like this. You see, I'm not trying to make these about my face. I'm simply using a face, and mine happened to be handy. There's a reason all those painters did self-portraits, and it wasn't vanity, it was 'I don't want to pay a model' or 'I'm in a hurry and practicing on myself works fine.'
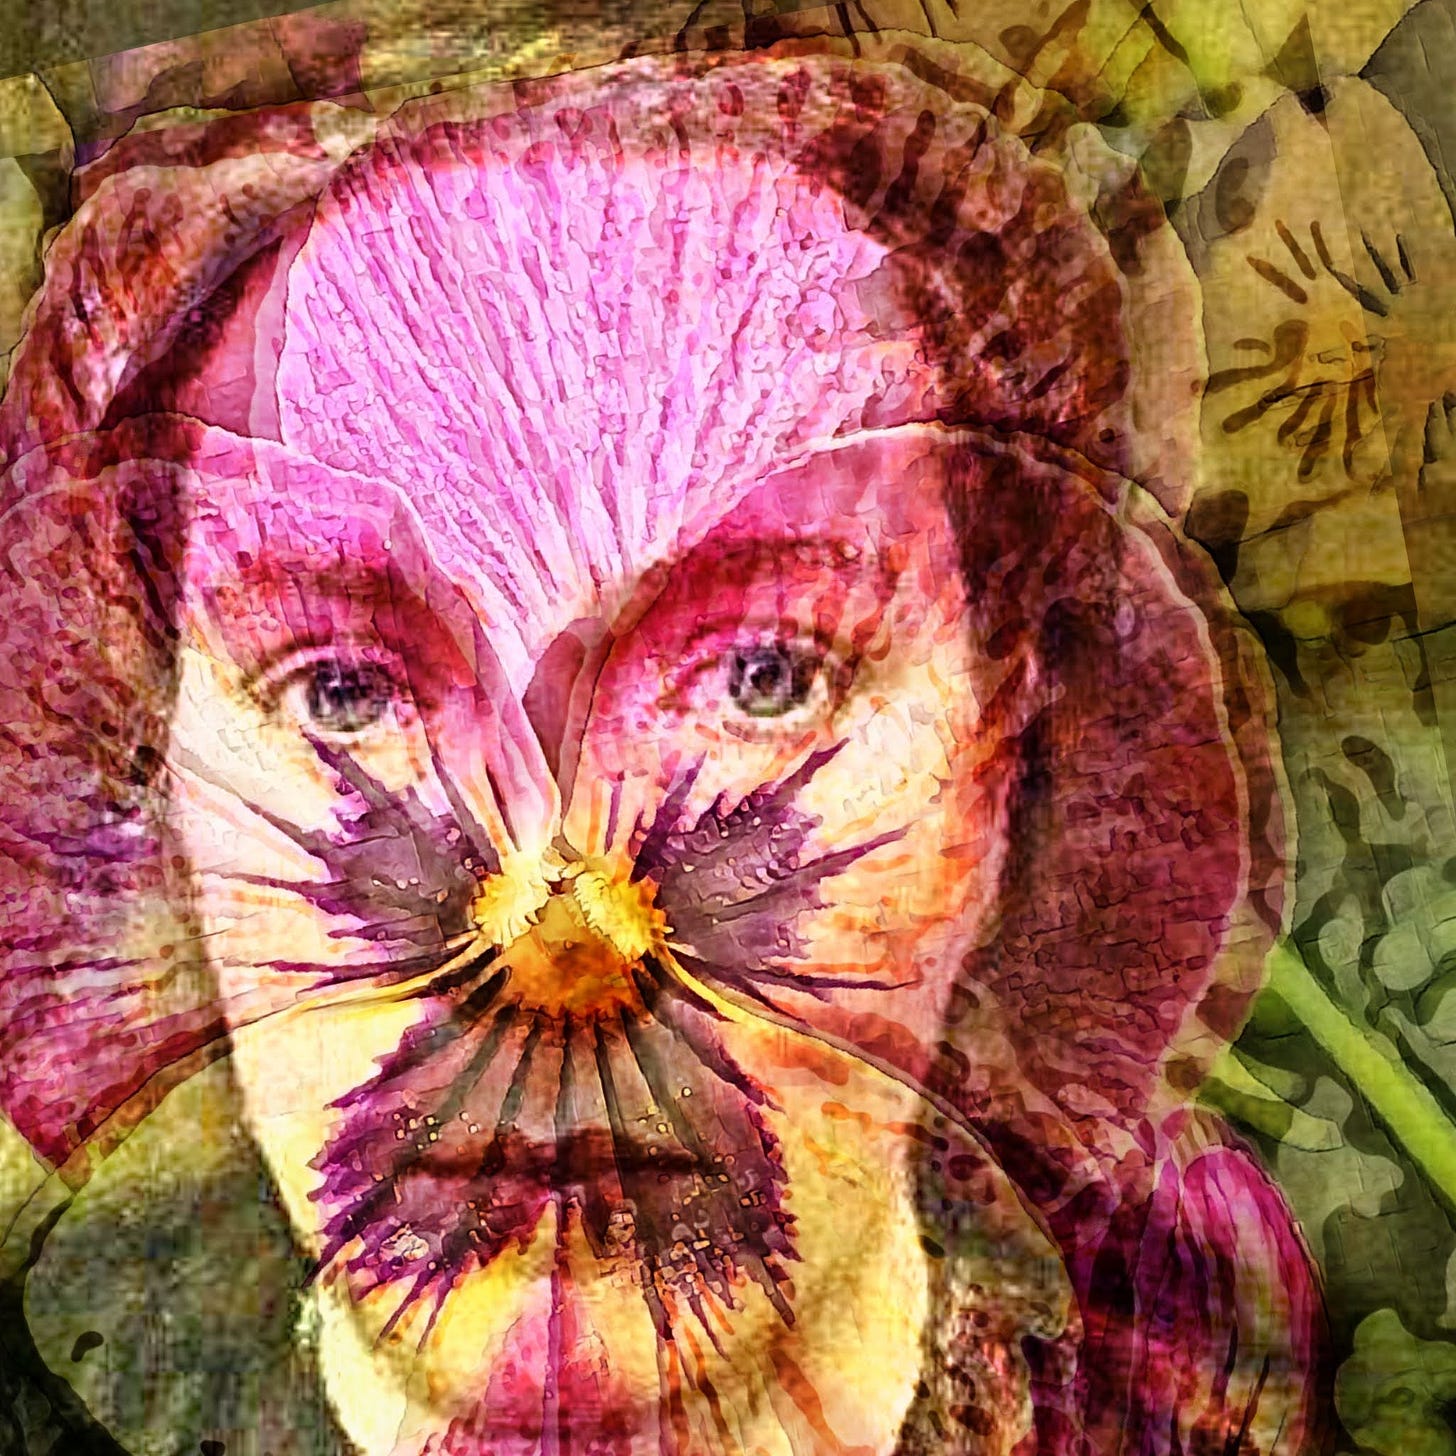
The pansy is my least-favorite of the series
I did these using three apps on my phone: Portrait AI, Deep Art Effects, and Pocket Procreate. You could achieve the same effects with Photoshop or Affinity Photo, using a filter plugin like Filter Forge. The concepts for creating the double exposure remain the same between all the apps and software, as they are based in the arts of developing photographs in a darkroom.
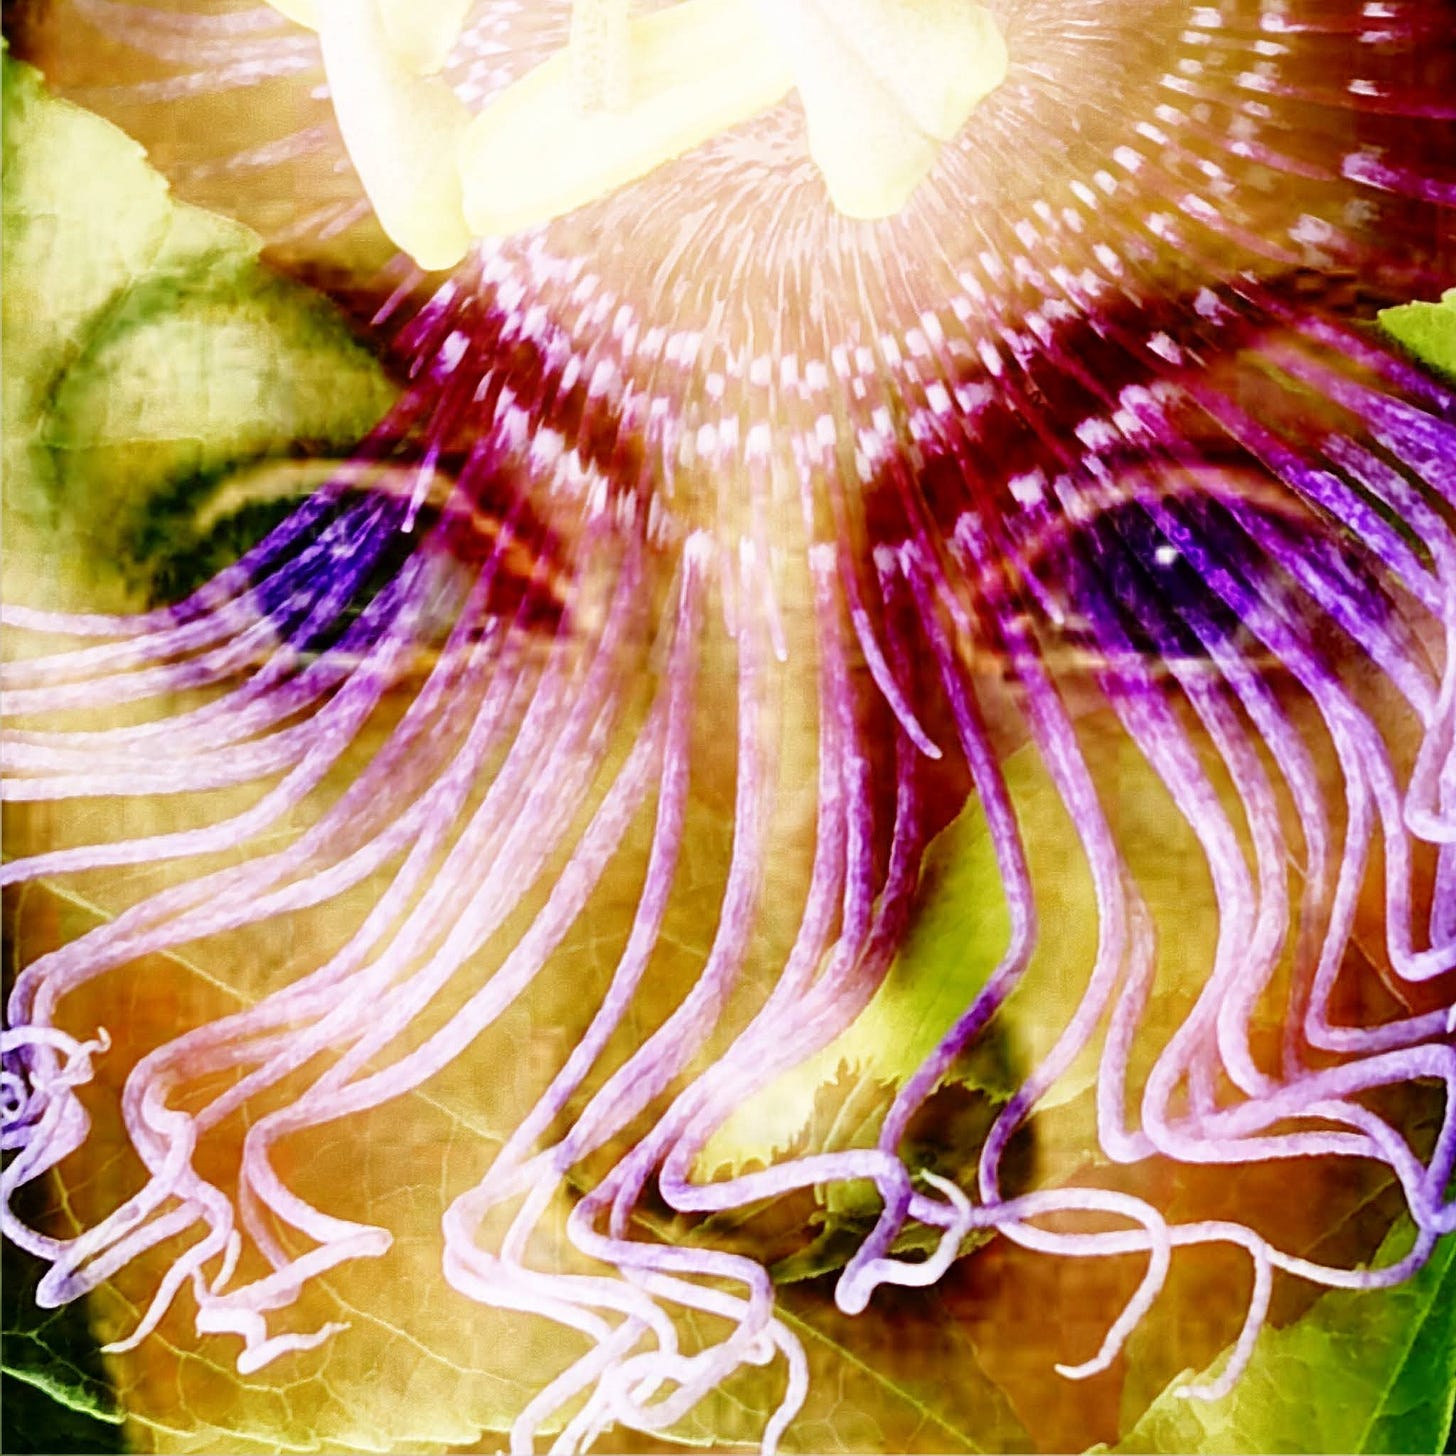
The Passionflower seemed a fun, tentacly choice, and what it did to the eyes was a bonus.
I'll note that if you do use Portrait AI (which I do on the free settings, so it's not high res and it's got a watermark I crop off) the selfie should be sans glasses, and be careful of shadows. It will interpret a shadow as a beard, and I'm mildly amused that I know what I'd look like as a bearded lady. It also has trouble with hair and backgrounds, but that's fine, I wasn't looking at the peripherals for these pieces.
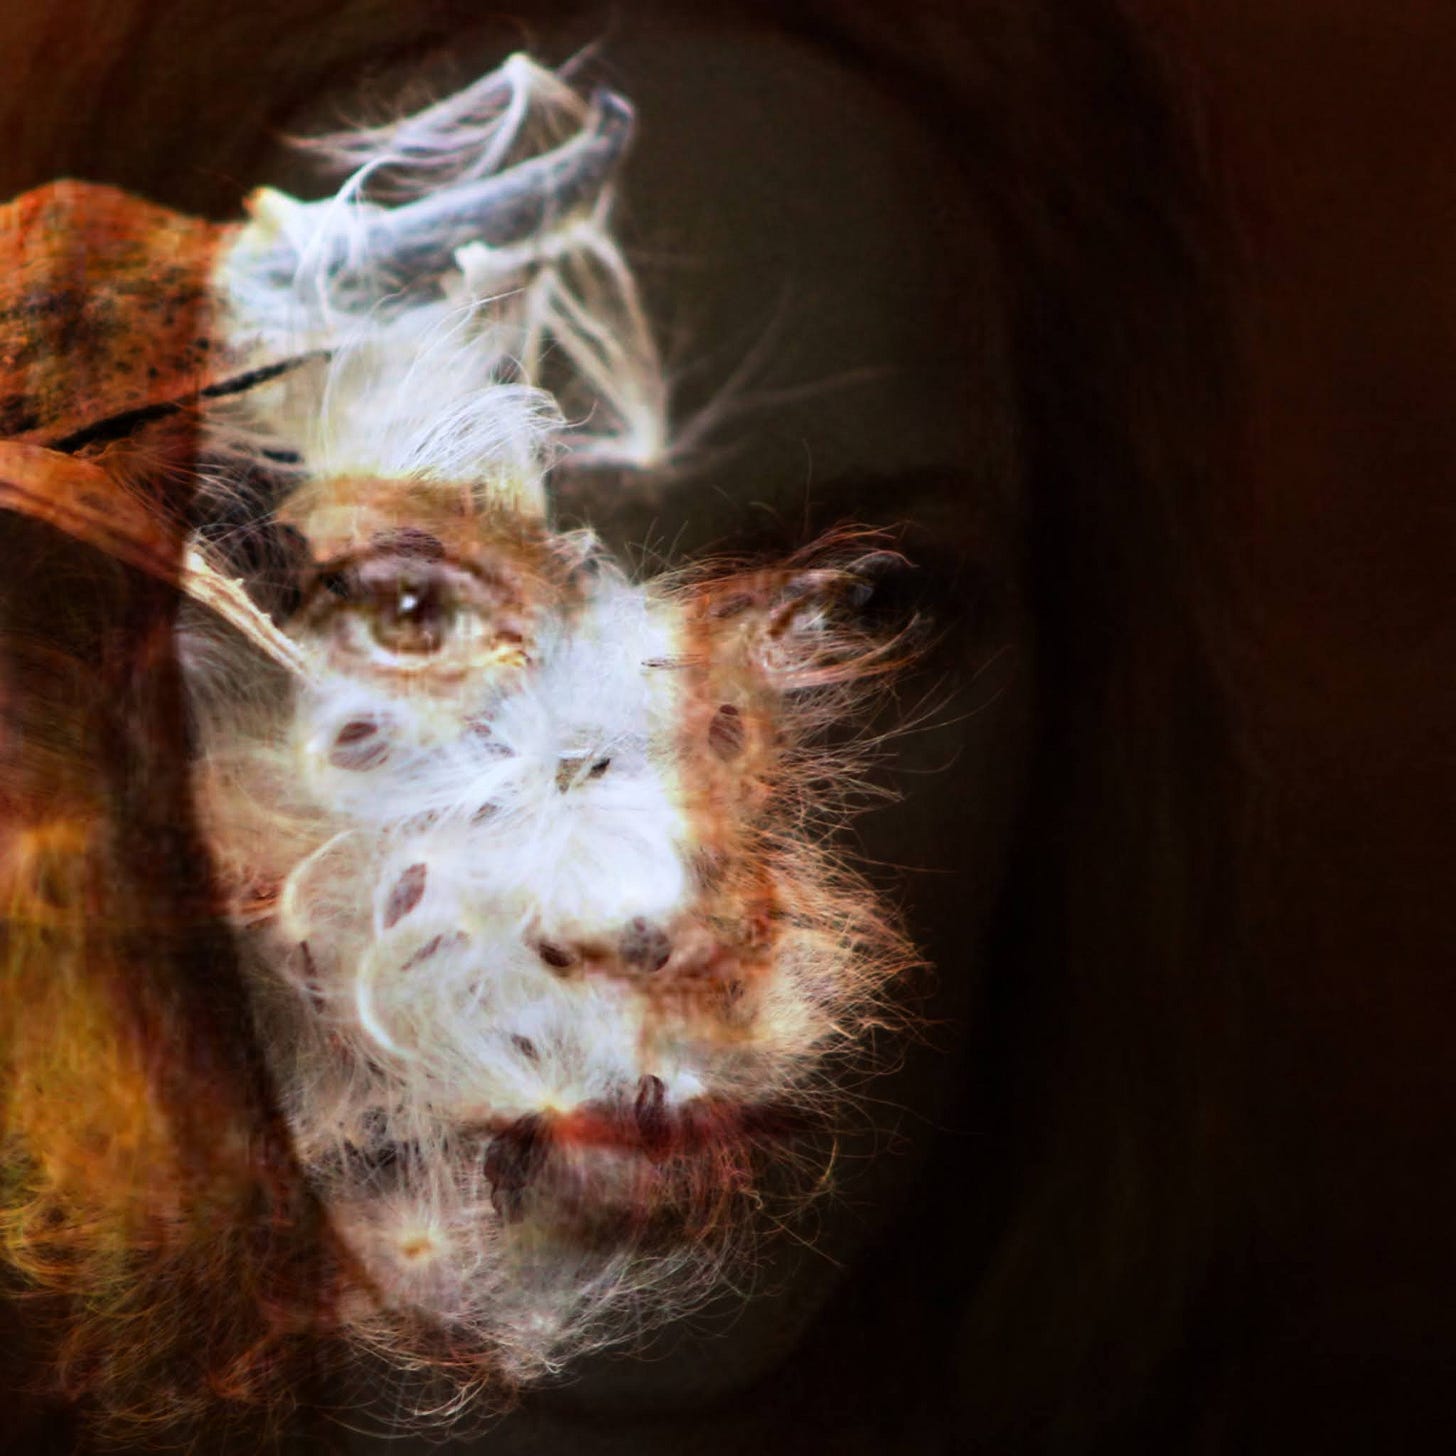
A milkweed seed pod, and I really liked the way it worked for negative space.
The flowers (or seeds, or bugs!) I used I ran through Deep Art Effects. This handy little program I bought a couple of years ago, and you can get a high-res painterly effect with no watermark out of it. I will sometimes use it alone to make a nice piece, as it has 20-30 filters to choose from. It's a fun thing to play with.
With all of these, there's a lot of play involved. It's not as simple as 'filter, layer, and filter again' because you'll want to play with composition, effects, and it can get very interesting indeed to find something you actually like. Patience! And remember, there's no wrong way to make art.
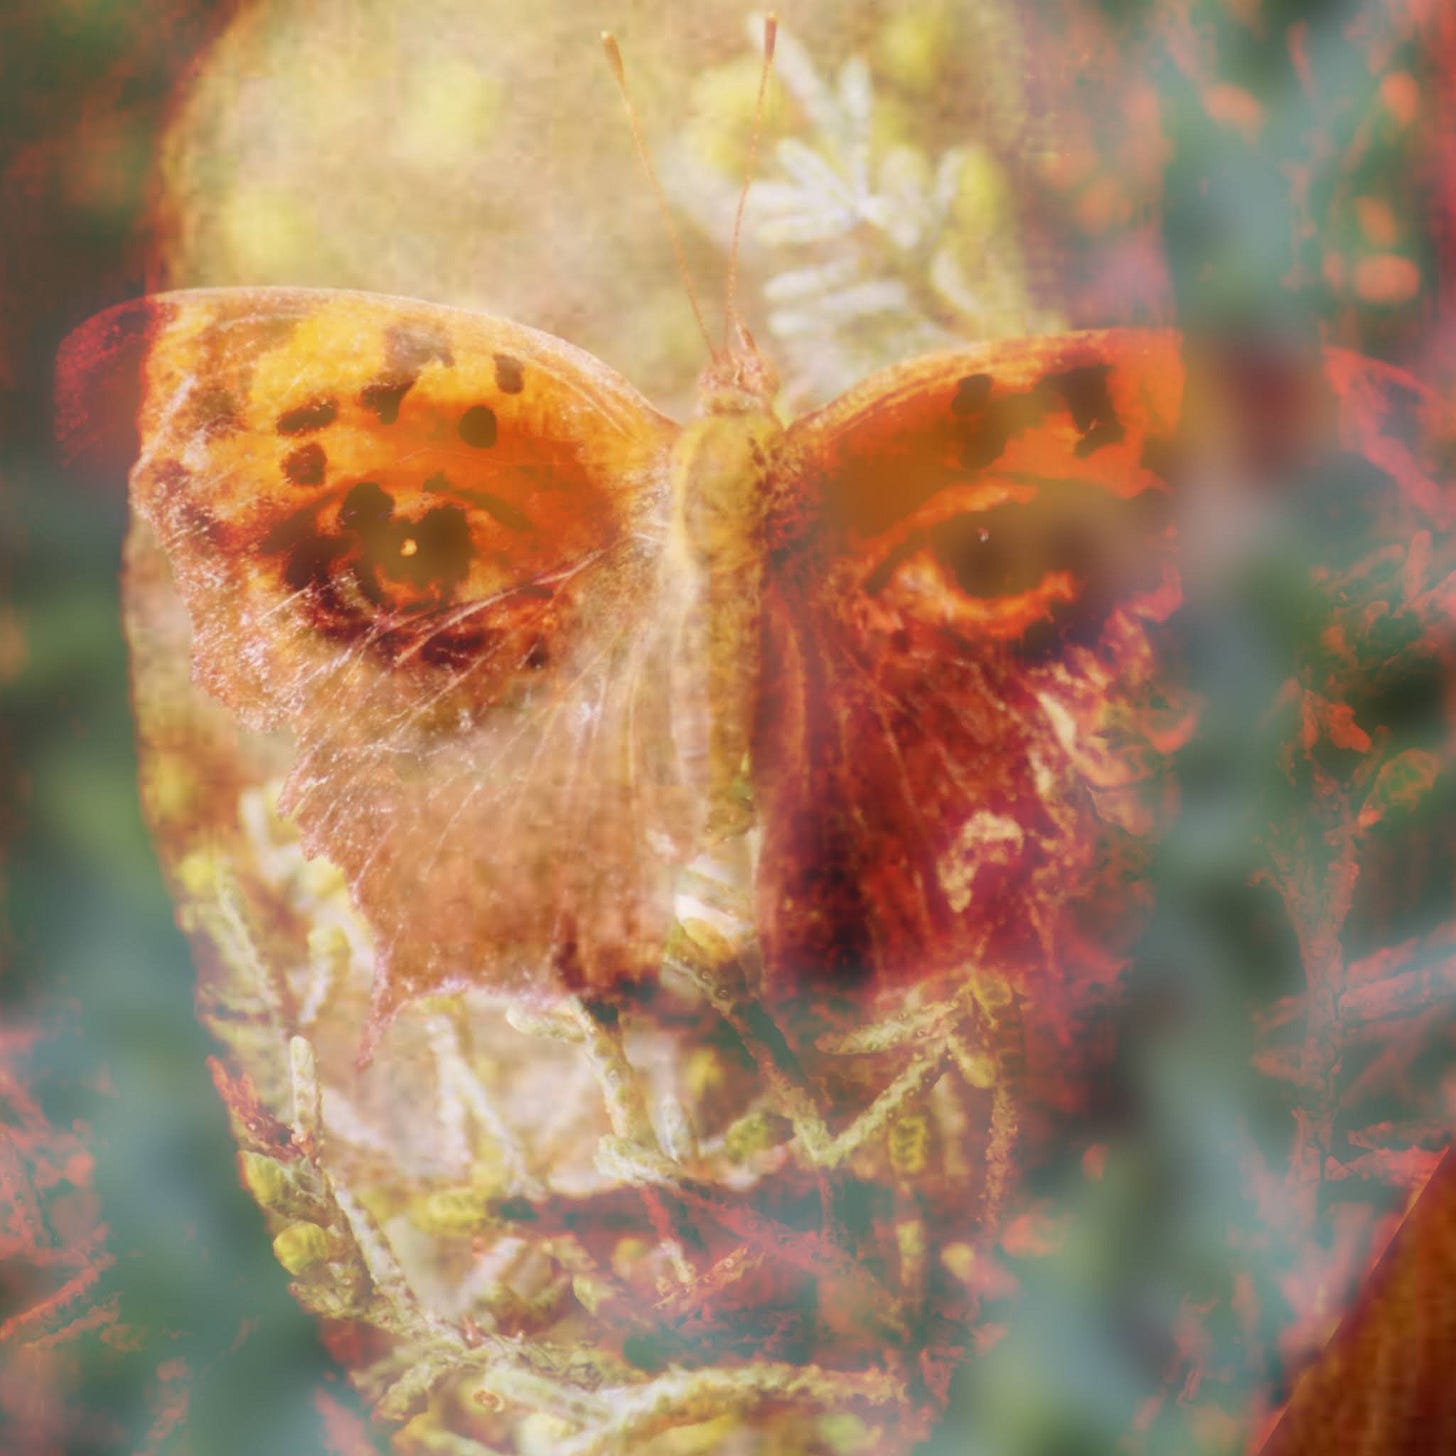
Butterfly Mask is my favorite of the series.
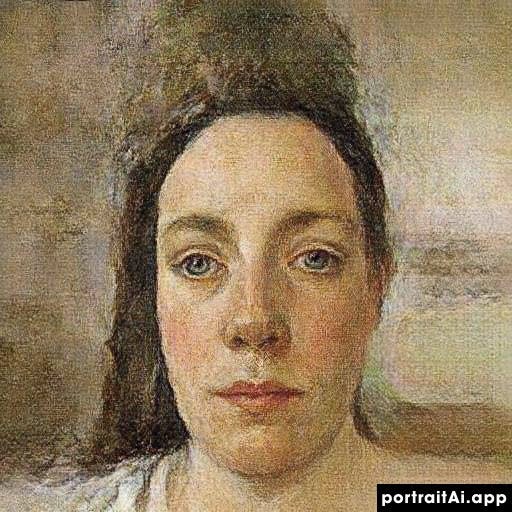
Begin with your filtered selfie. Portrait AI gives me a mapped version of my face, using public domain art, which as you can see looks very much like a painting. I wanted this, rather than photo-realistic, so it looks less like me, and also eliminates my own skin imperfections. Note the mess of the hair, and watermark. Don't worry about the low-res, we'll fix that in the last step.
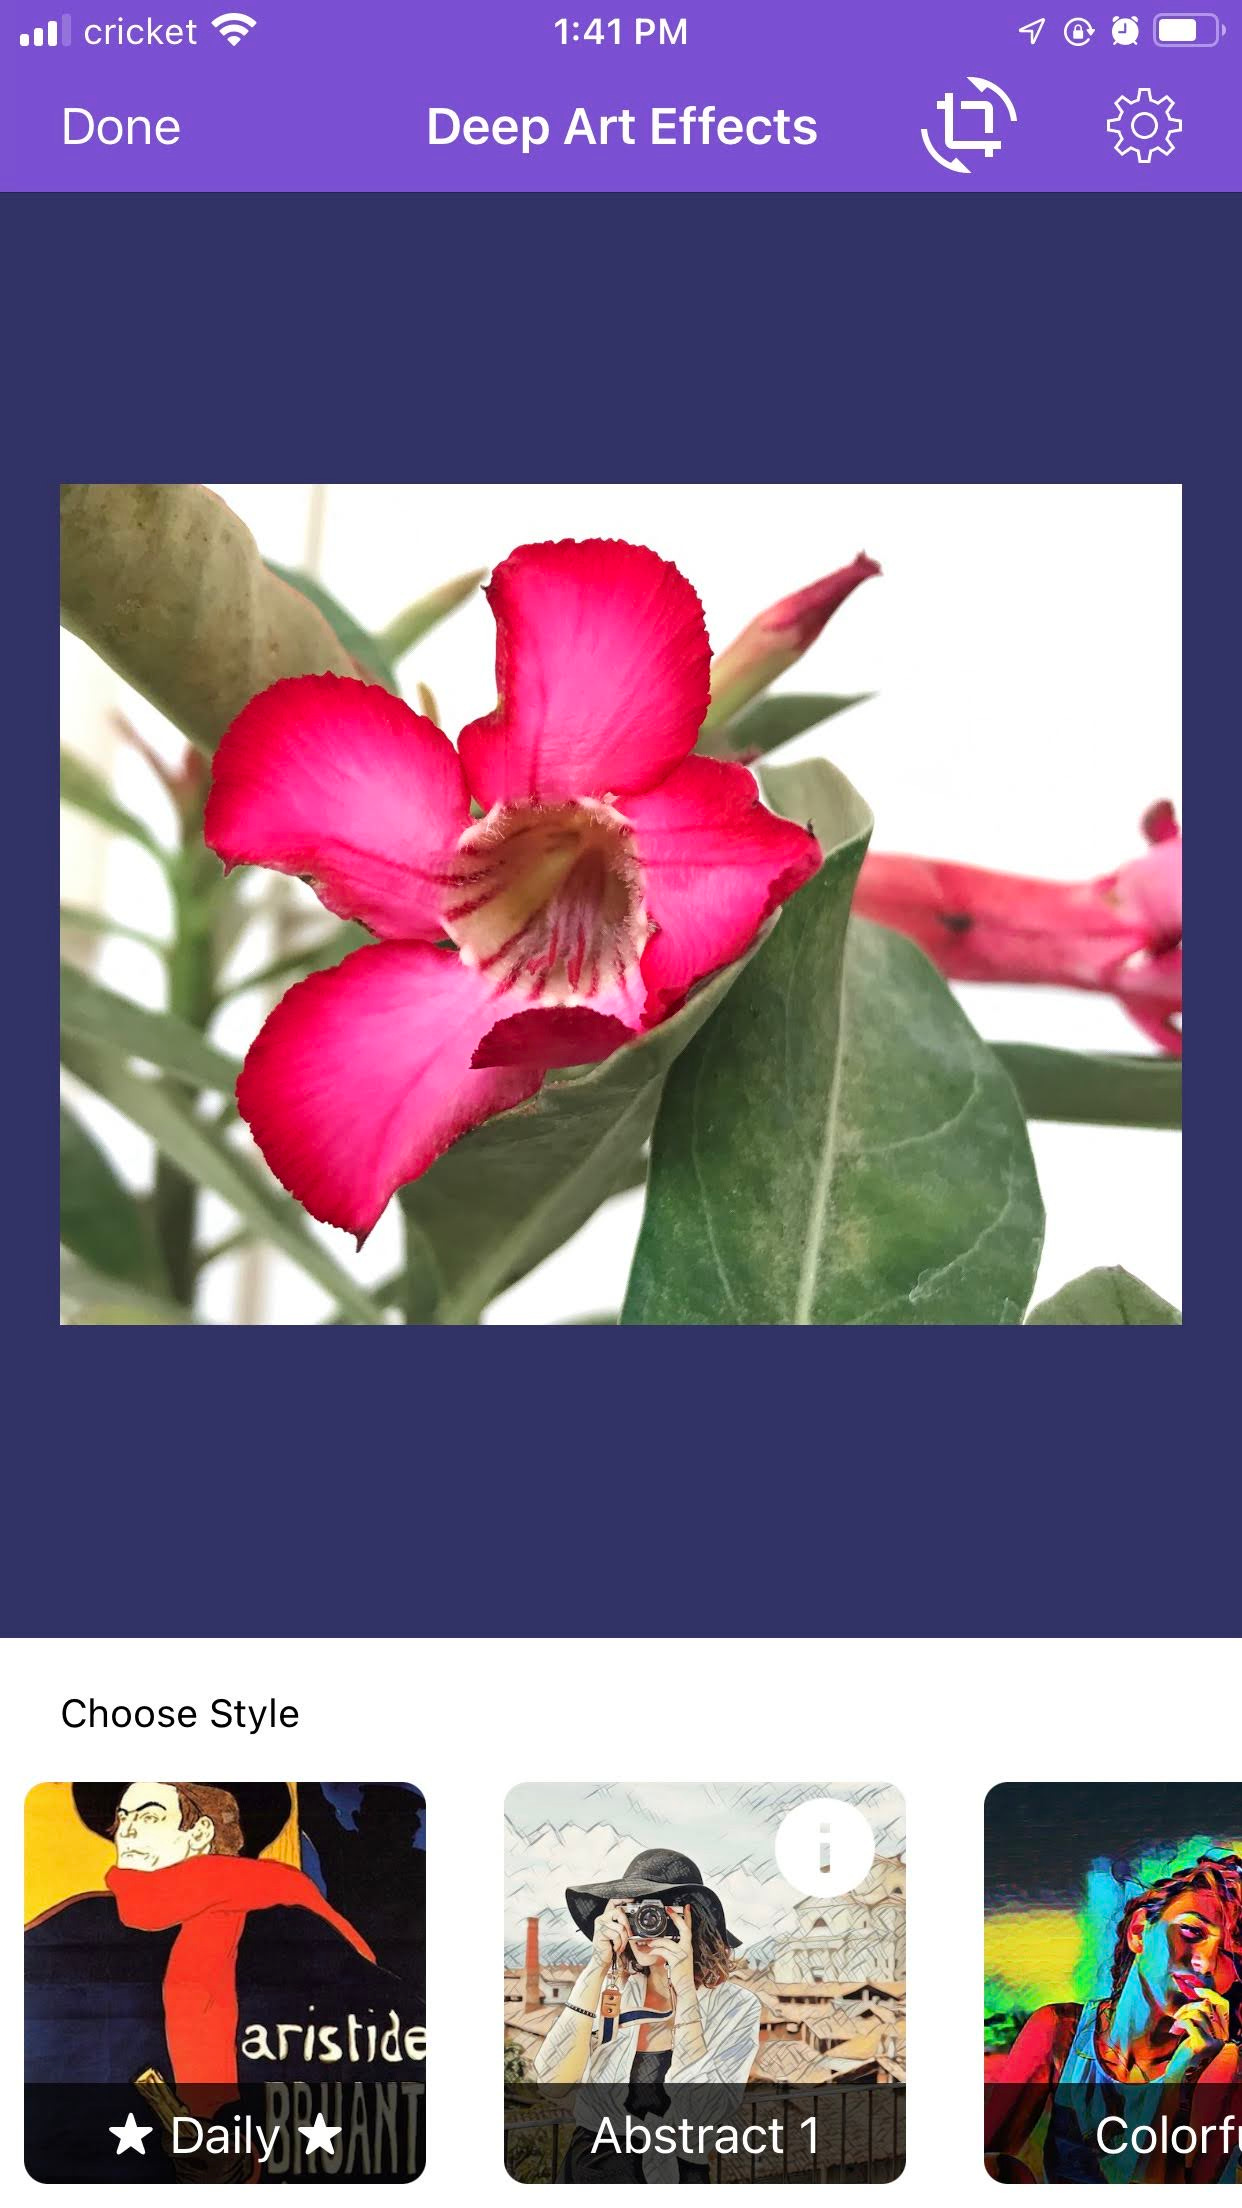
For the exercise, I've opened a photo of a Desert Rose bloom in Deep Art Effects.
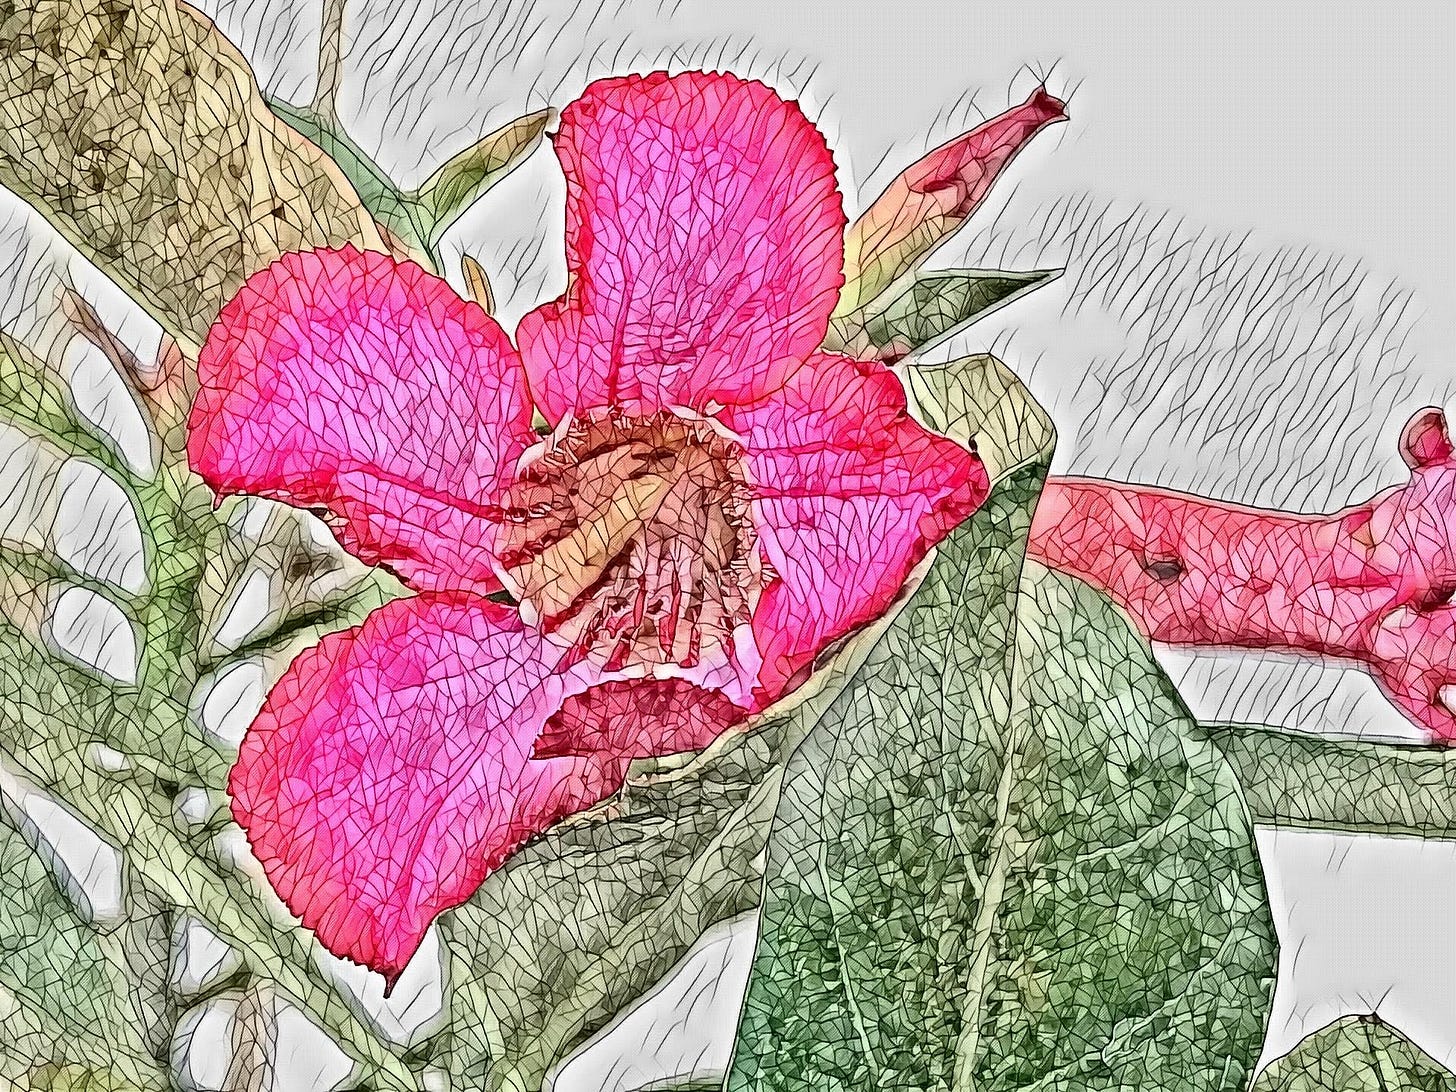
Using a mosaic filter gave me this look.
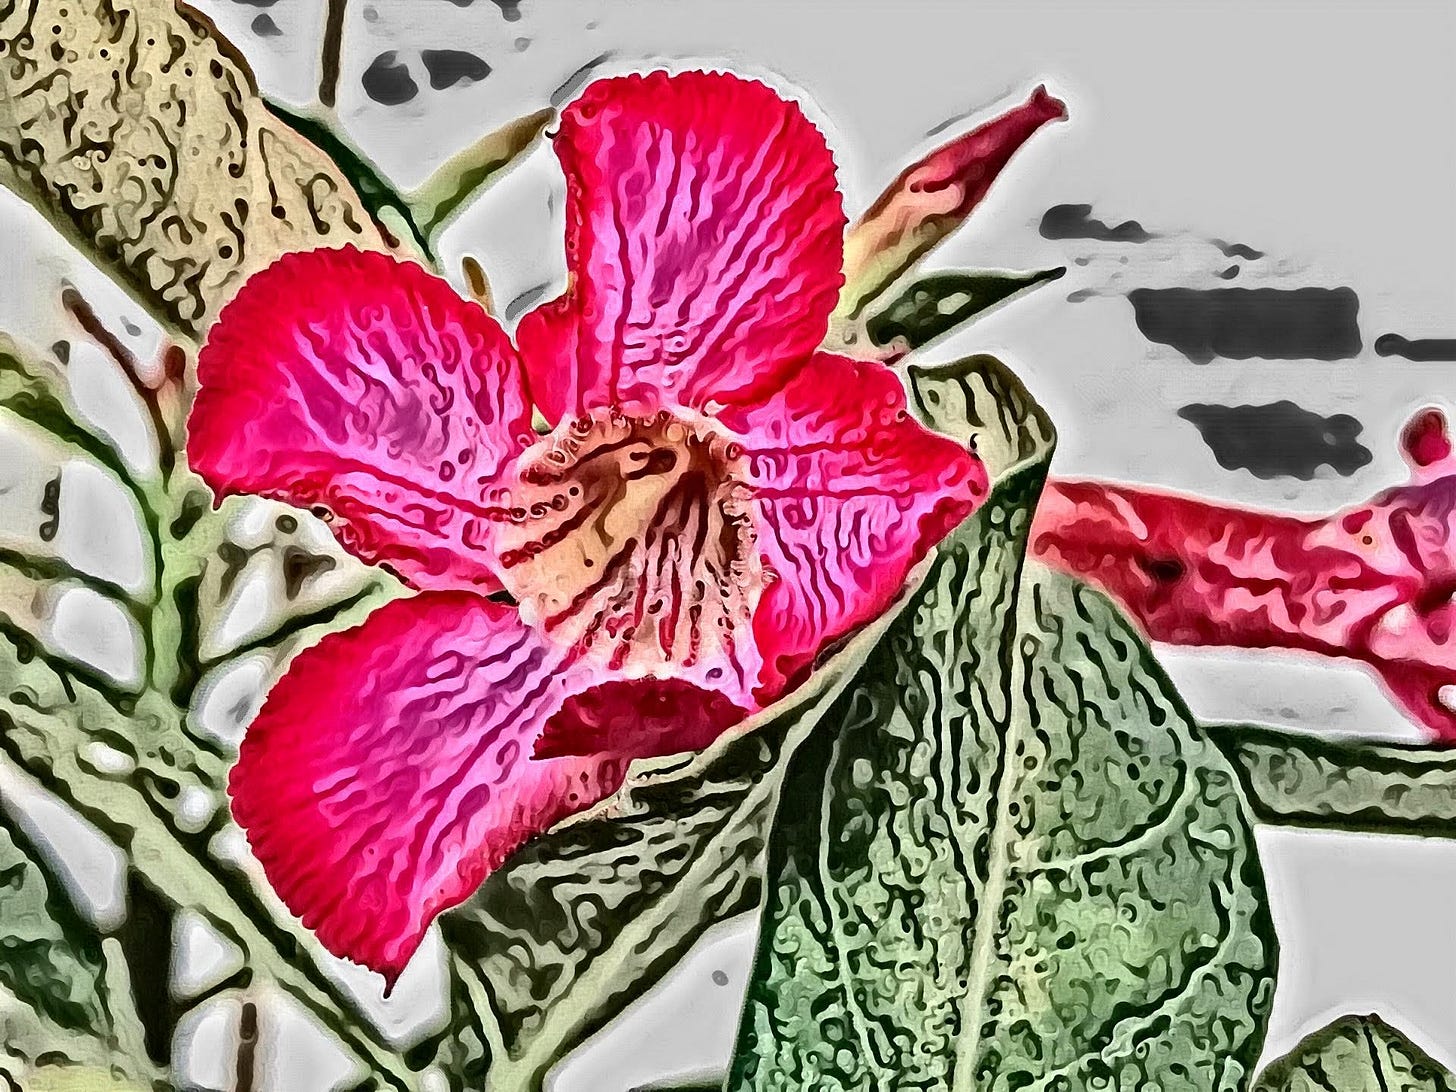
Using the Fantasy filter gave me this, which I used.
At this point I was ready to bring these filtered images, which I'd saved to the photo library, into the Pocket Procreate app and start the double-exposure development.
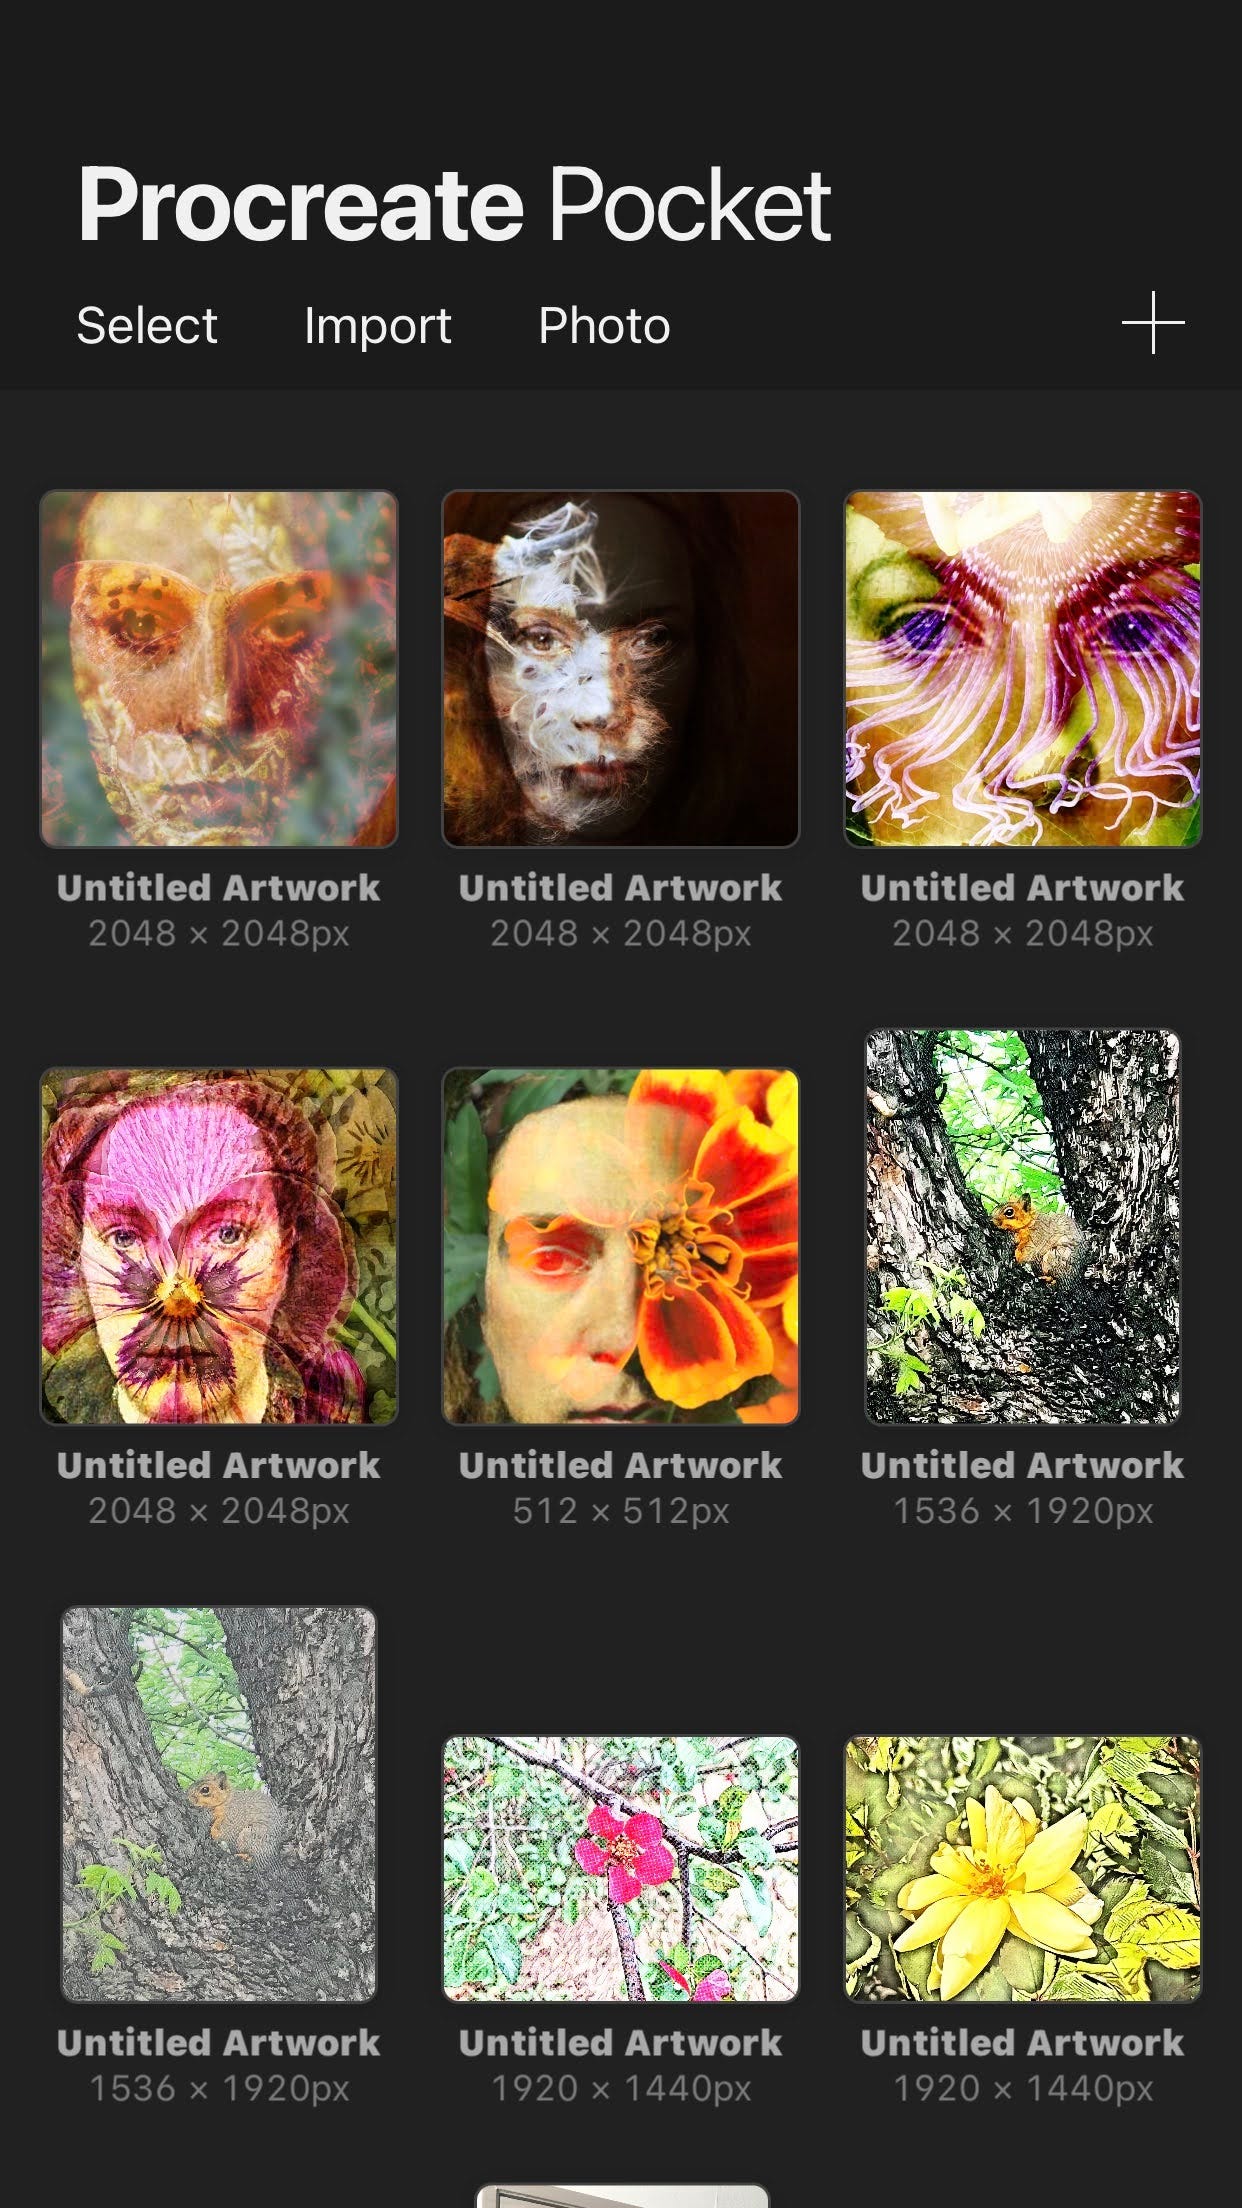
I created a new canvas, using that plus button, and for the purposes of this series I was mostly using 2048 px x2048 px (translated to inches: 6.8 by 6.8", but note I never intend to make prints of these. If I did, I'd have formatted them differently). You don't want to open from photo using the Portrait AI output, that's how I got the tiny 512x512px one.
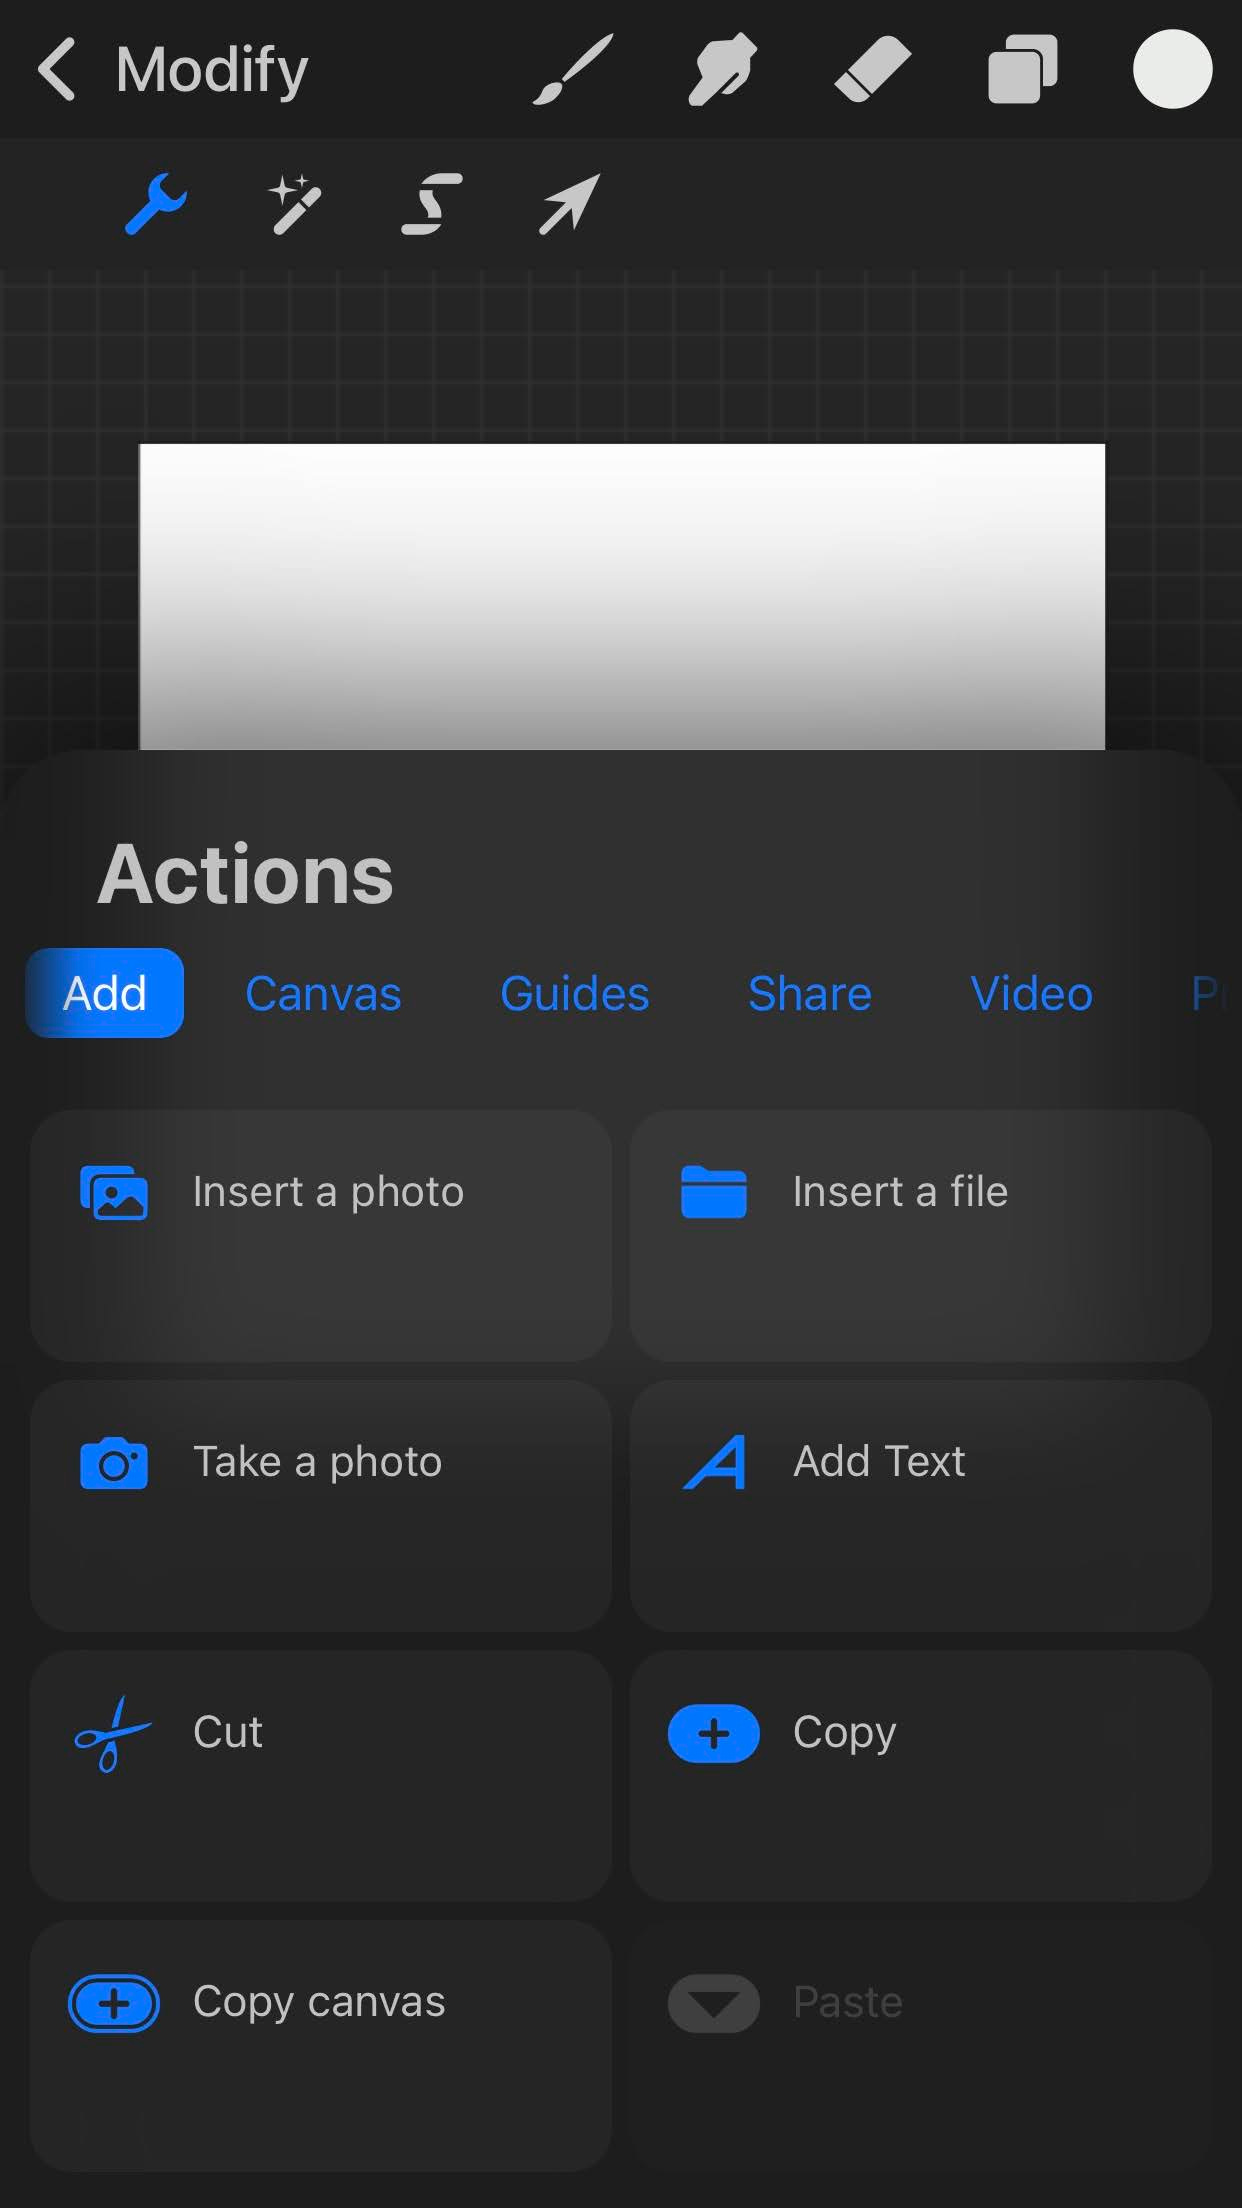
Once you have your canvas, use the menu, and the Add tab, to add a photo from your photo library.
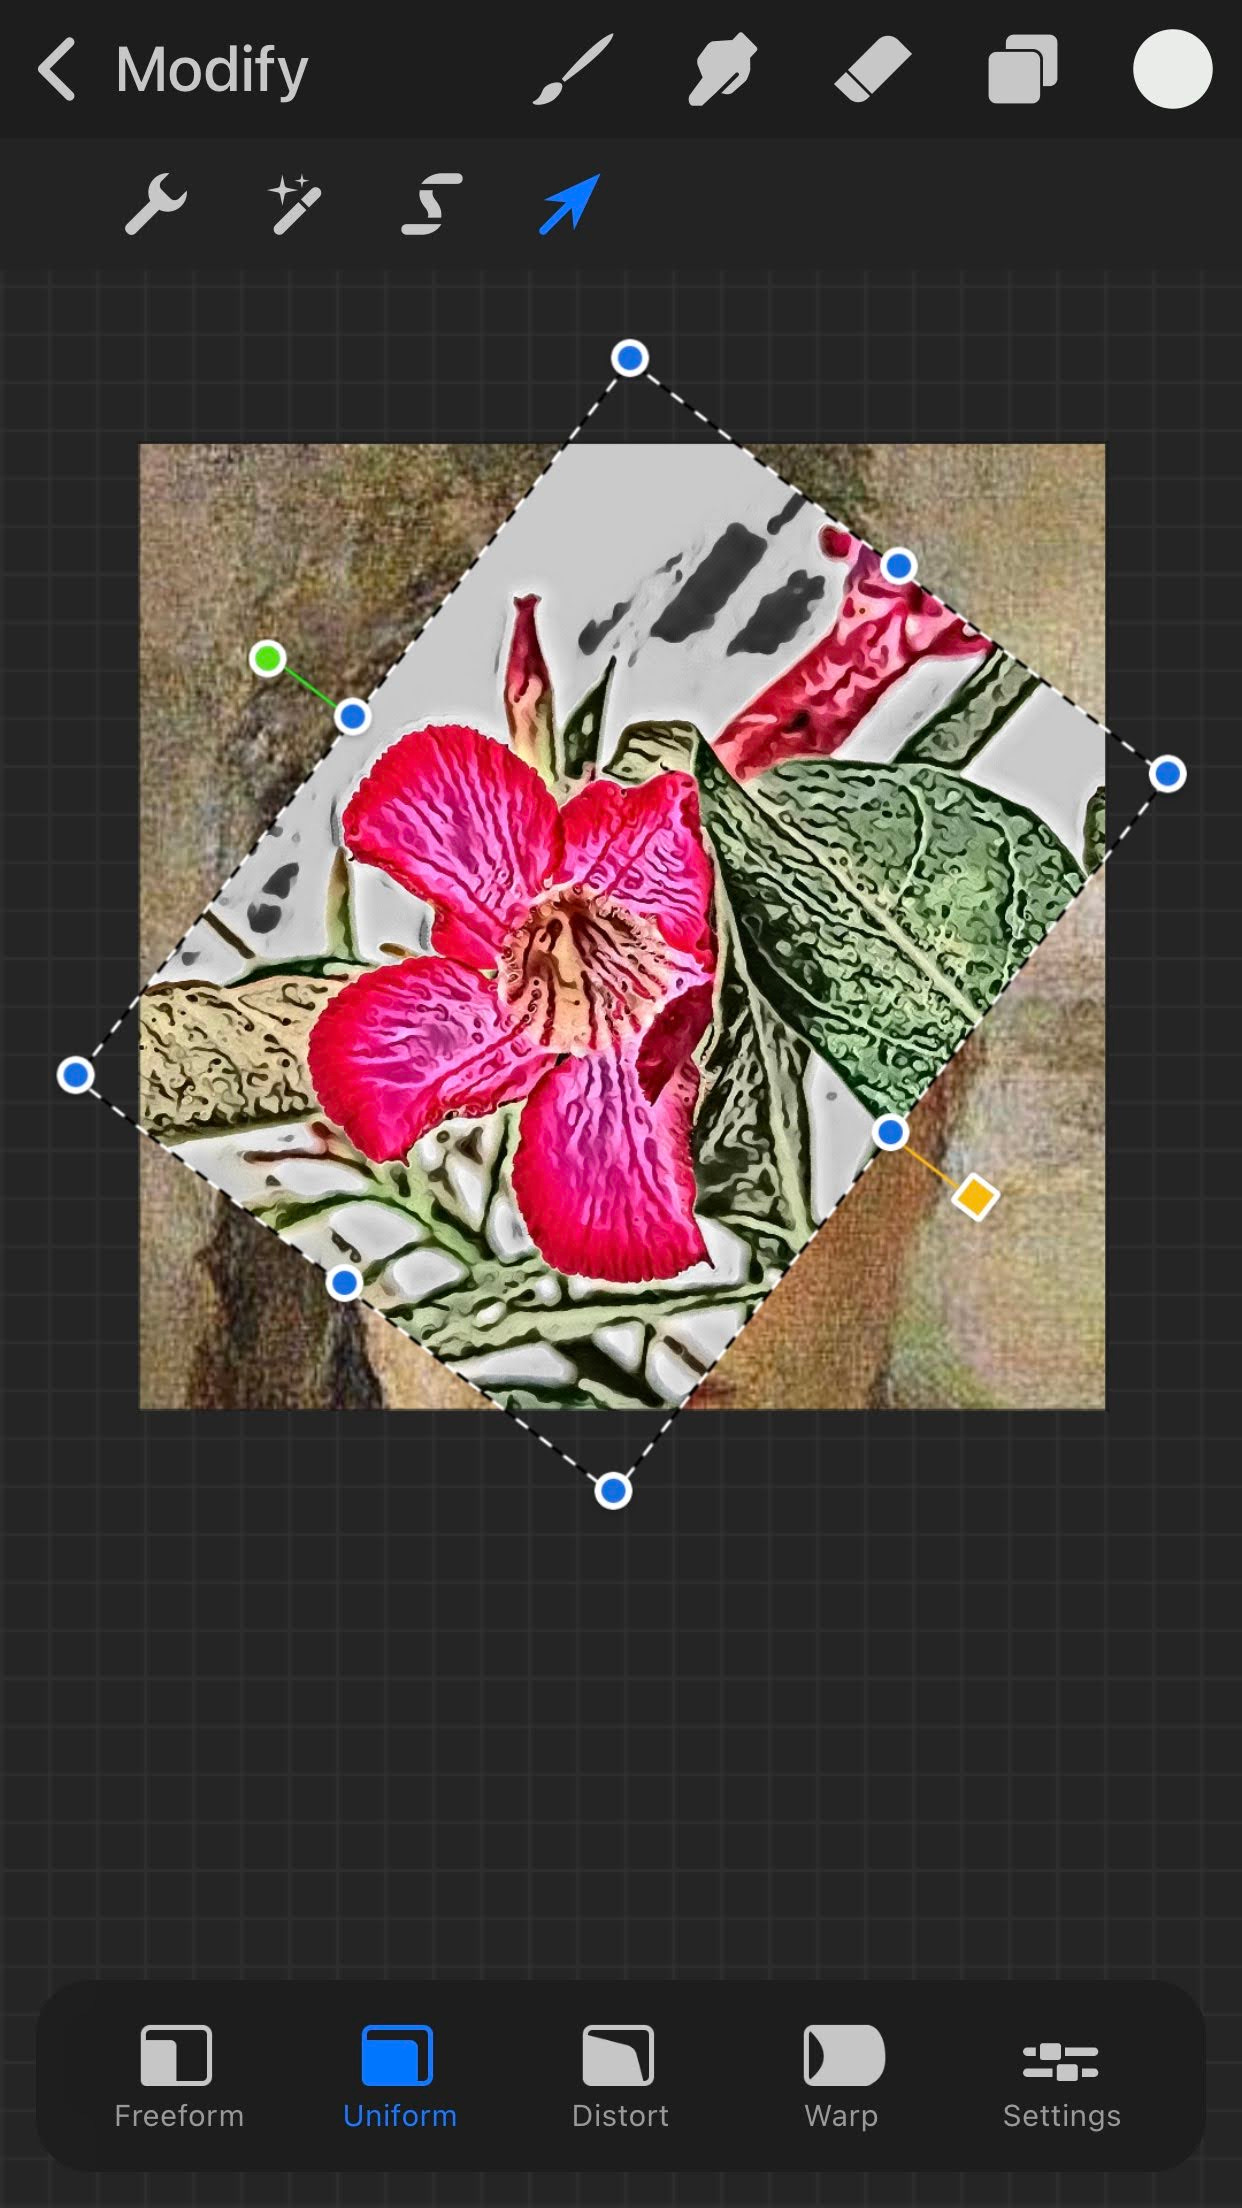
One of the things I don't like about PP is that it will crop anything off the canvas, unlike working in a photo program on the computer. So I have to be cautious about placement until I don't care about losing a chunk of image. I turn, stretch, and reduce opacity on layers so I can see what I'm doing and I'm happy with the composition.
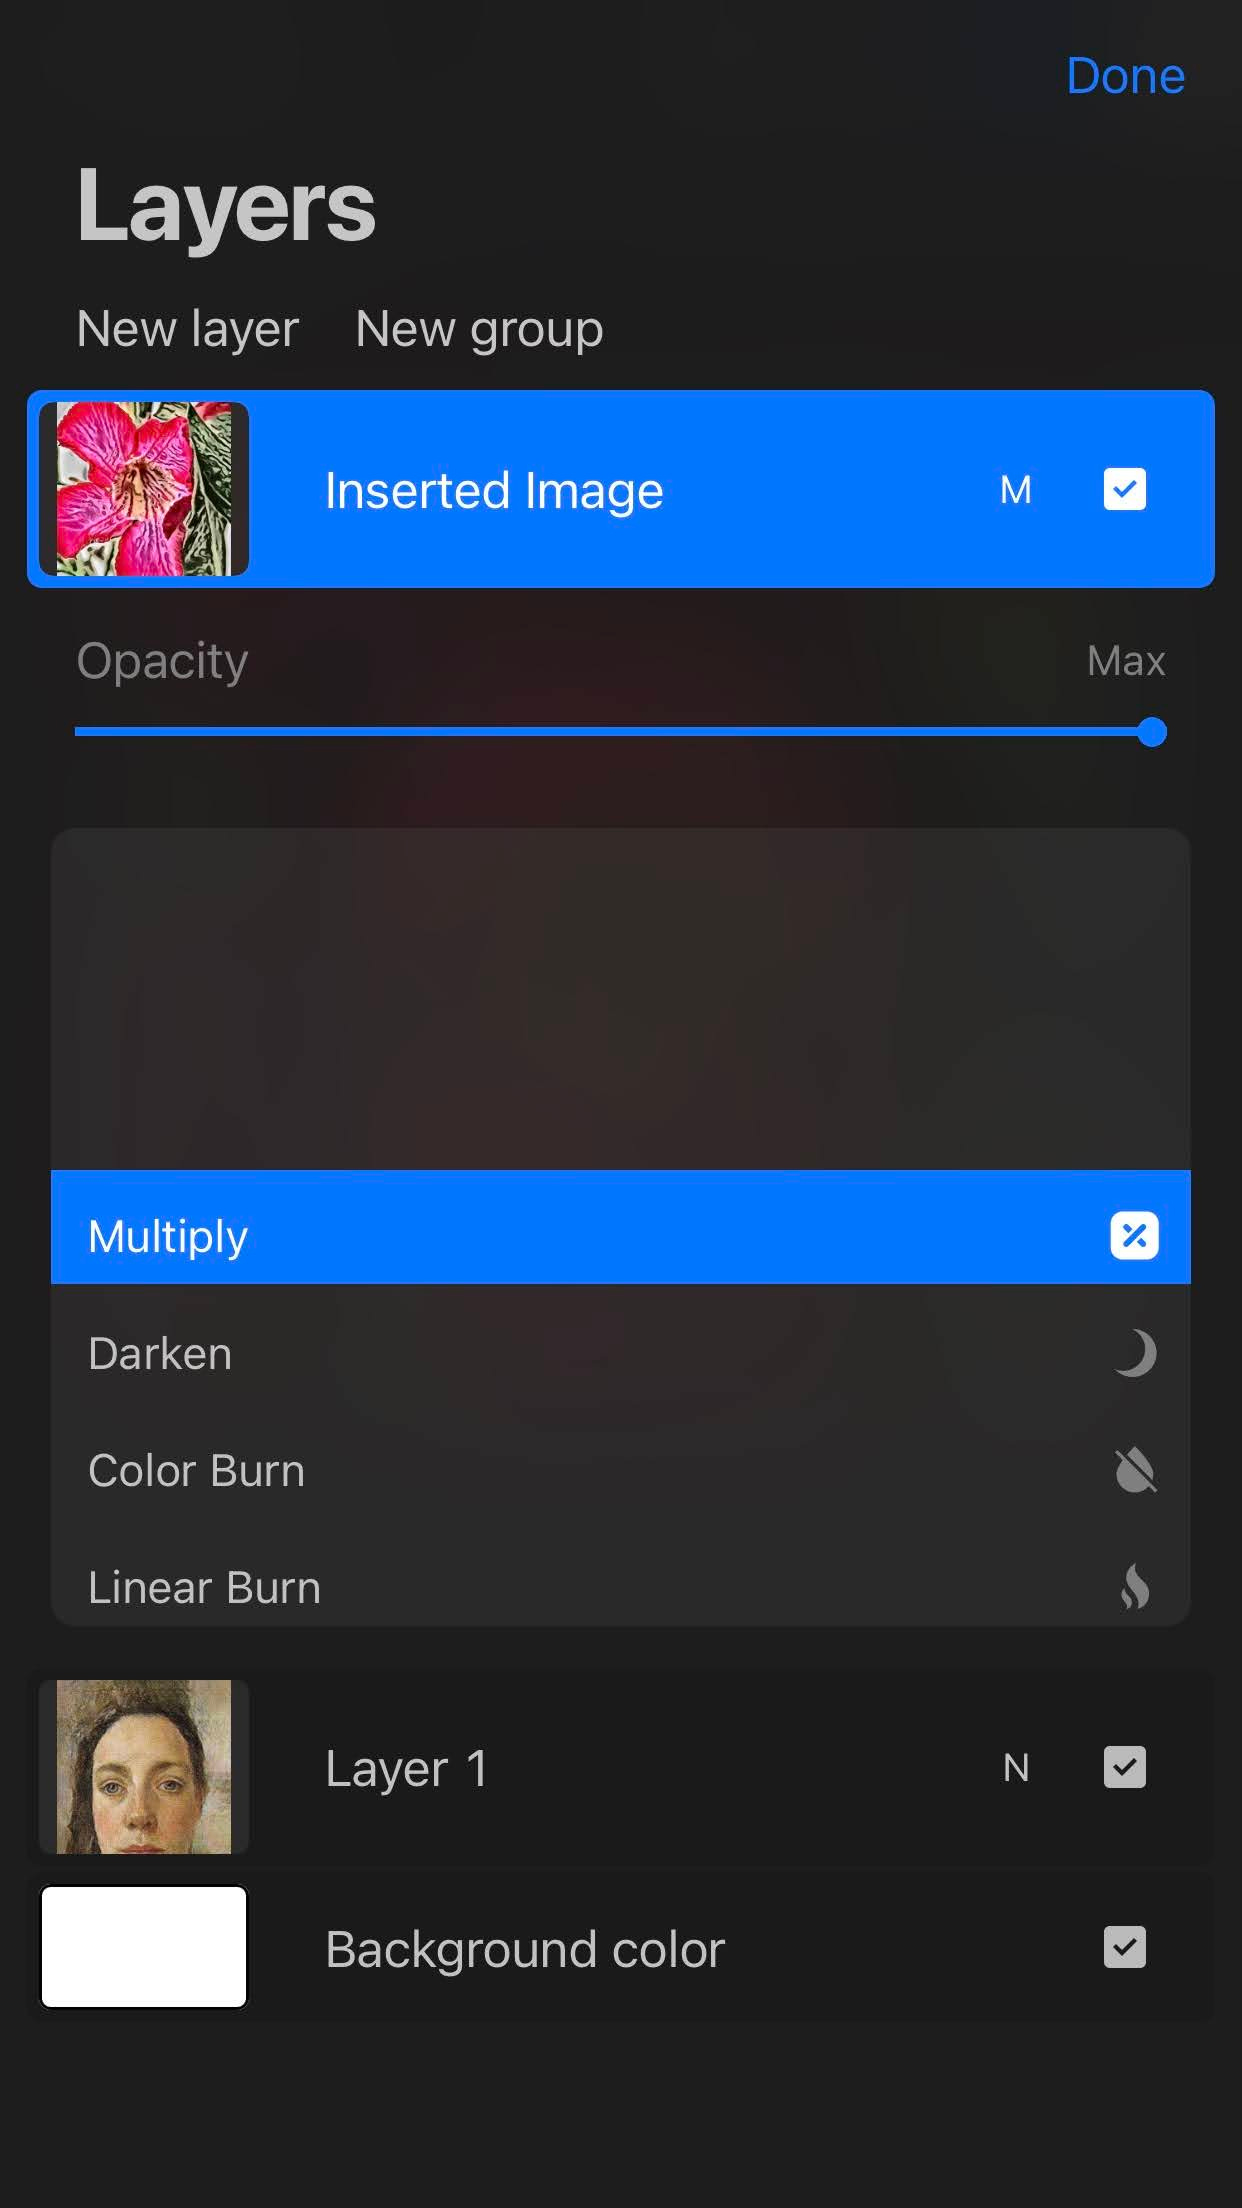
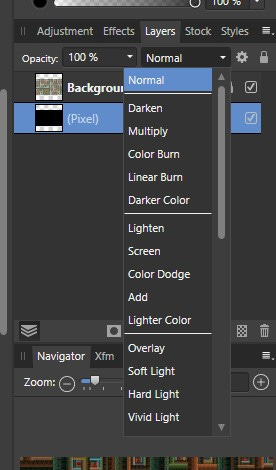
Now, I open the layers tab and select my top layer, and start to see what each setting (multiply, color burn, overlay, screen, etc, etc) does. I usually compose with flower over face, but it can work the other way around, too. Experiment!
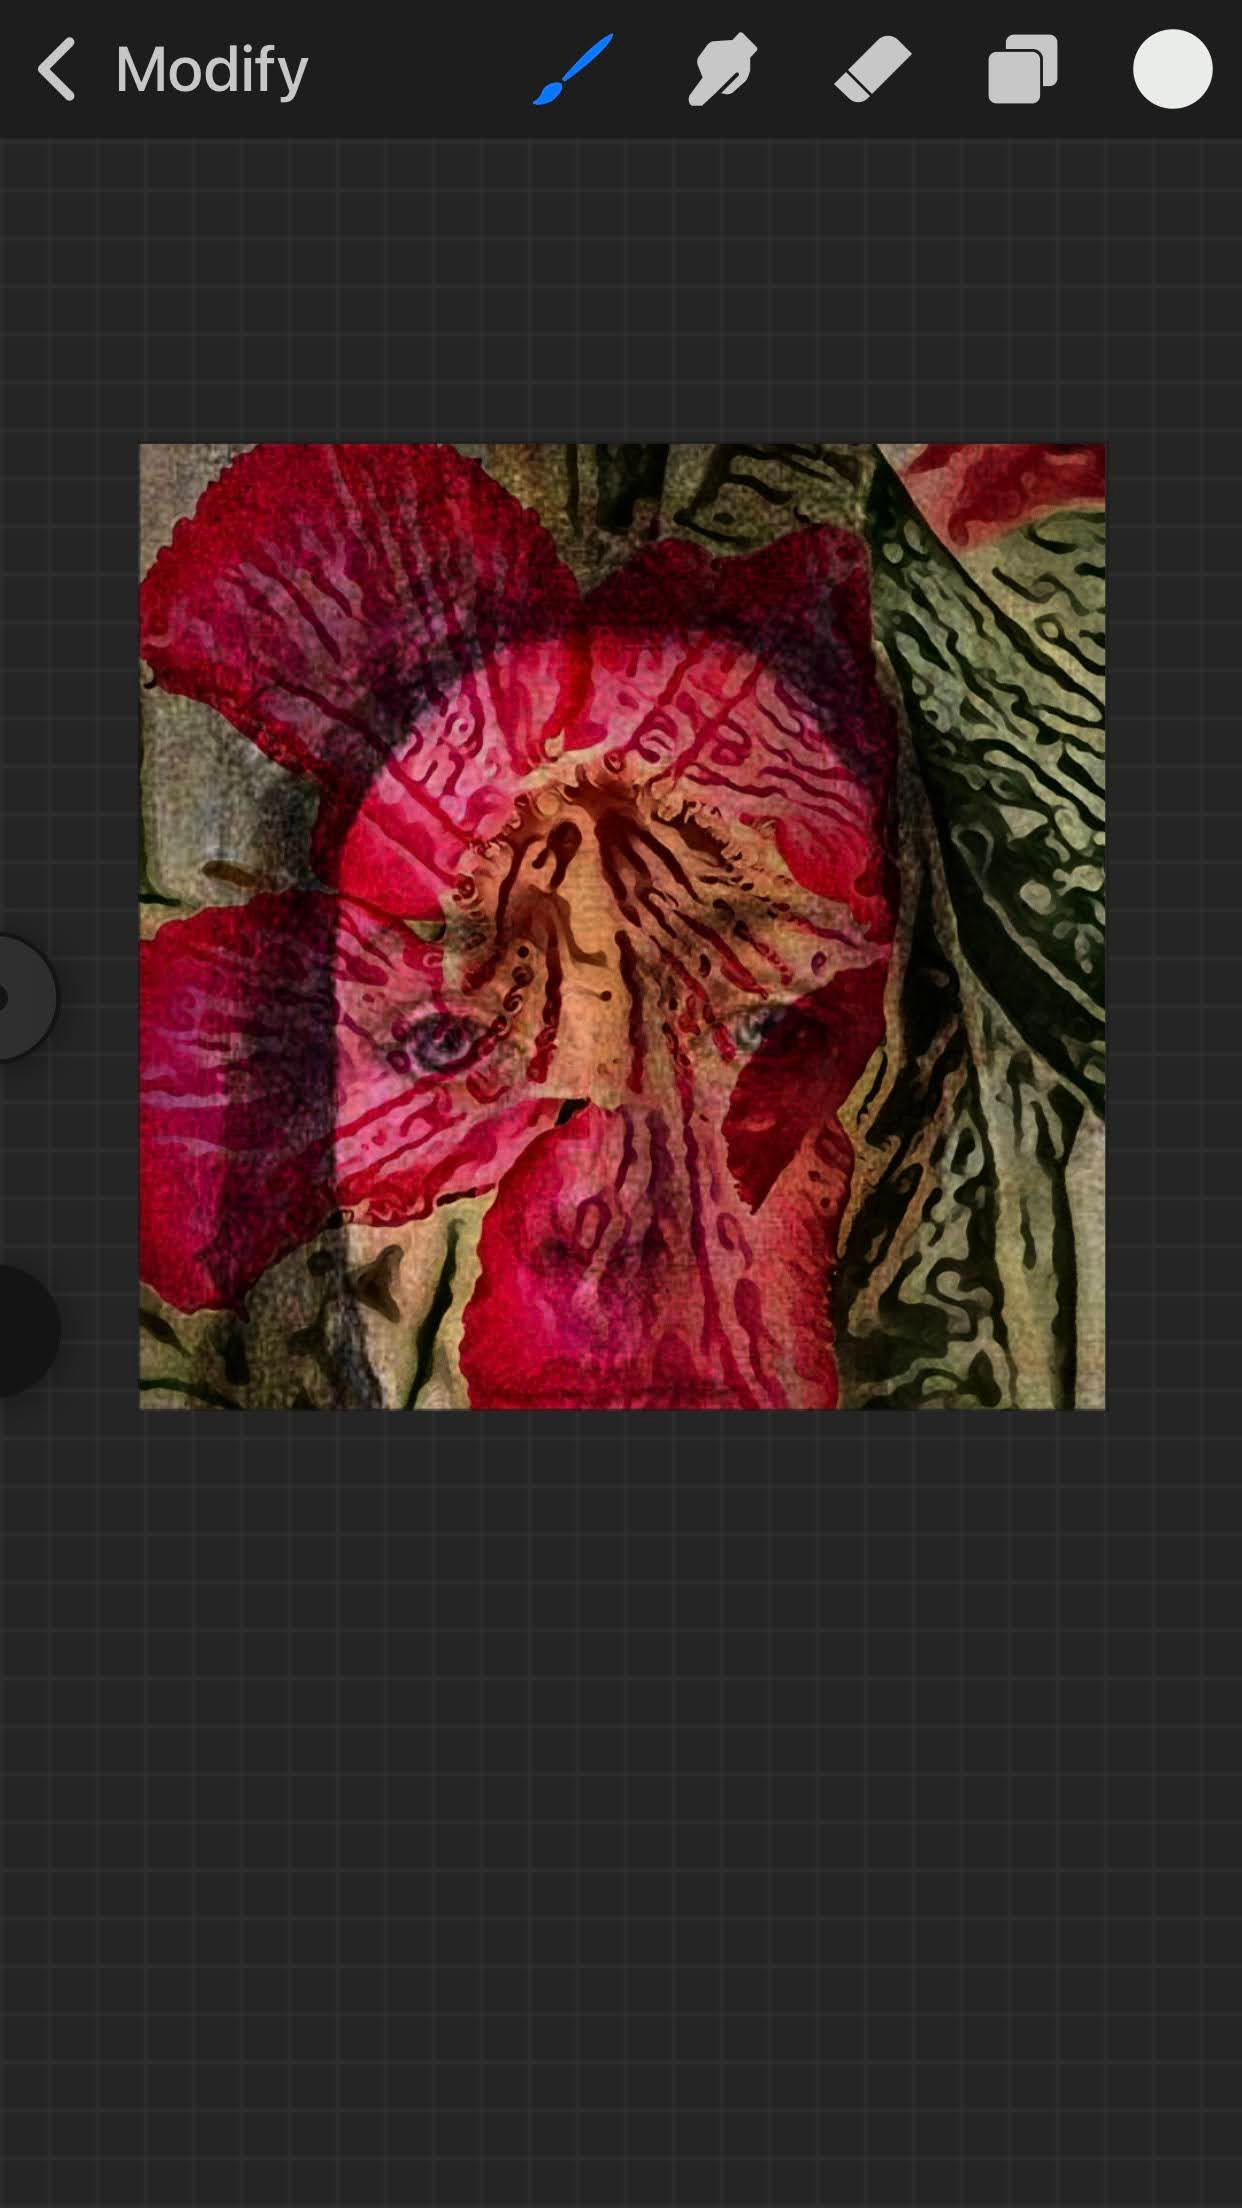
I realized here that I wasn't happy with where the face was, it's not right. Also, I have a really high forehead!
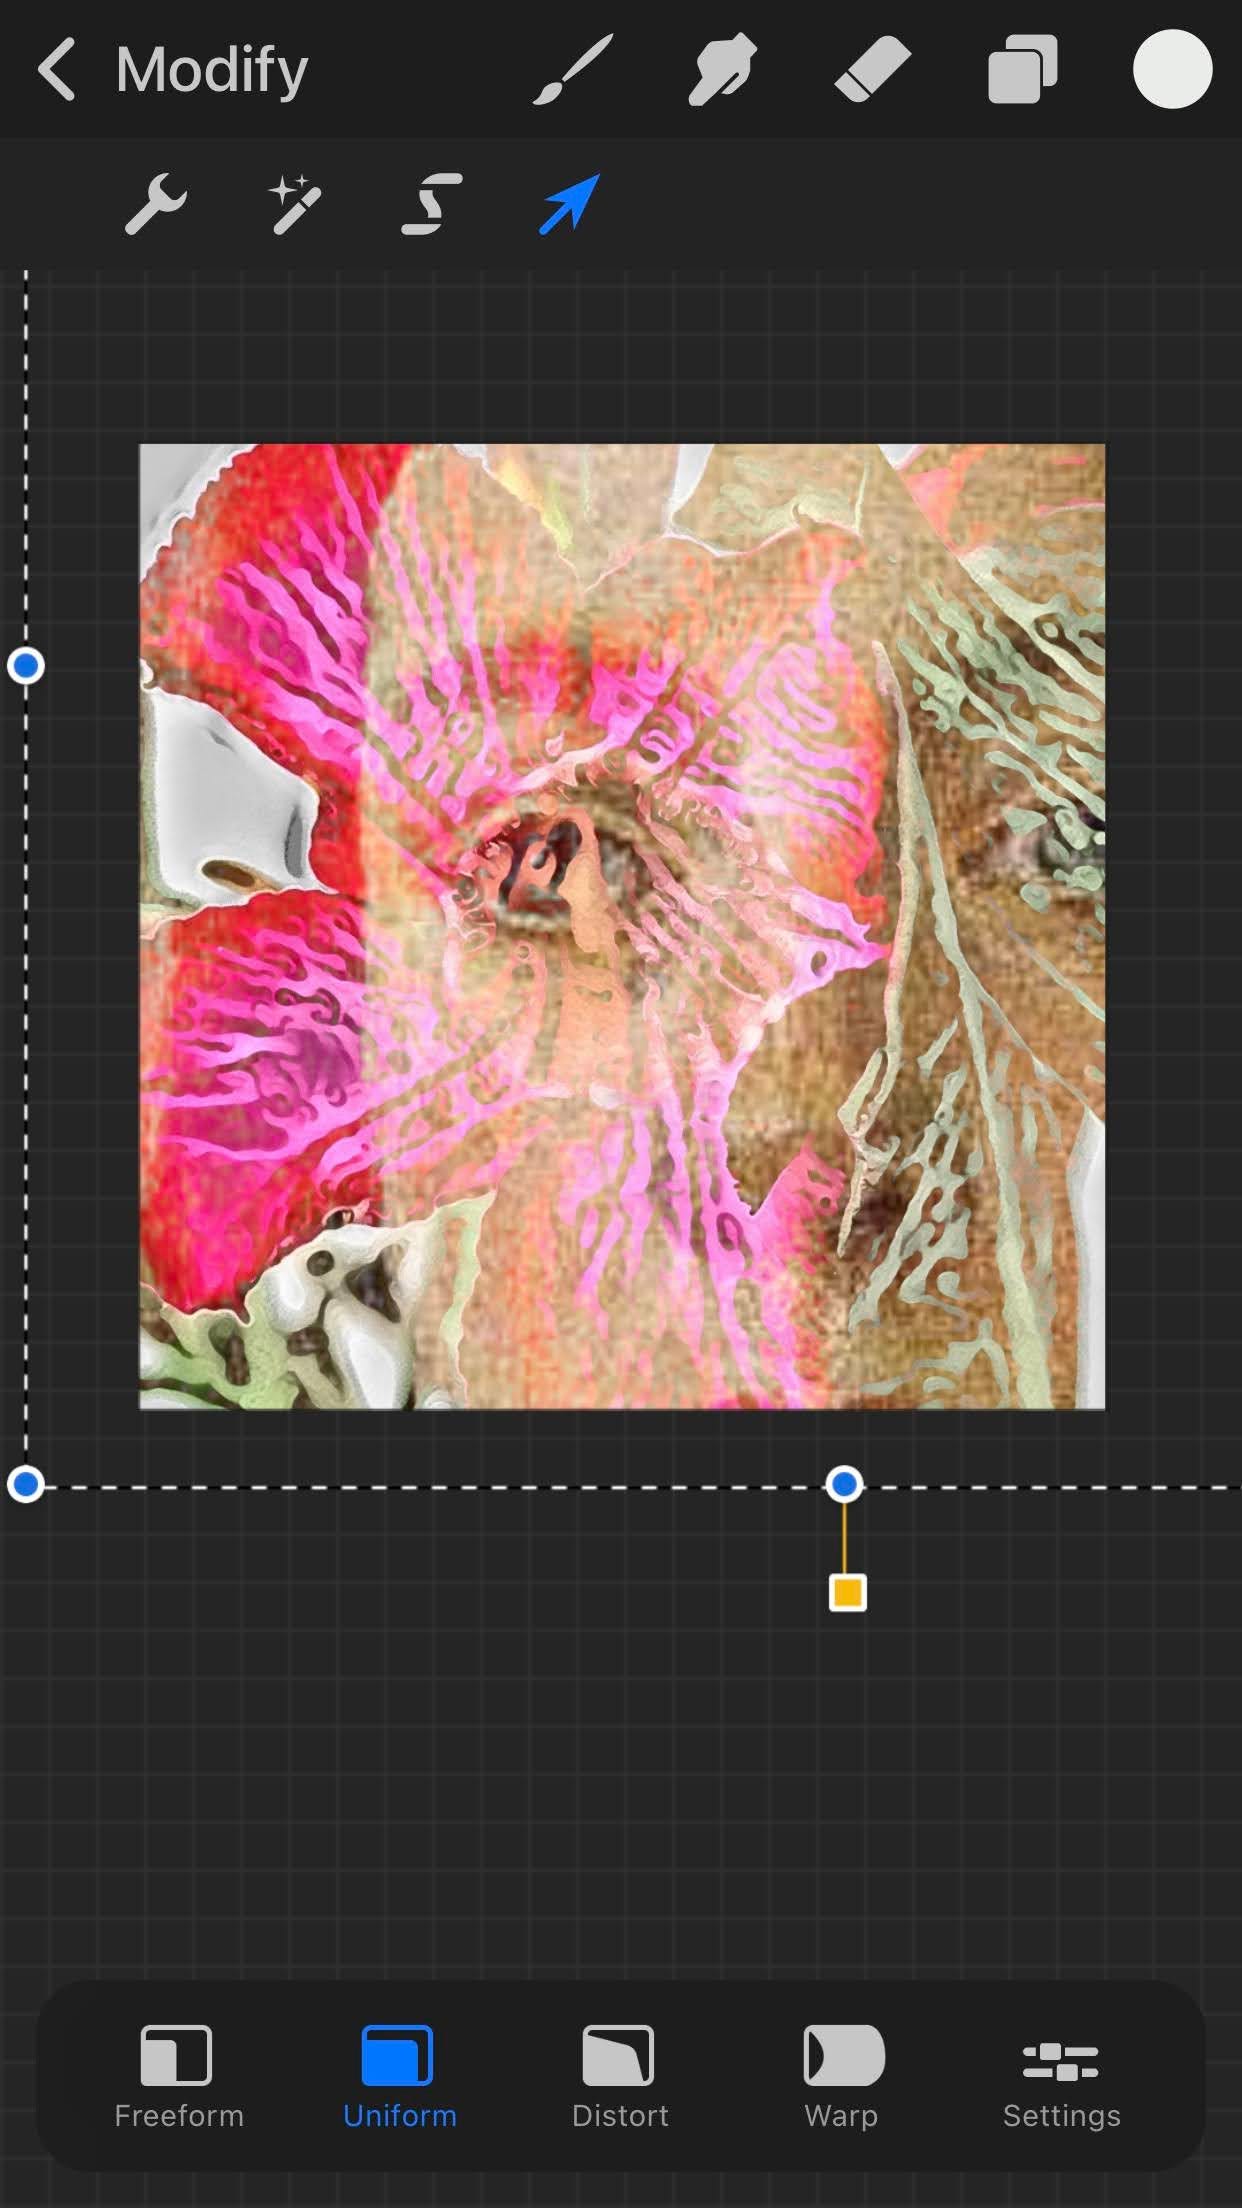
Resized, moved around, and that's better.
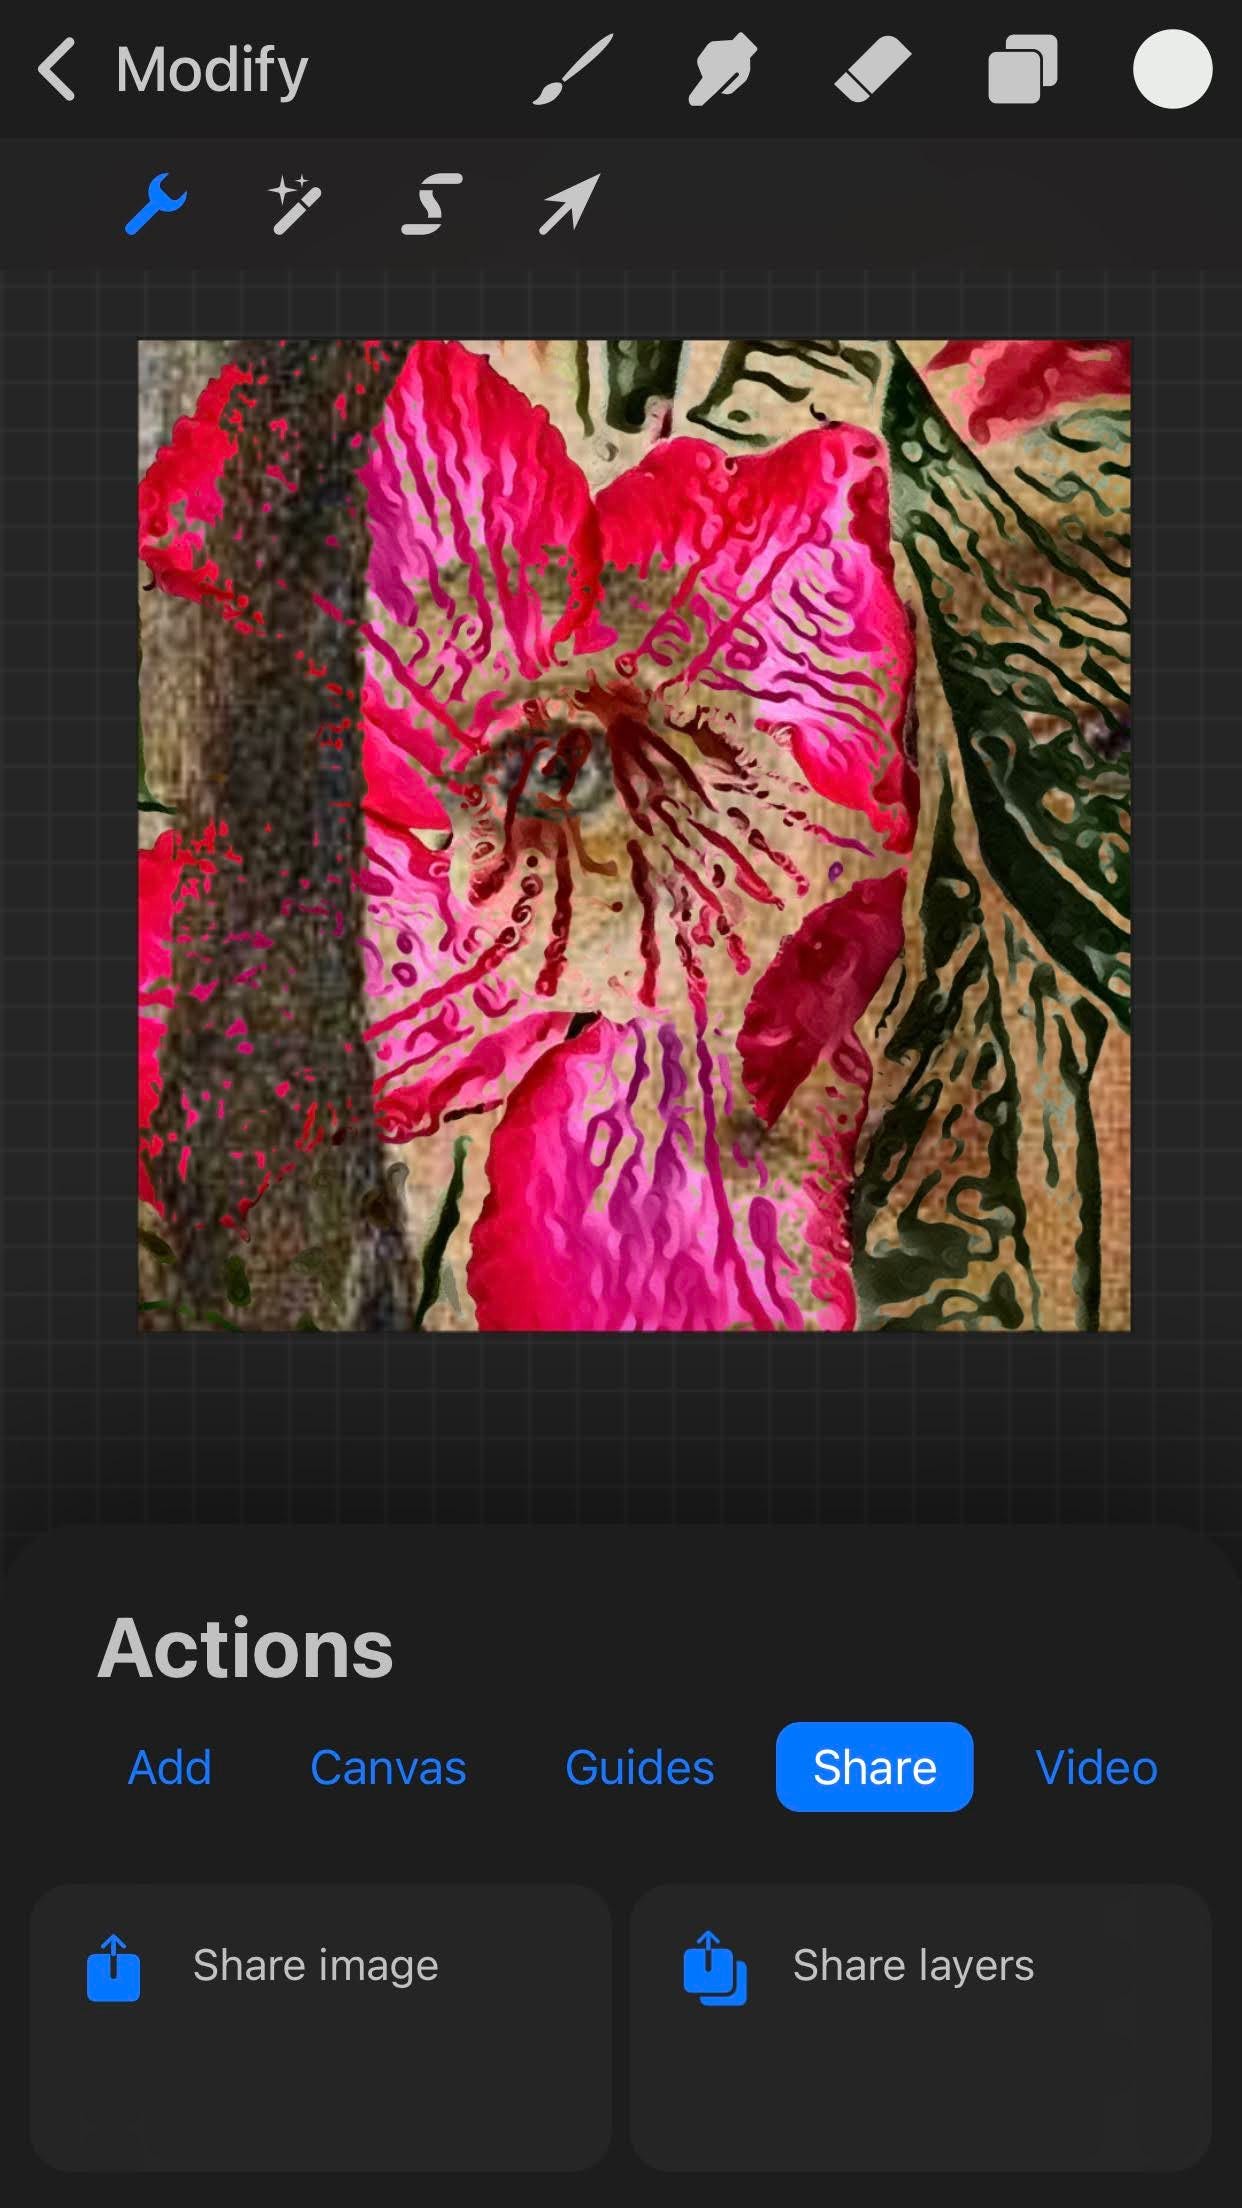
Once you have everything the way you want it, you can save the image in your desired file format through the tool menu, using share.
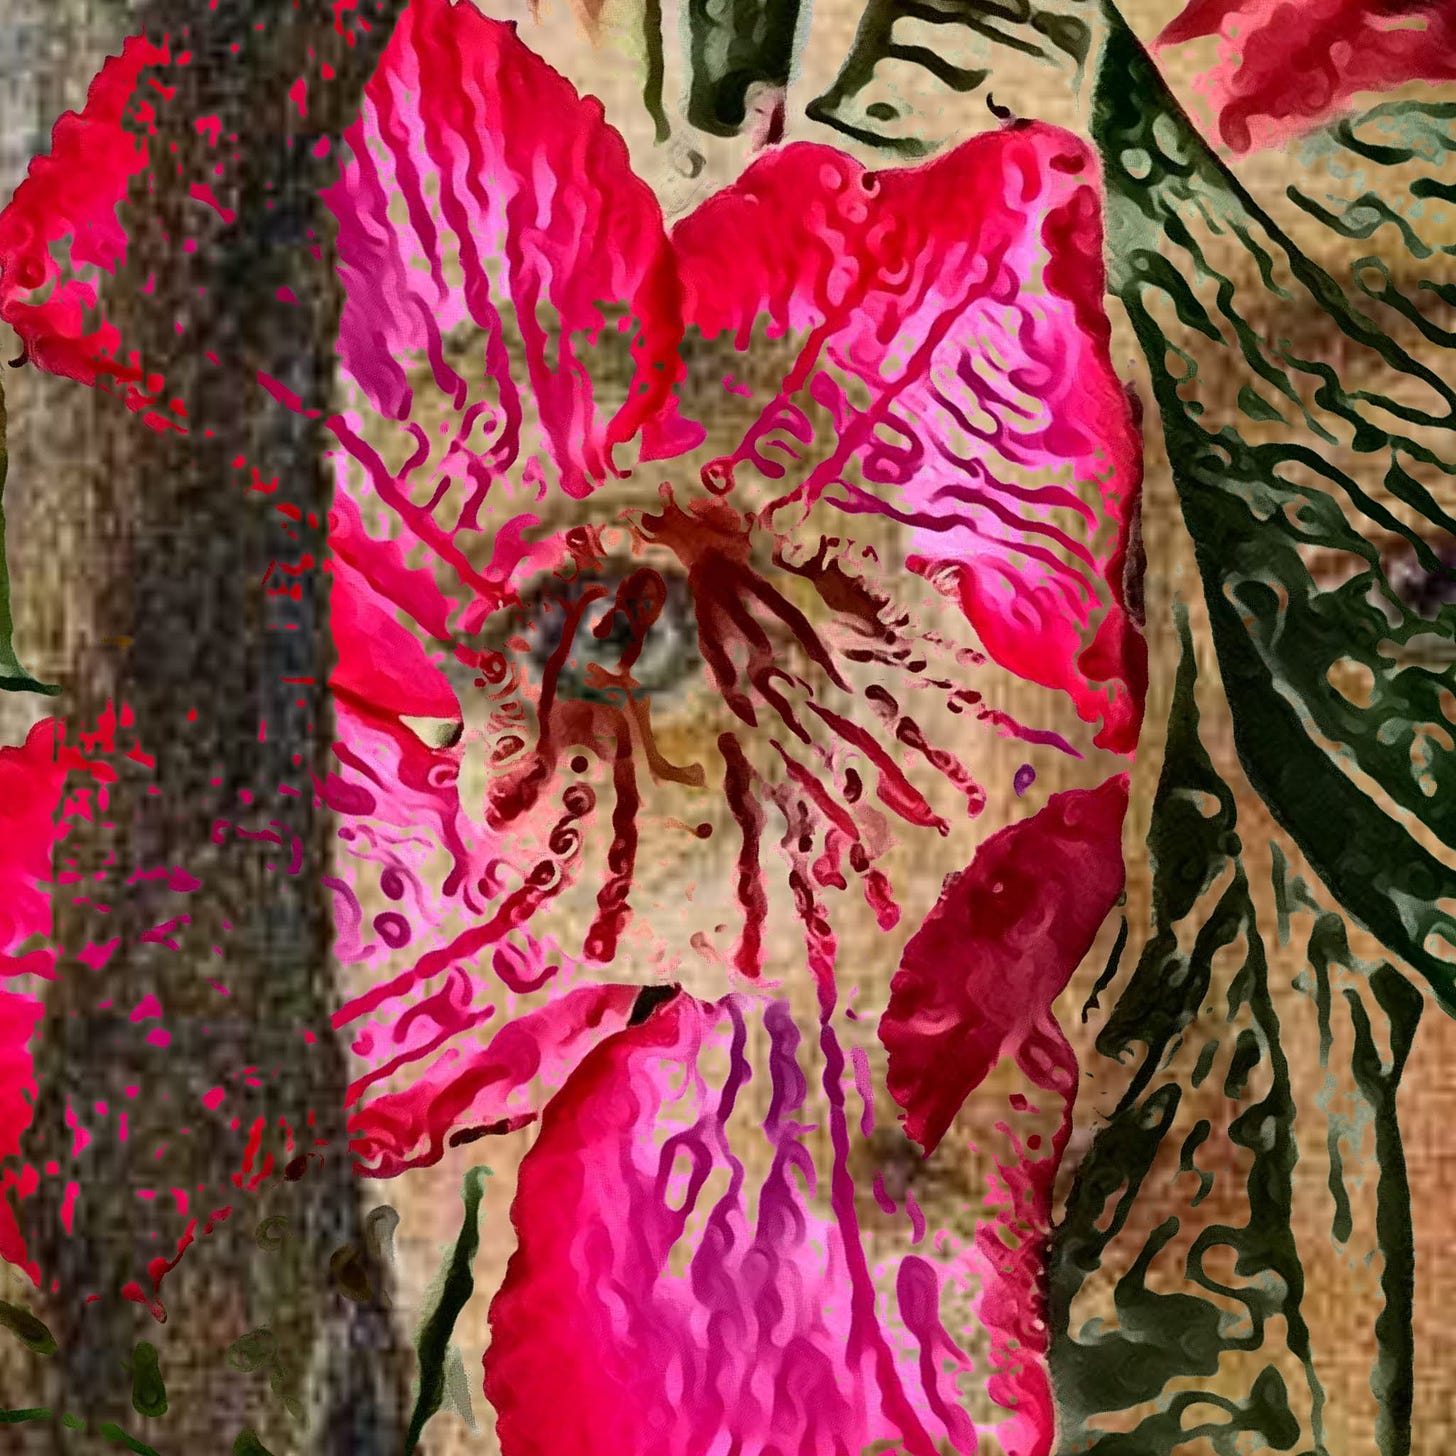
Desert Rose Screen
For some of the images, I used duplicated layers to get the effects I wanted.
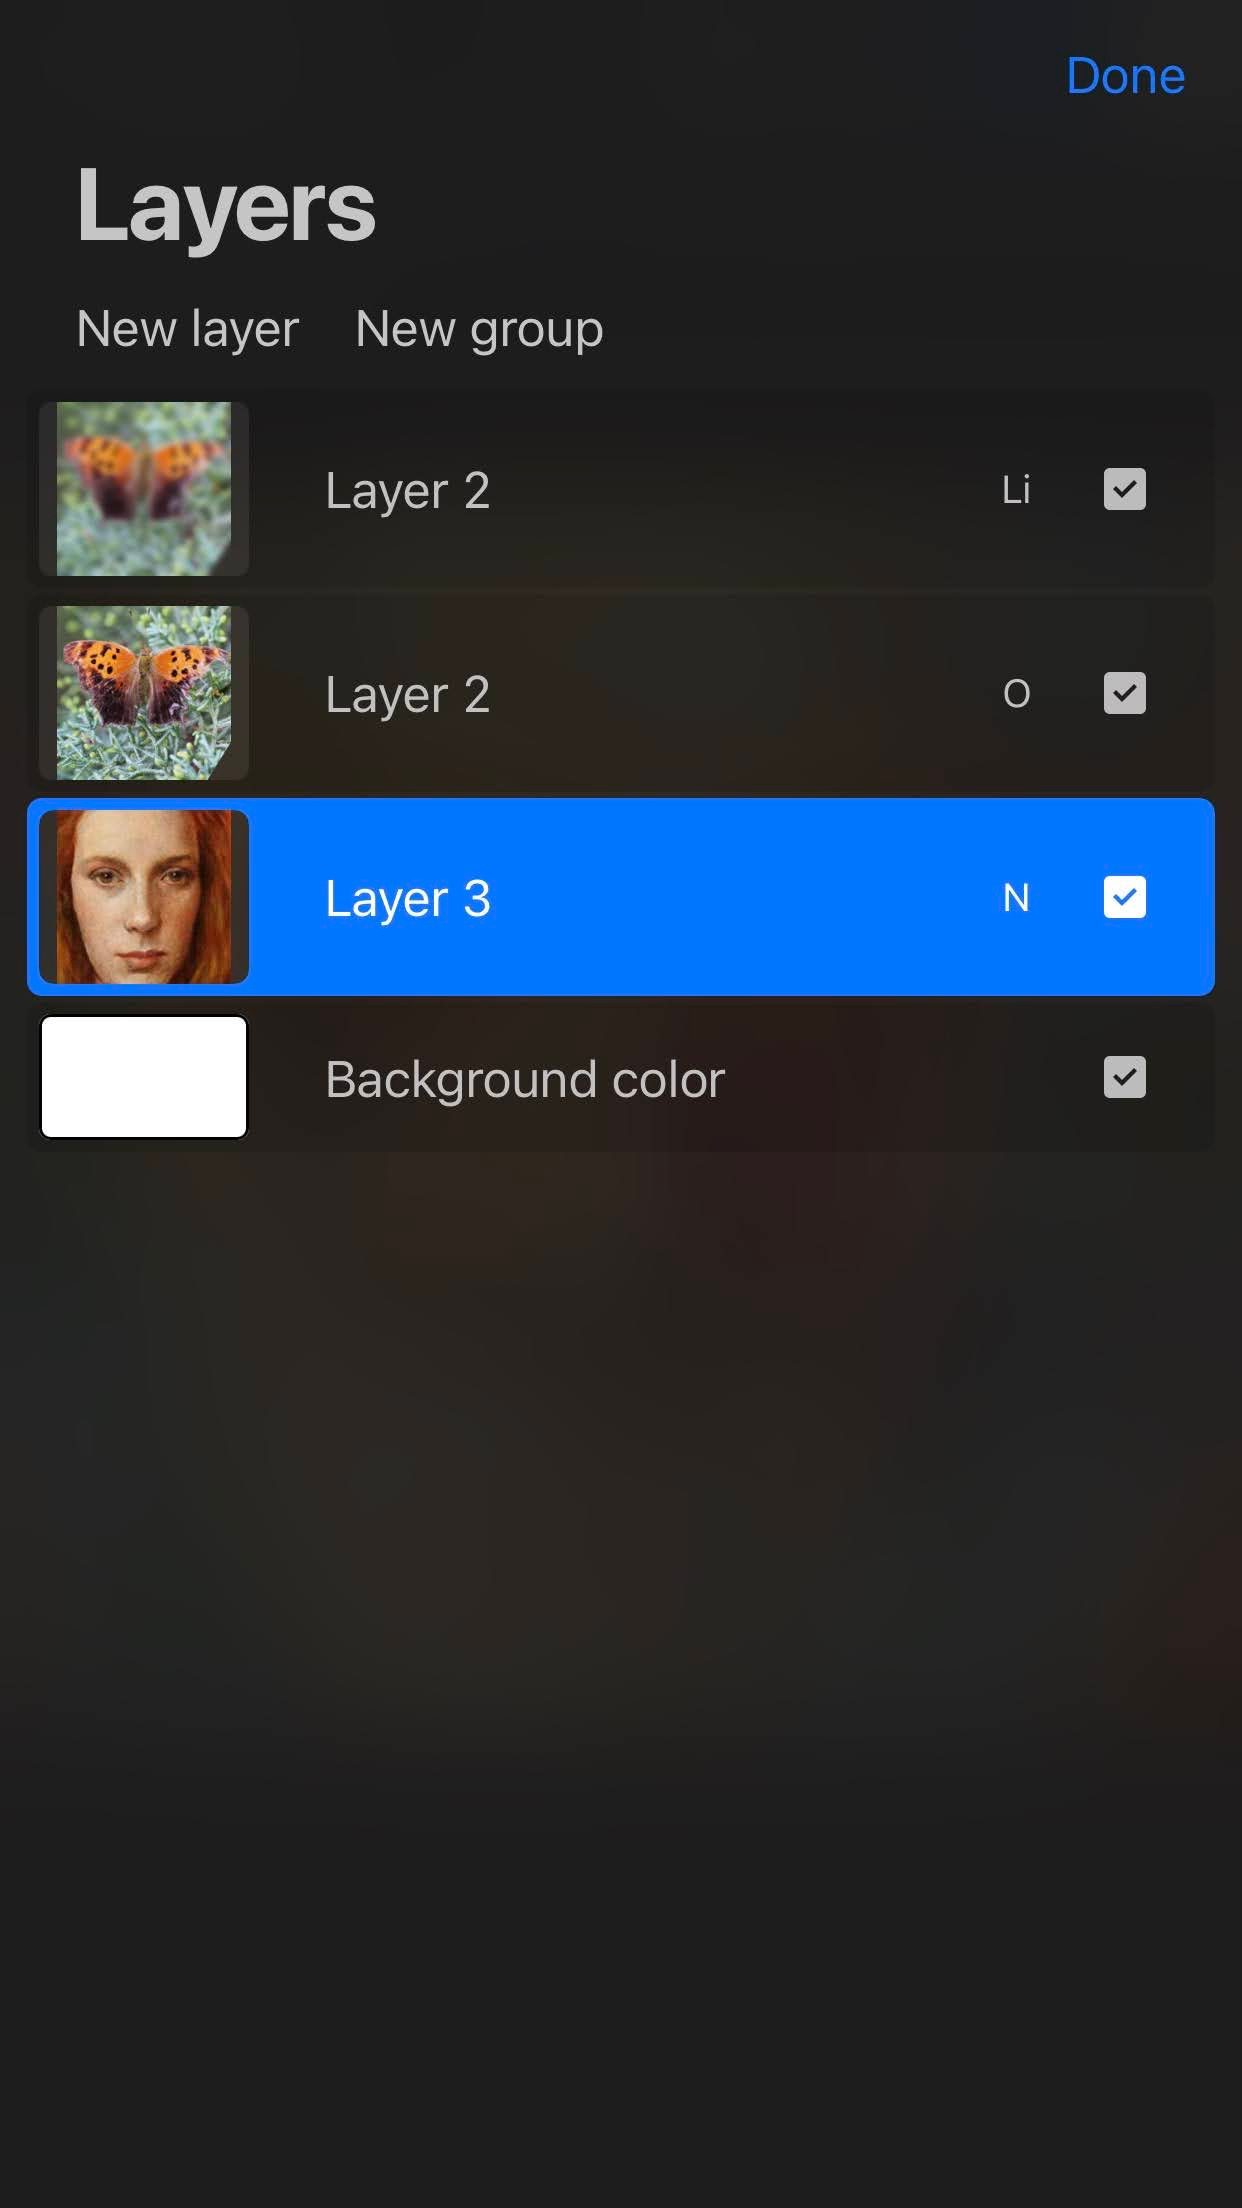
the top layer has had a blur applied, and was set to 'Lighten' while the second layer was set to 'Overlay' and the base layer was on 'Normal' to give it the dreamy effect I wanted.
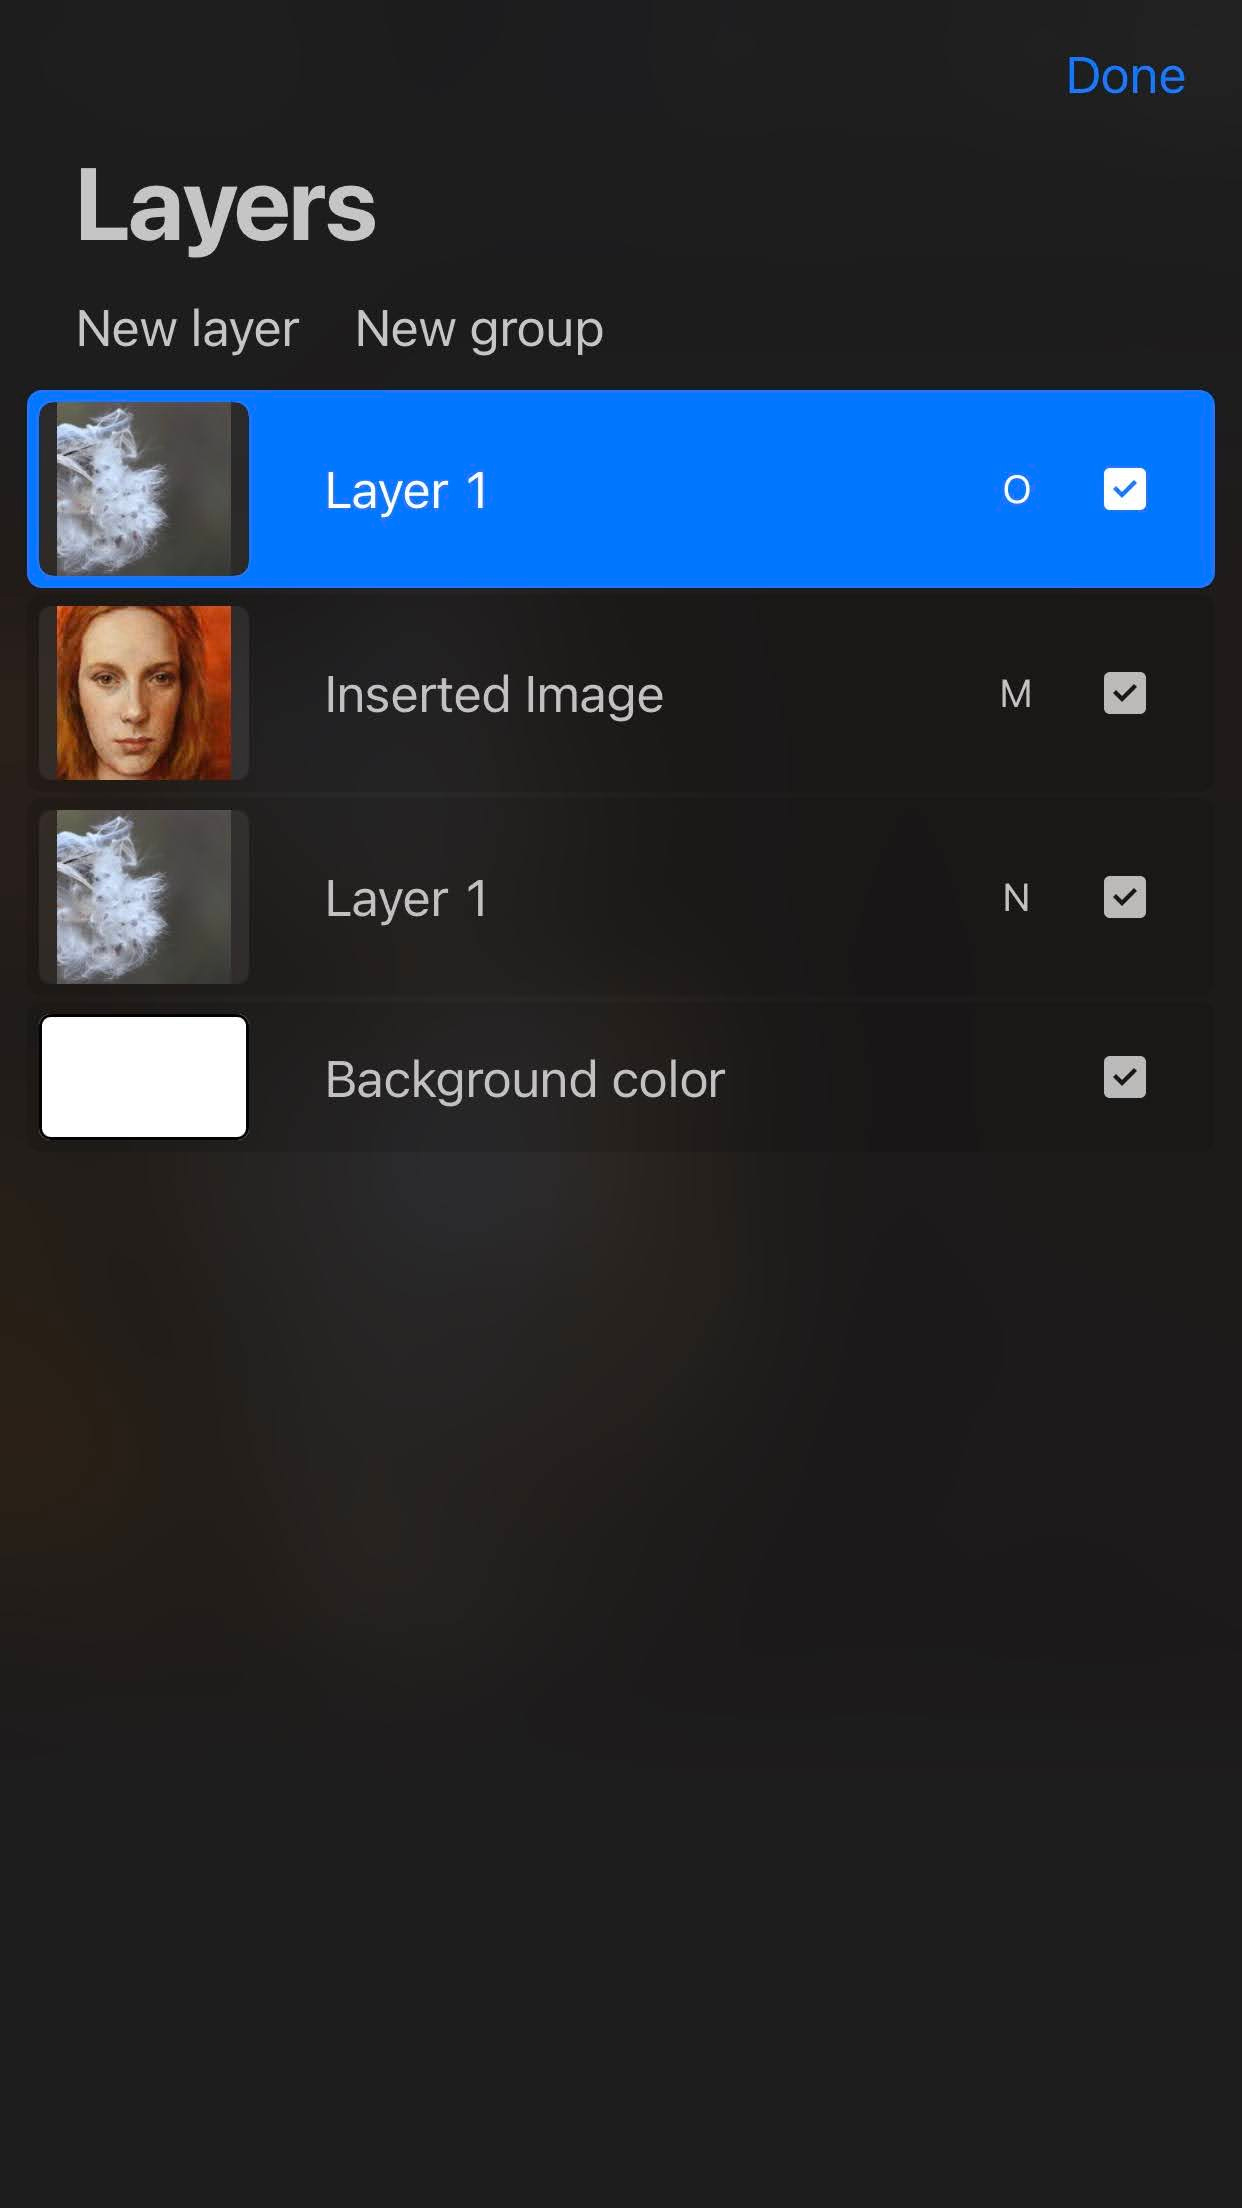
For the darker, more dramatic effect, the top layer is on Overlay, the center layer on Multiply, and the base on Normal.
Try it! I'd love to see what you get out of the effects. You can get the layer effect in Affinity Photo (or Photoshop) from the layer menu.
