Sourdough Pretzels
First, about a week or two before you want the pretzels, you begin with a starter. This is easy. All you need is flour, water, and to catch some invisible little friends to do the heavy lifting for you.
There are two ways - no, three - to begin a sourdough starter. One is to get a bit of an established starter from a friend. The other is to take your flour and water, mix in a little dry yeast, and let it go. The third is the chancy way, but it can yield amazing results, and for an experimental cook and scientist like myself, the one I've been wanting to do for some time now. Here's the thing about a sourdough starter, though. It's like adopting a pet. You have to feed it, groom it, and periodically work with it. It's a fair amount of work, but there are ways to make it less of an ongoing project.
Wild Yeast Starter
One part water to two parts flour. Roughly one cup flour and a half cupful of water works here. I'd suggest starting with a modest size, as it will grow for a while before you start the discard process to keep the wee lil'yeast beasties from taking over the world one kitchen at a time.
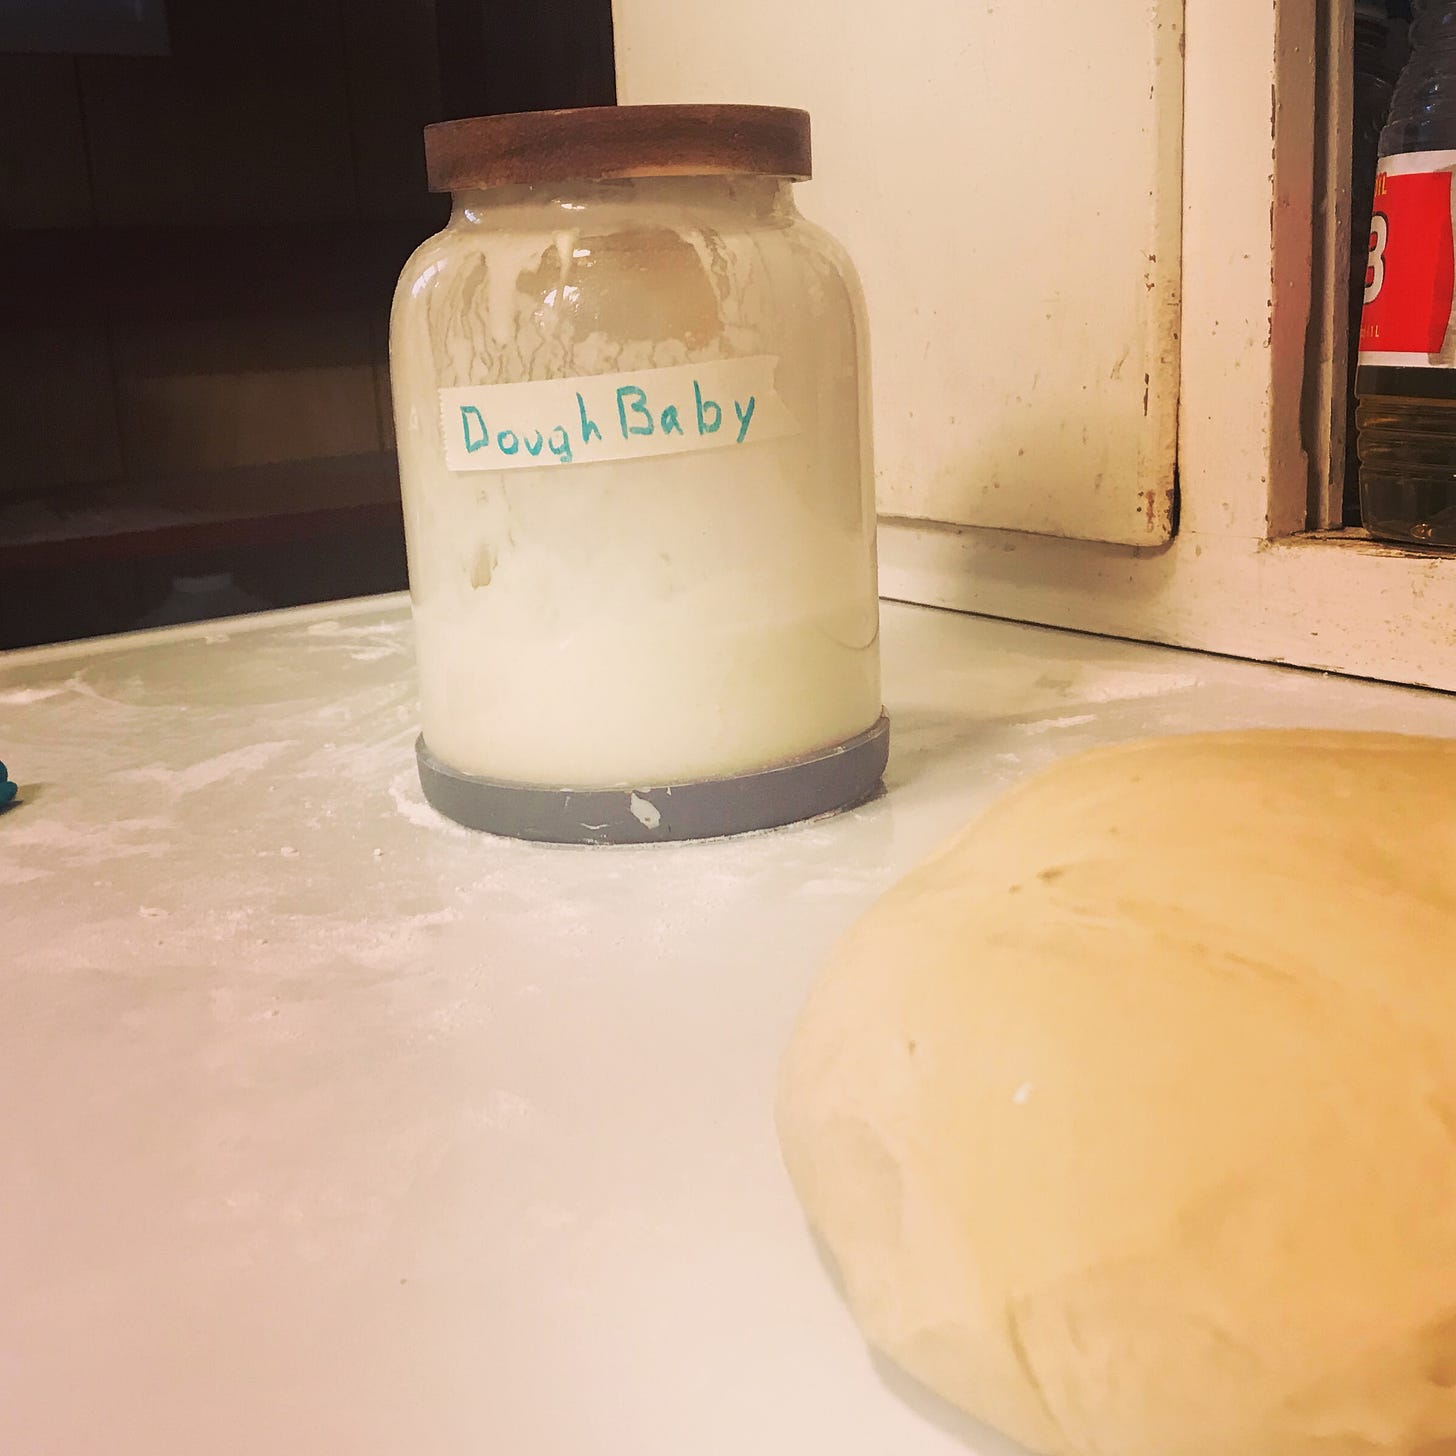
Container with lid: you can use a sourdough crock, but you definitely don't need to. Glass or pottery is best. I've used quart mason jars many times, although if you can find a plastic lid, that's better than a canning lid which can wind up rusting. My current crock is a glass jar with a silicon seal on wood lid. Very nice for this purpose.
If you are starting out with all-purpose flour, add about a teaspoonful of sugar to the first start, and only the first start. This will get the process kicked into gear just a little faster, but if you have whole-wheat flour it will also start off a little faster. Mix up your flour and water, until it's mostly smooth, and then let this sit on the counter overnight without a lid. You're catching a yeast. Most yeasts are Saccharomyces cerevisiae when we find them in cooking and brewing, but there are many, many different strains, and each strain has it's own flavor profile. This is why starting wild is so exciting.
It's not always going to end well. I'd done this earlier in the summer in my new kitchen, and after about two weeks it was obvious I'd got a bad strain - it smelled terrible, and that will come across when you use it. I discarded that starter, and waited a while to begin again. You'll be able to tell within just a couple of days if it's good or bad. If you see odd colors - black, or pink, or yellow, for instance - you've likely got a mold or bacterial colony that is outcompeting your yeast. Toss, and start over. But if you are feeding it daily, and it smells pleasantly tangy (almost yogurty at the beginning) then you've captured something special.
For the first day, you're watching for bubbles. You should see them appearing by the end of the first 24 hours. If not, well, you know what to do... But when you do see bubbles, begin to feed the starter. You can, if you wish, feed every twelve hours. I usually feed daily, which makes for a bit slower development but it suits my schedule better. You do not want to miss a day at this infant stage of your starter, though. After the first couple of days, you'll begin to discard before feeding. Keep a half cup to a cup of the starter, and toss the rest - or use it in something, but it won't have a strong flavor at this point. It will leaven just fine, though.
Once the first week has passed, do a discard and feed, then pop your lidded starter container into the fridge. At this point, you'll only need to discard and feed once a week. When you plan to use it, pull it onto the counter overnight to let the lil' guys wake up and go to work prior to use.
And now...

DoughBaby and the pretzel dough
Sourdough Pretzels
Definitely not the easiest way to use sourdough discard, but fantastic fun to make up, and you can freeze them very well to be baked later if you don't want to eat a whole batch at once. But they are nummy party food with the dip recipe below.
1 1/4 c. Starter
2 tsp yeast
3/4 c water
1/4 c dry milk (or just use warmed milk above)
1 tbsp sugar (don't omit this, or your pretzels won't brown)
1/8 c melted butter
1 1/2 tsp salt (less if using salted butter)
1 tbsp wheat gluten
3c* flour
In your mixer bowl if using a stand mixer, combine the starter, yeast (you can omit this, but it will take longer to rise, the starter is here mostly for flavor), water, milk, and sugar and allow to sit for about ten minutes. Then add in a cup of the flour until well mixed, then the butter and salt, and more flour. The three cups* is a guideline - with the starter variations, you are aiming for a stiff bread dough here, and it may take more or less flour to achieve this. Once the dough has formed into a cohesive ball, if you are using a stand mixer with dough hook, allow to continue mixing for about 8-10 minutes. If you are doing this by hand, knead until the dough is soft and supple, and two fingers gently pressed into the dough ball leave an impression that springs back out.
Allow dough to rest in a covered, oiled bowl until doubled in size. This will take no less than 30 minutes, longer in a cold kitchen. Find it a warm place to keep your yeastie boys happy.
Once dough is risen, get a big pot. Put a gallon of water in this, and stir in
1 tbsp baking soda
Put on high heat and start bringing to a boil. Preheat your oven to 450F. Gather your tools: baking sheet(s), spider or slotted spoon to handle the pretzels, floured surface for making up pretzels. A pastry blade is handy for cutting the dough and scraping up the surface to clean later.
Knead dough down and portion into roughly 16 equal pieces. If you want to watch me doing this in real time, you can see it on this video. Once you have a piece of dough, roll it into a snake between your hands, then lay that down in a U with the bottom towards you, twist the top ends loosely twice, then bring them back and press them firmly into the bottom 'corners' of your U shape. Probably best to watch this done!
Set your pretzel aside to rest for about ten minutes. You can move faster than this, but they won't be as plump as they could be.
Once your alkaline water is at a full boil, carefully drop the pretzels in, one at a time, and not crowding the pan. I can cook four at a time in my stockpot. I use a spider to lower them in without a splash. They will sink at first, then rise back up and float. After boiling for 2-3 minutes, scoop them out and place on a baking sheet. Sprinkle with pretzel salt if desired (I forgot, but with this dip you don't really need the salt).
Bake them at 450F for about 15 minutes, until they are a nice golden brown. Cool, at least a little, and eat!
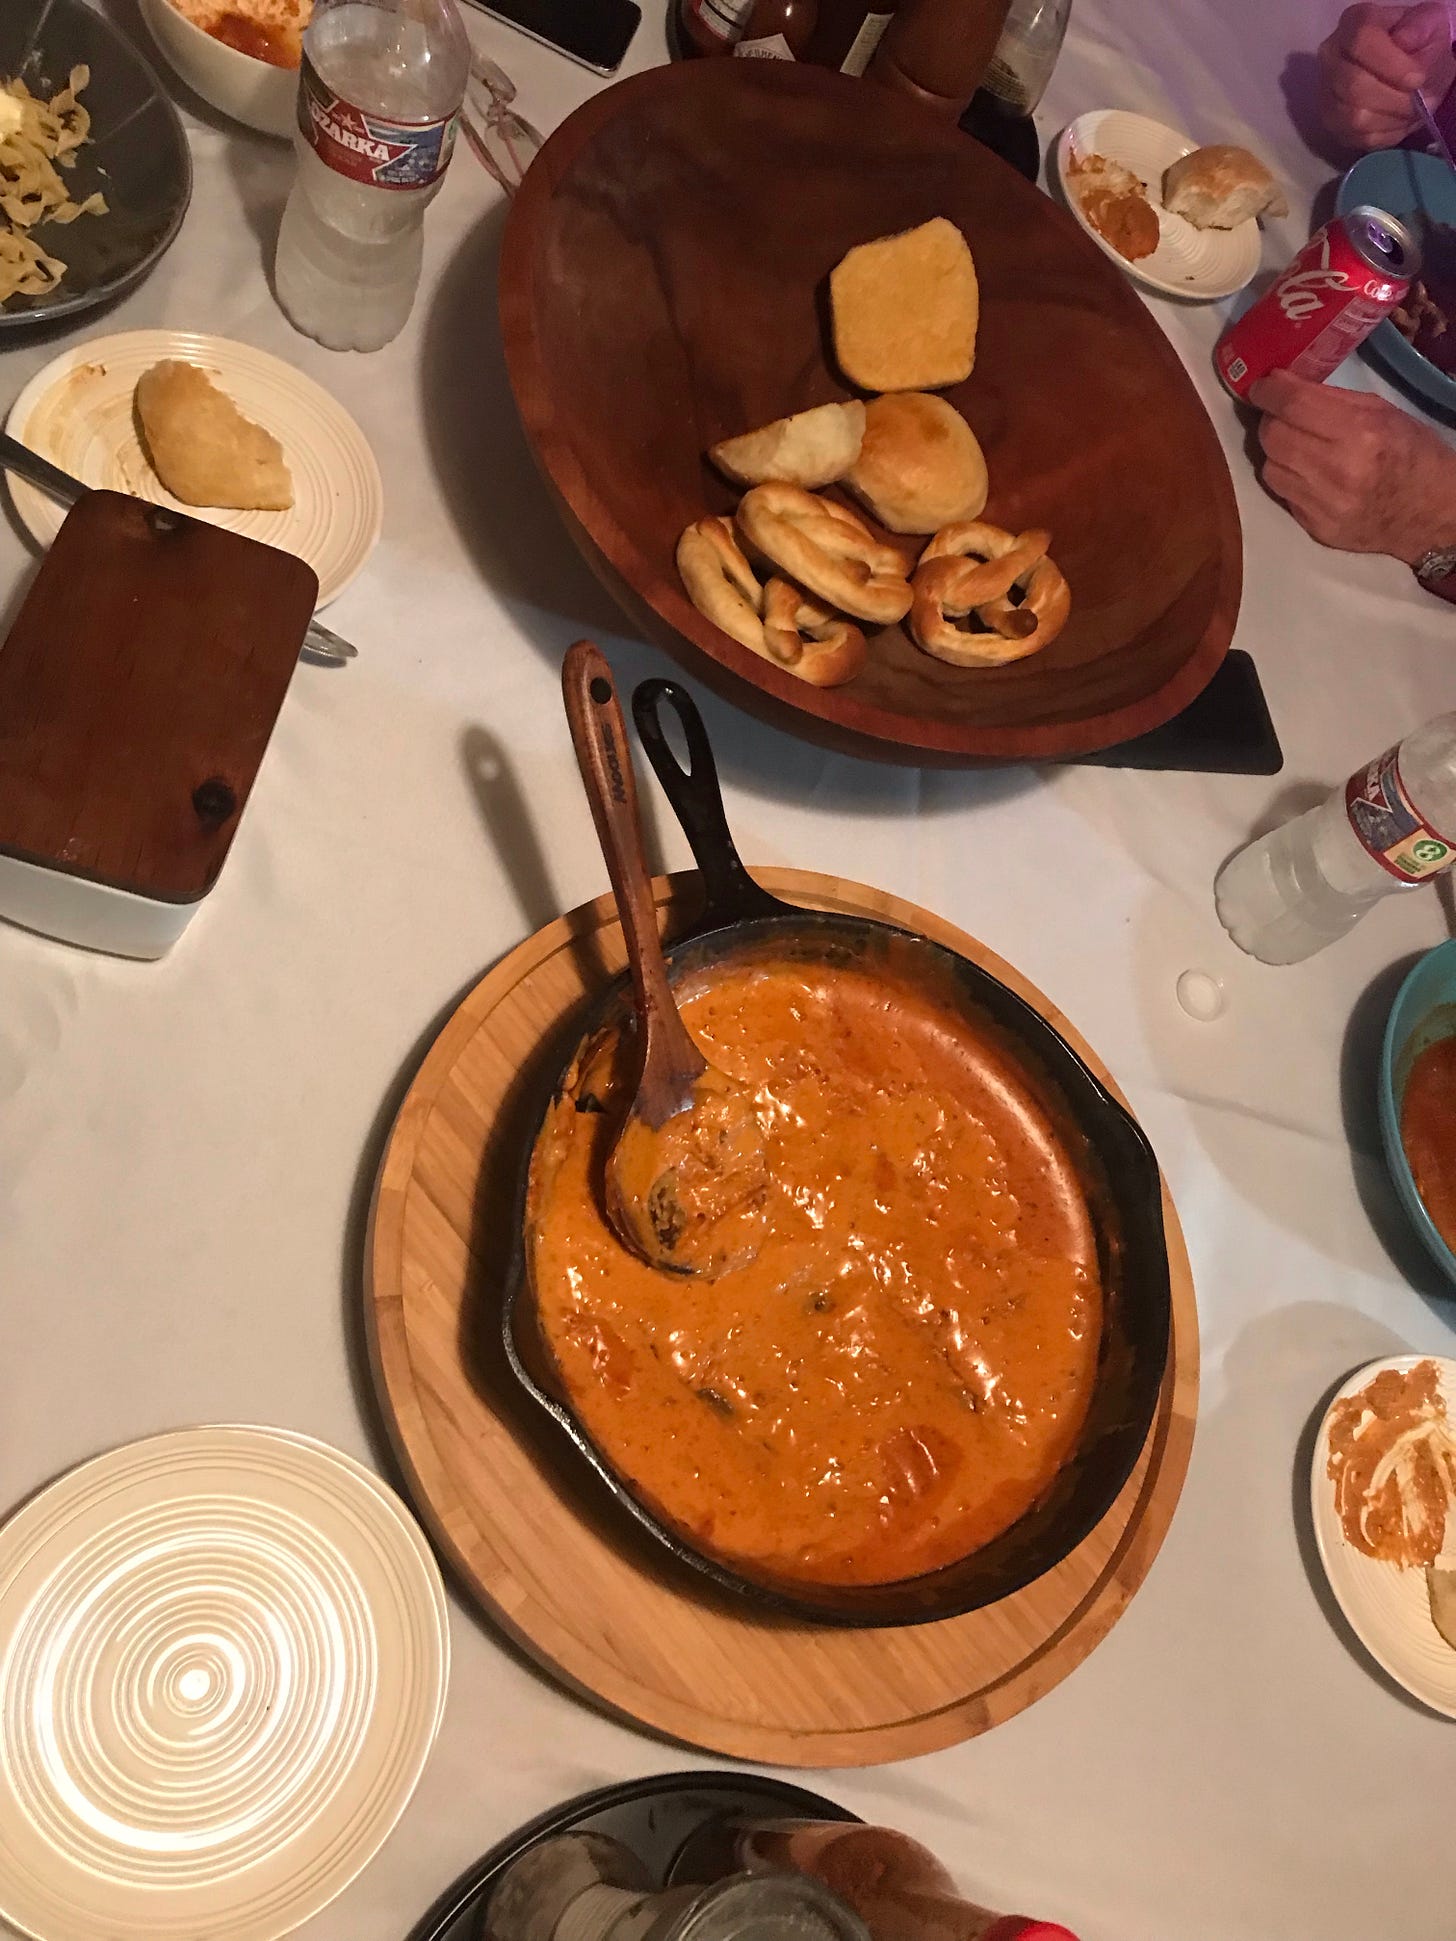
Cheese Beer Chorizo Dip
You can easily prepare this while the pretzels are baking. This makes a lot - easily 12 servings!
10 oz tube o' chorizo
2 lbs velveeta
6-8 oz beer (any beer, really, your choice, but the more flavor it's got, the better. So no love-in-a-canoe beer if you want to actually, you know, taste it)
In a large cast iron skillet (or any skillet, but I have preferences) fry up your chorizo. Drain as much grease as you can. Stir in your beer. The chunk up the cheese and stir this in, removing from heat when it is almost completely melted. Drain more chorizo grease - a turkey baster works well for sucking it up. Stir well and serve when completely melted.

I didn't get a photo until we'd started eating!


