Walnut Hull Ink
If you live with Black Walnut Trees, you know all about the way the hulls stain your fingers when you try to reach the elusive but delicious nuts inside that baseball sized green hull. If you think about it, anything that stains can be used as a dye - or an ink. As a chemist by day, artist by night, the chemistry of dyes has long been of interest to me, and when I started thinking about making my own ink for this Inktober, I wanted to dig into the chemistry behind the color.
Walnuts emit an allelopathic toxin which is, in essence, their own homegrown herbicide. The idea behind this is that it keeps competition for light, water, and nutrients down in the immediate area of the tree. The way they do this is by production of hydrojuglone, which turns to juglone on exposure to air once leaving the tree. Juglone is also the active ingredient in the dye or ink we can create from the hulls of the walnut. Juglone binds to fibers, more quickly in the presence of heat, but in ink we cannot necessarily or practically heat our pages while we write or draw.
There are a number of recipes out there for walnut ink, and the first thing I realized is: this is an easy and cheap (if you have ready access to the trees) ink to create. So easy, you may find yourself with far too much on hand! However, the instructions are sometimes vague, and I wanted to experiment myself with different methods.
This, then, is the first method for the ink. The other will take some time (more time than I had for this first batch) and I will write up later.
Walnut Hull Ink
Hulls or whole nuts from the Black Walnut
Water to cover
And yes, that is all currently. Some recipes call for adding alcohol, as you will see, I'm not so sure this is a good idea, even if I wind up having to refrigerate the ink to retard mold growth.
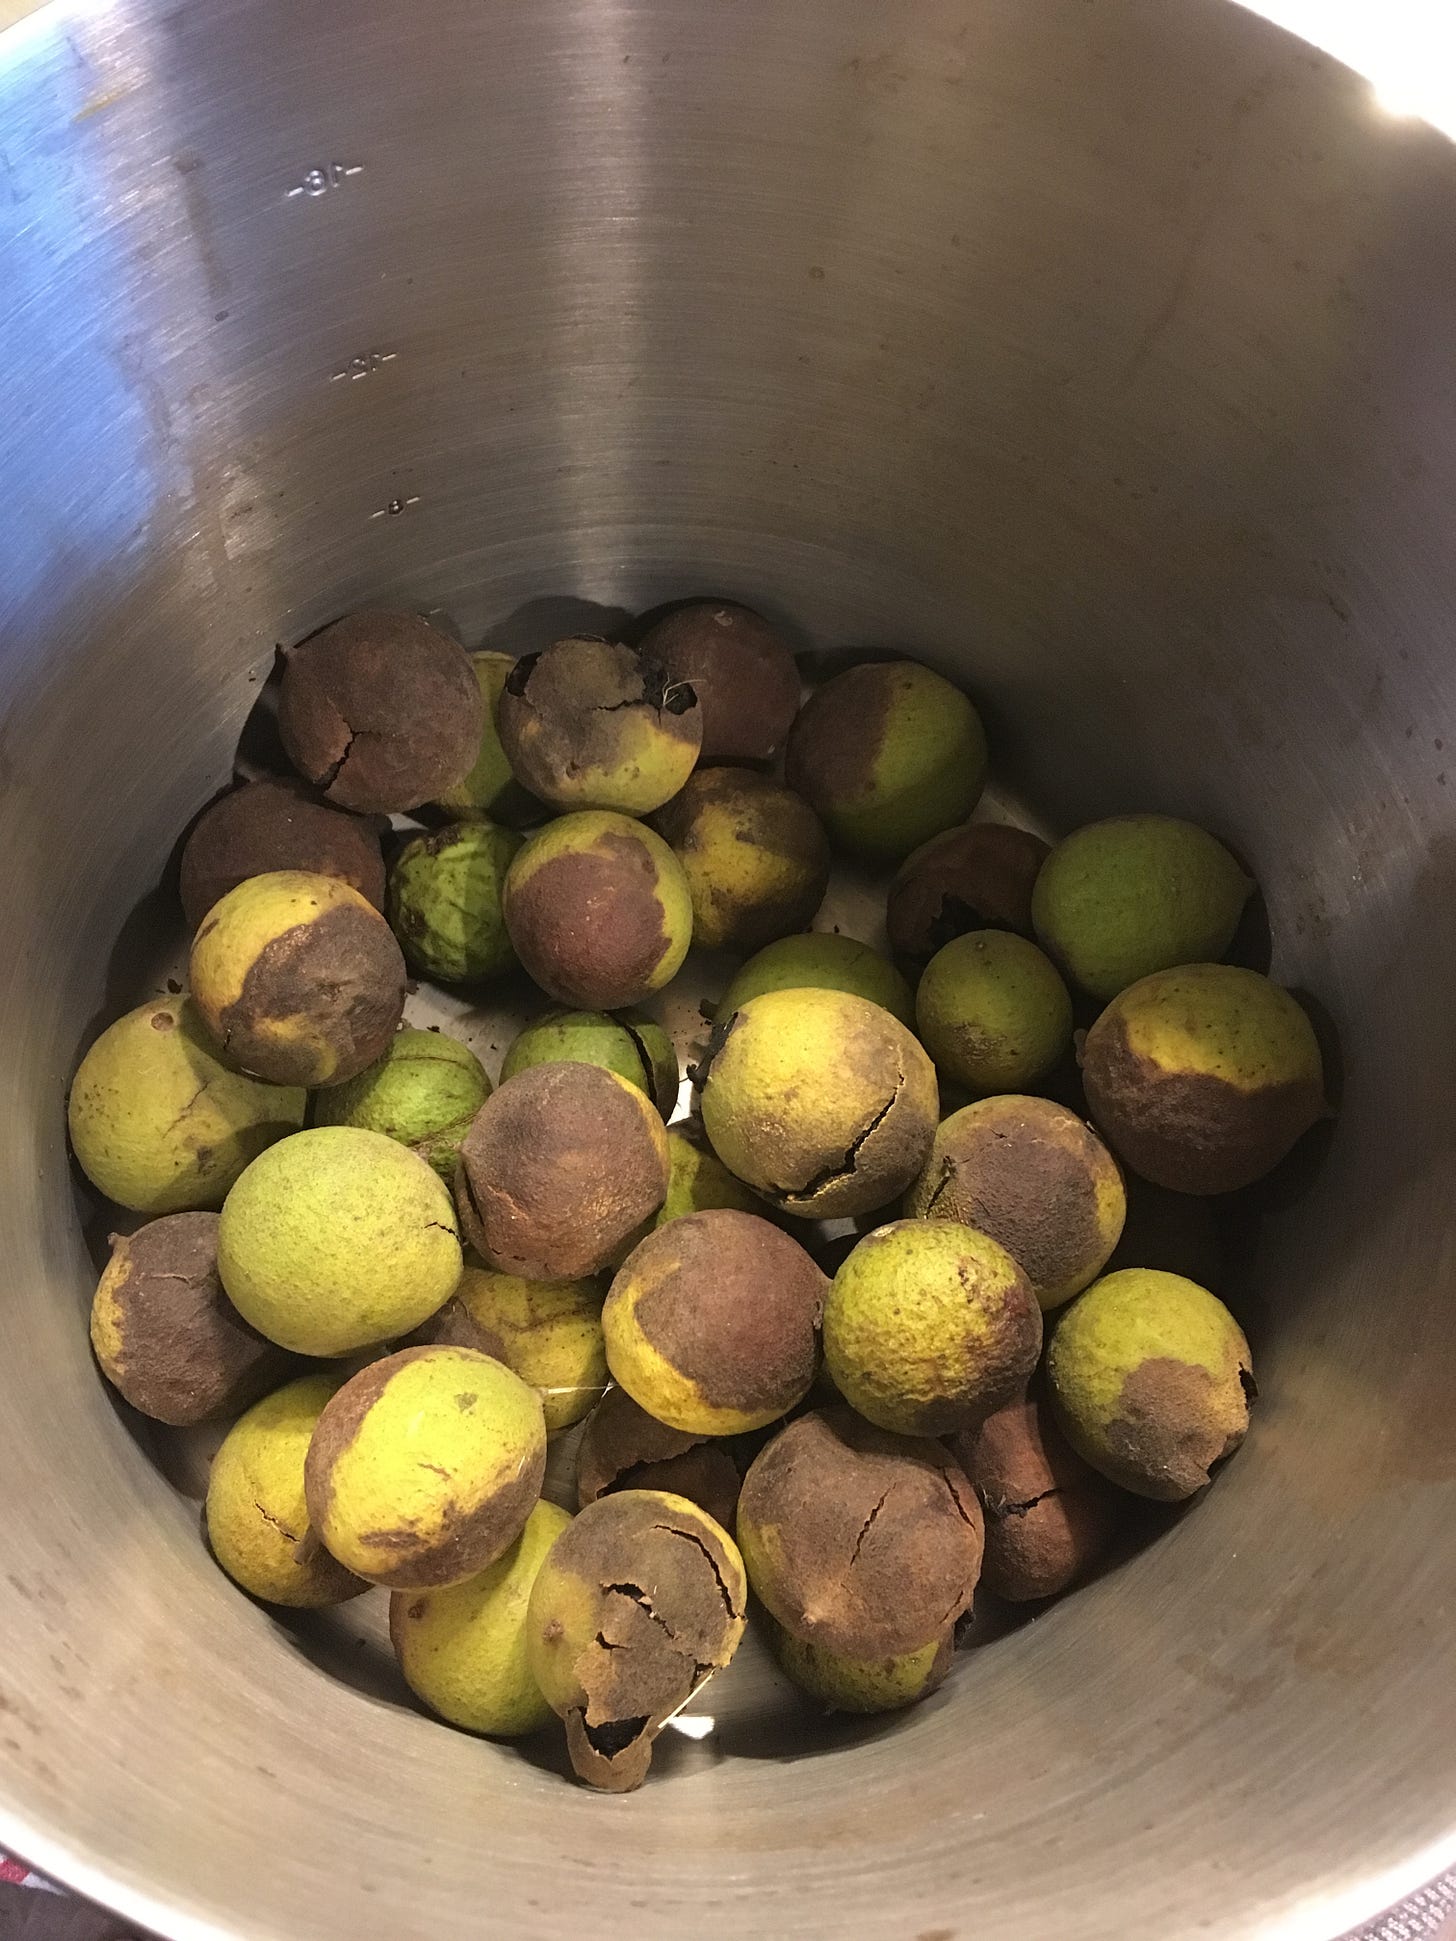
Black walnuts collected from my yard
In a stainless steel pot, I placed the hulls, then added water to cover (or at least to top of nuts.) They float, so you will want to kind of hold them down to judge where this is. Place the pot on the stove on high, bring to boil for one hour.
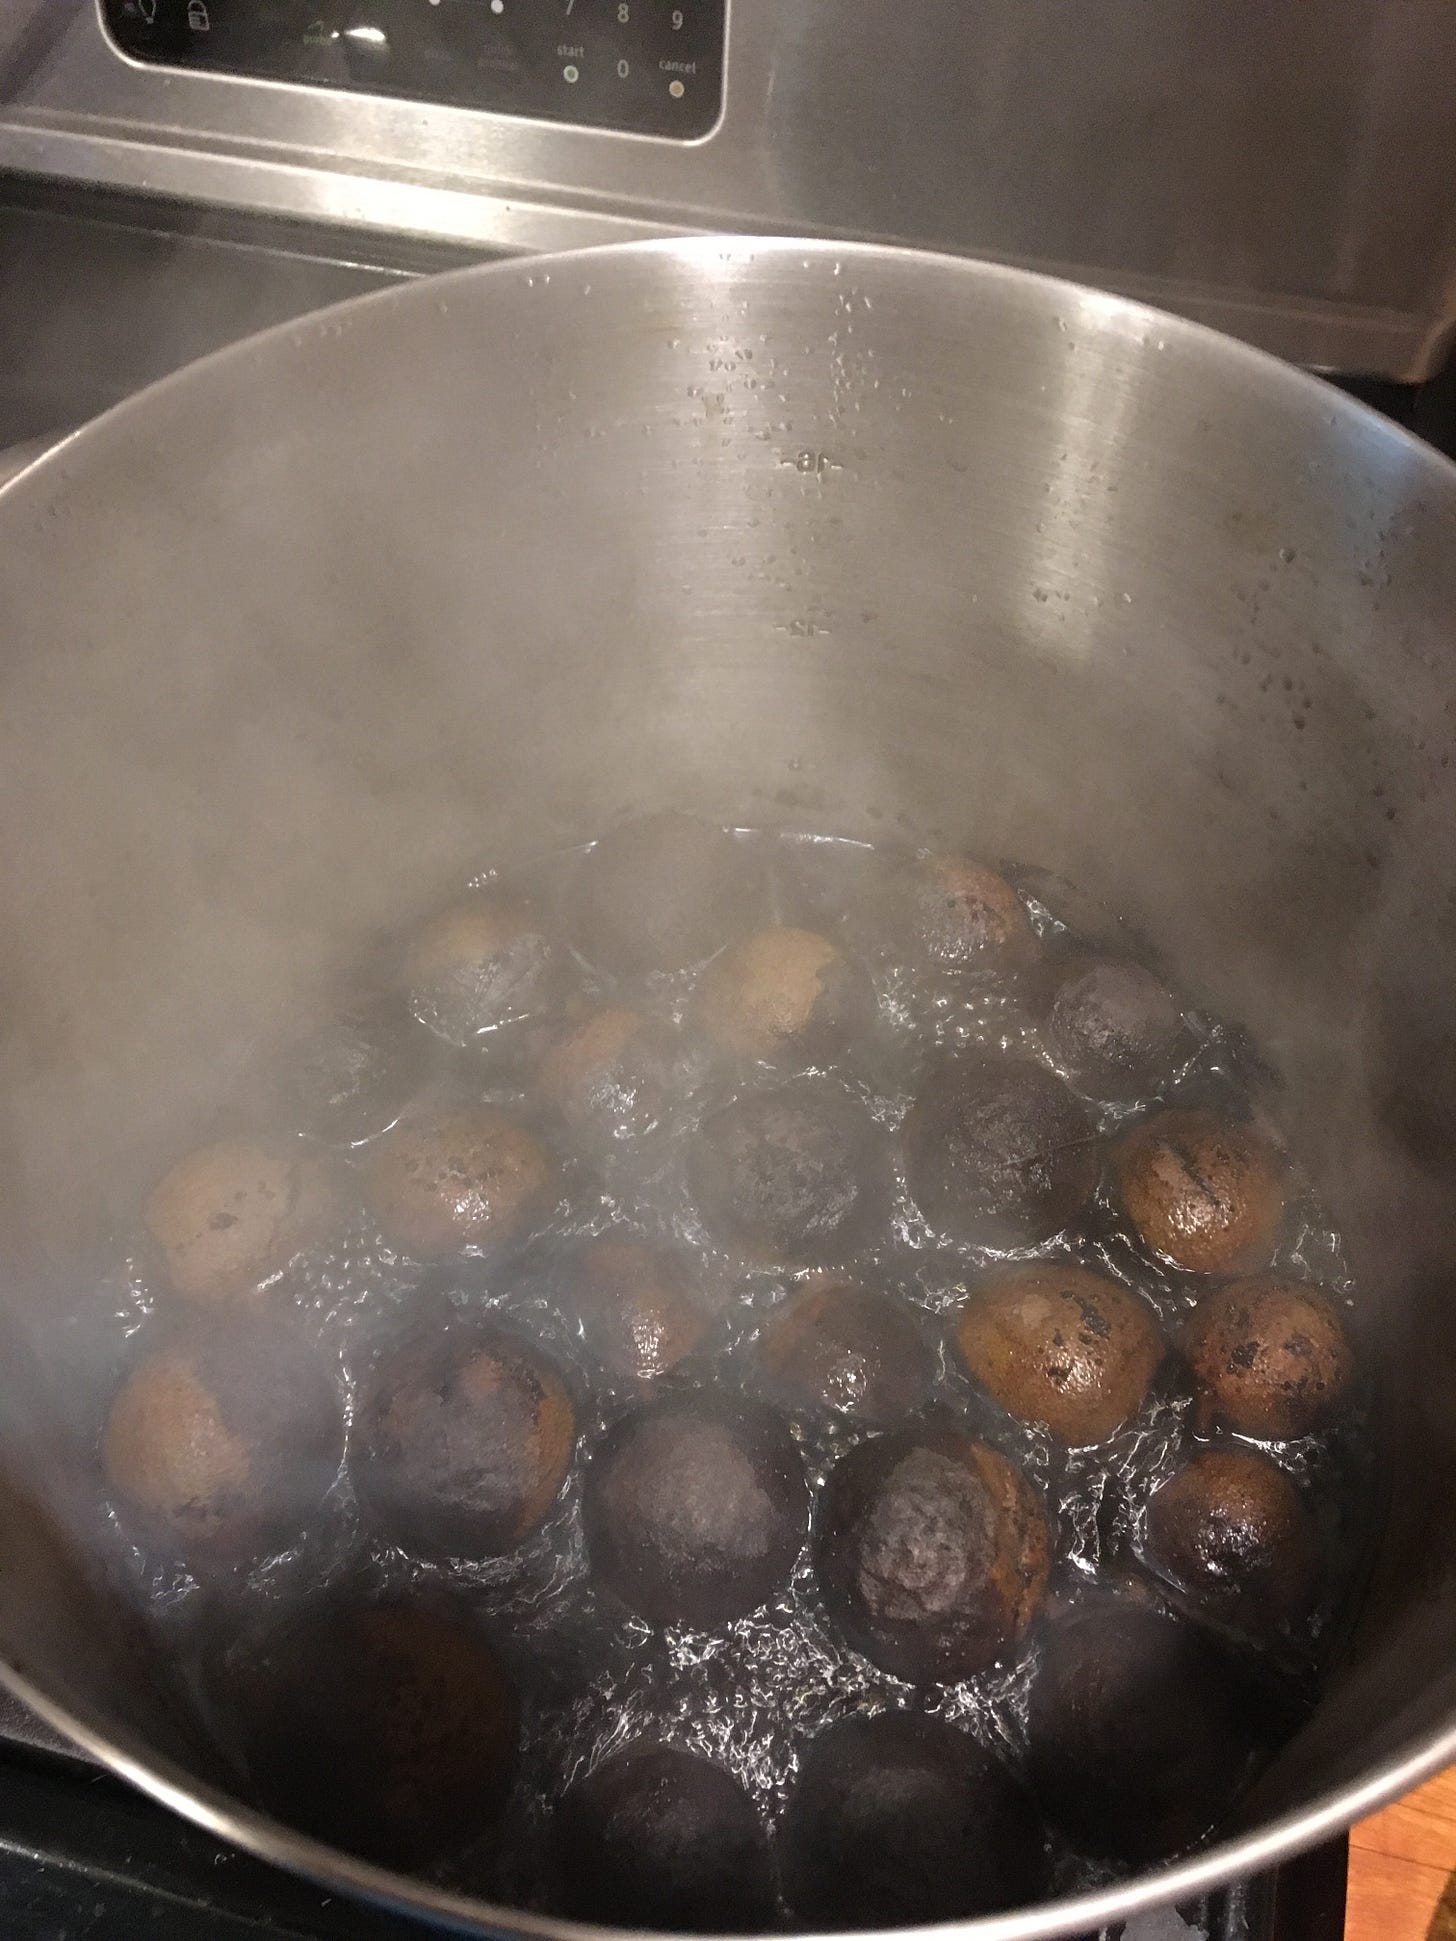
I like the smell of black walnuts, but wasn't sure what boiling them would be like. I don't have an outdoor burner, so this was my option... and it was fine. Not stinky at all.
Cool. Strain through cheesecloth, or a coffee filter.
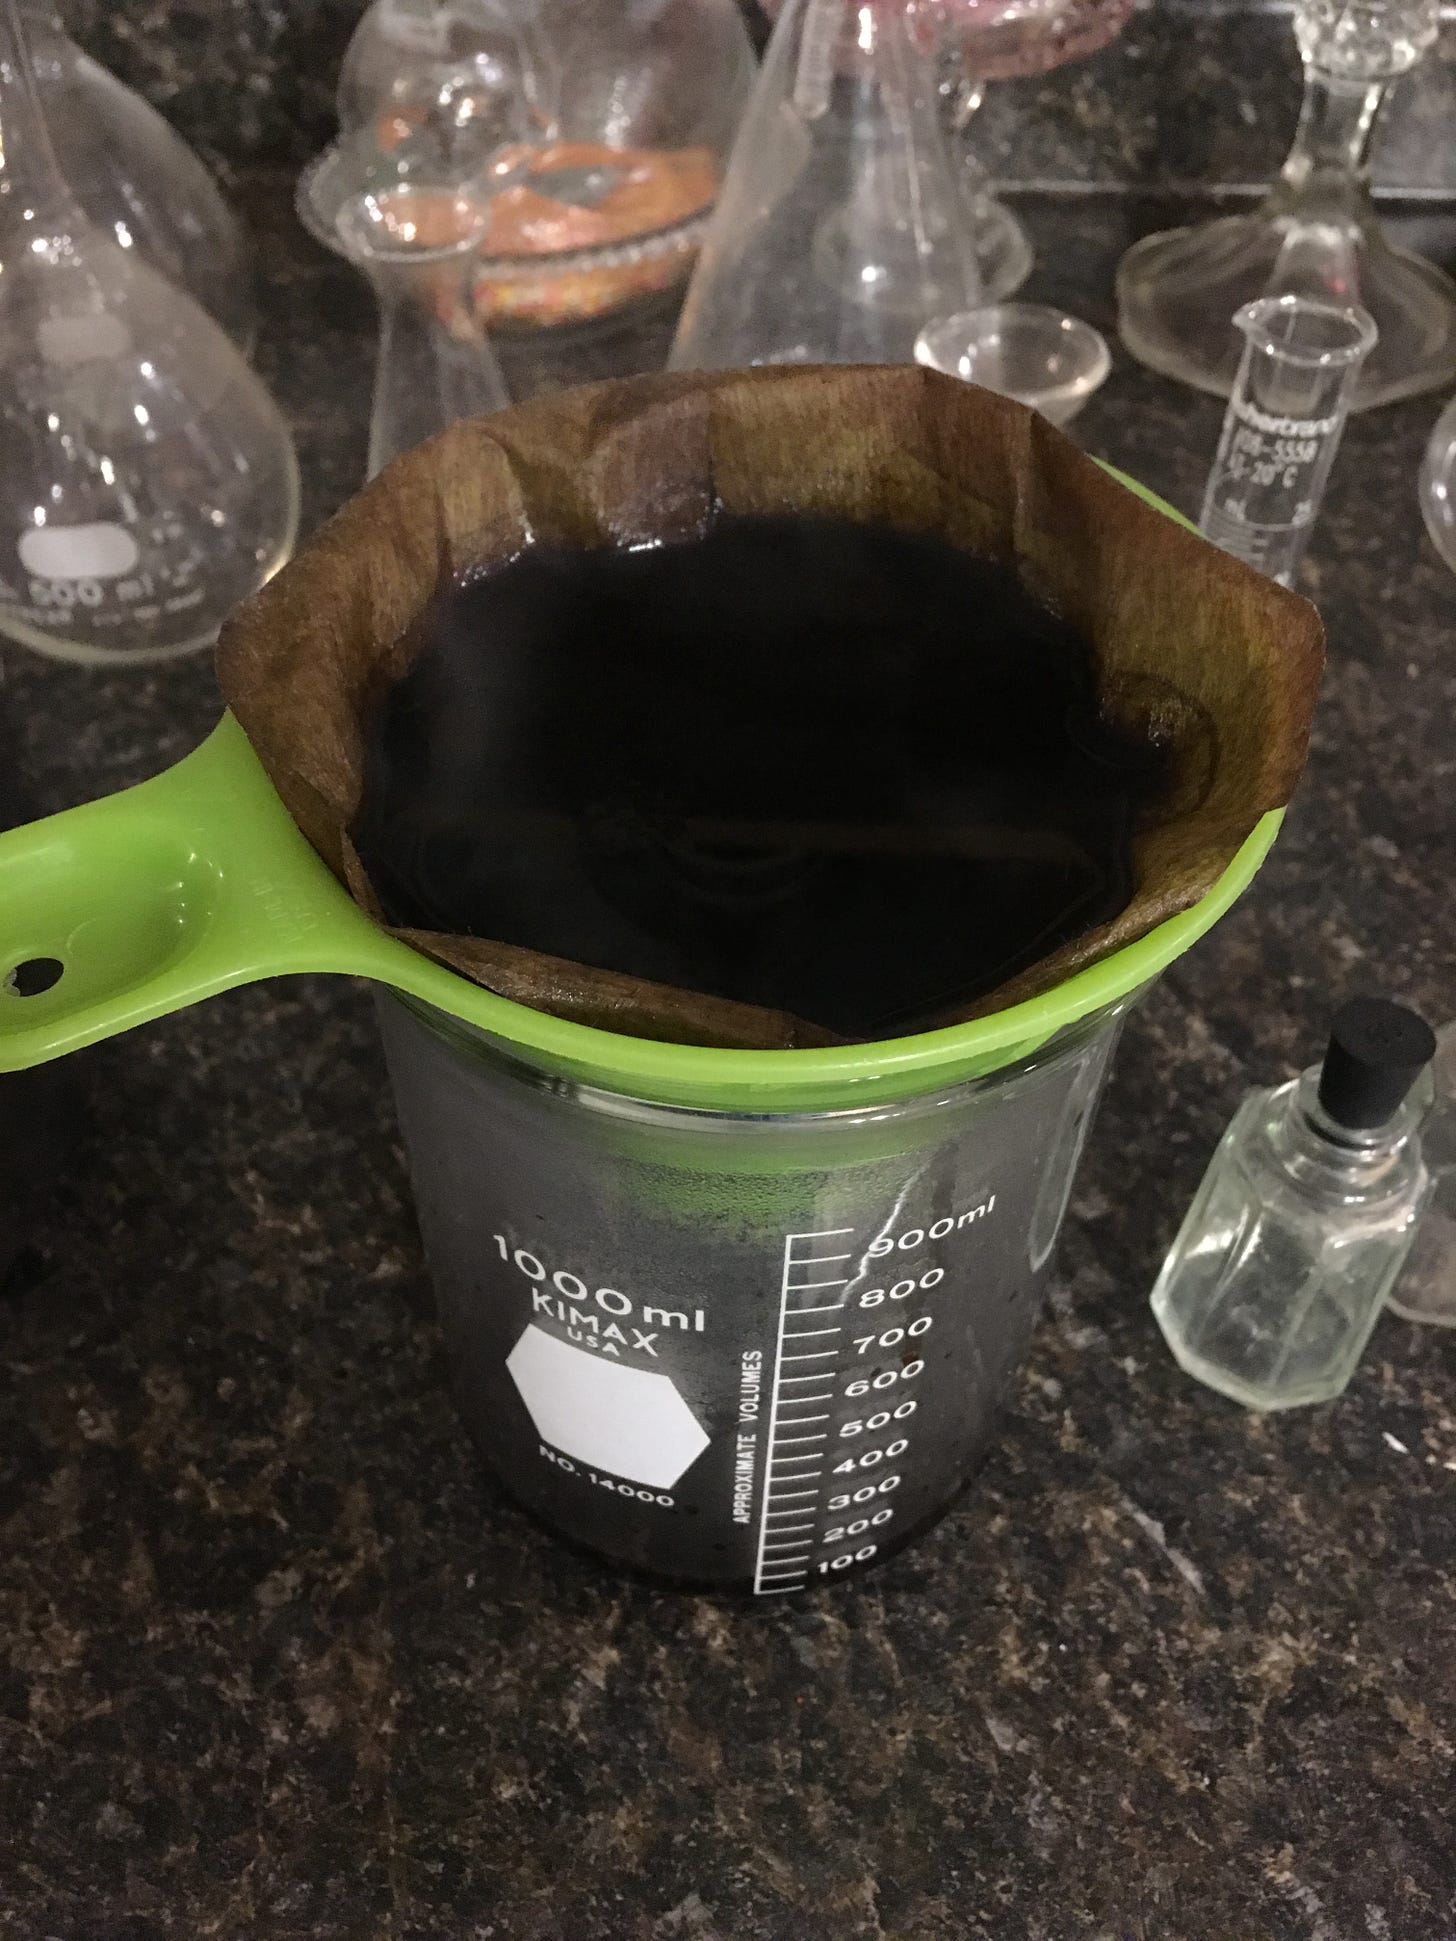
Here's where I started to play with the recipe and methods a little. I took the first filtrate yield, and diluted it with 10% alcohol (I used 91% isopropyl alcohol) and bottled it.
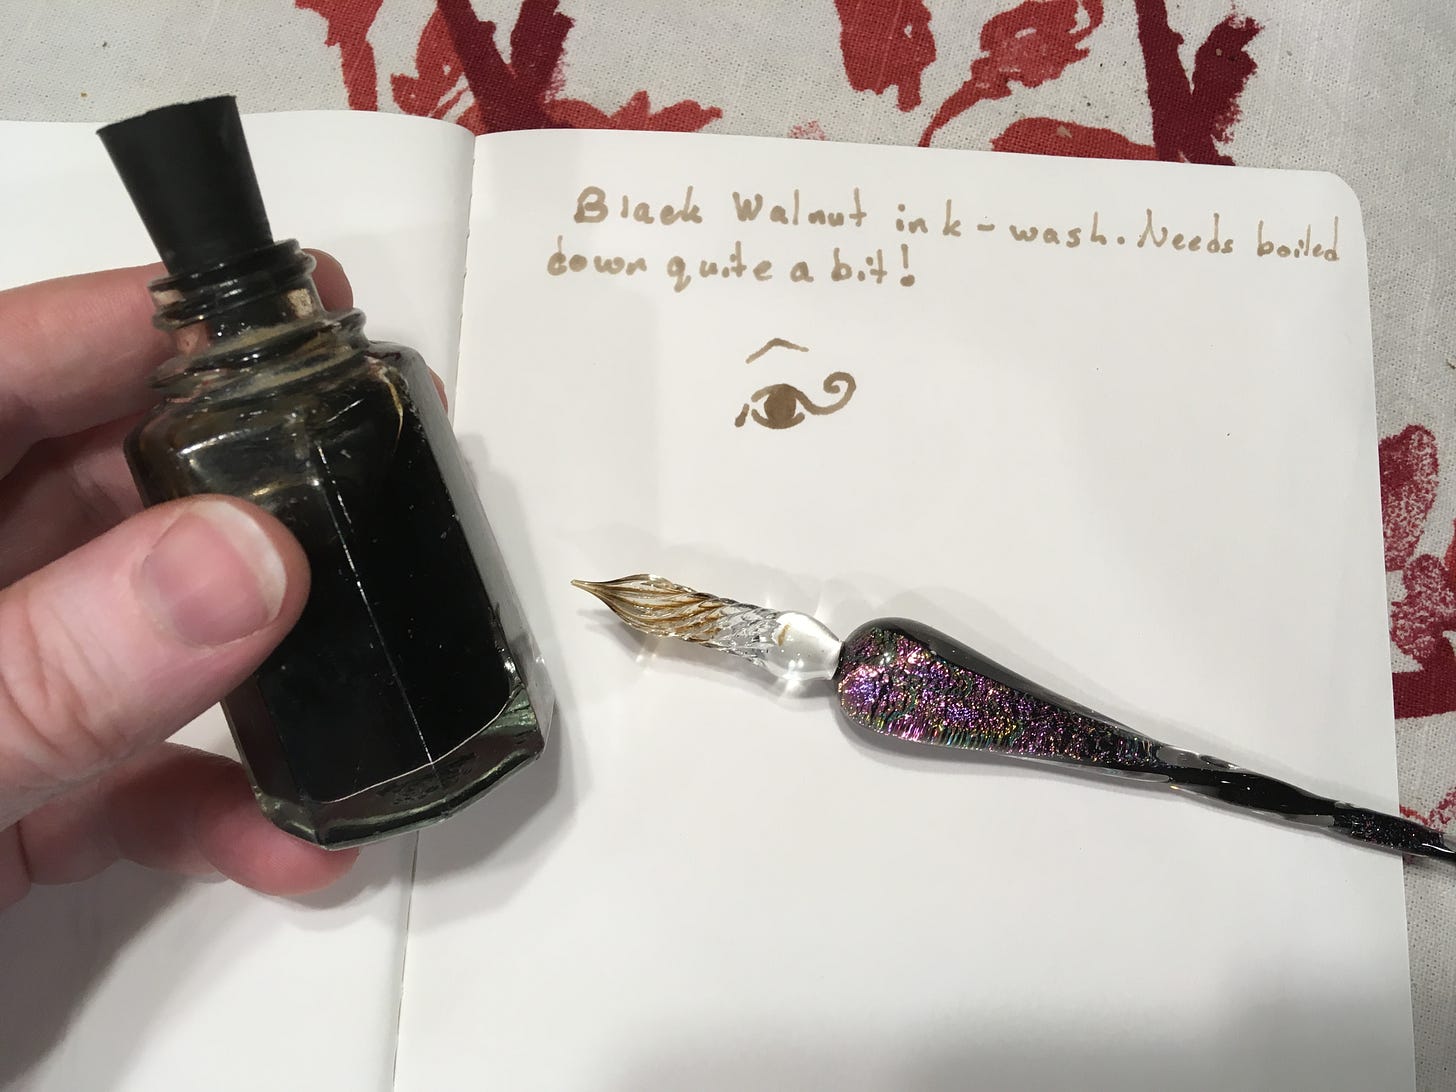
The alcohol makes the ink bleed a lot. I won't use it again.
I kept some of the filtered ink in an open beaker, then put it in a water bath (my crockpot, on low) overnight. This is the ink in the test labeled evaporated.
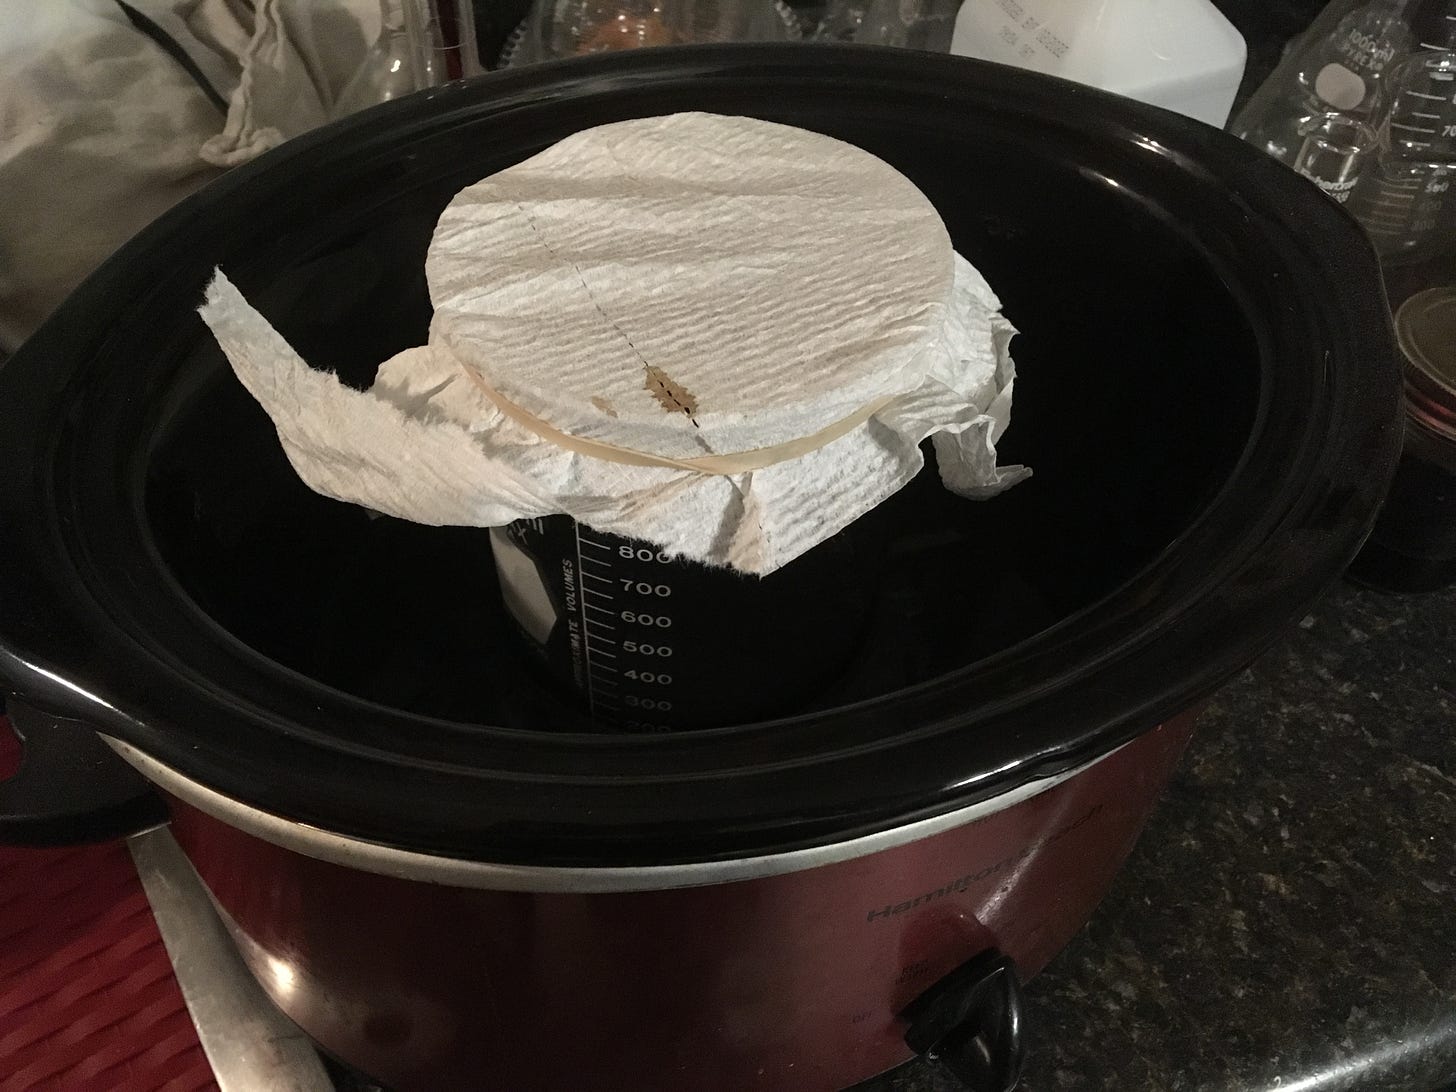
Improvised water bath! I put water in to the level of the ink in the beaker.
Some of the ink did not want to pass through the filter, so I poured it into a small jam jar, careful not to pour in the sludge that was choking the filter (or at least not too much of it) and this is the test swatch labeled unfiltered.
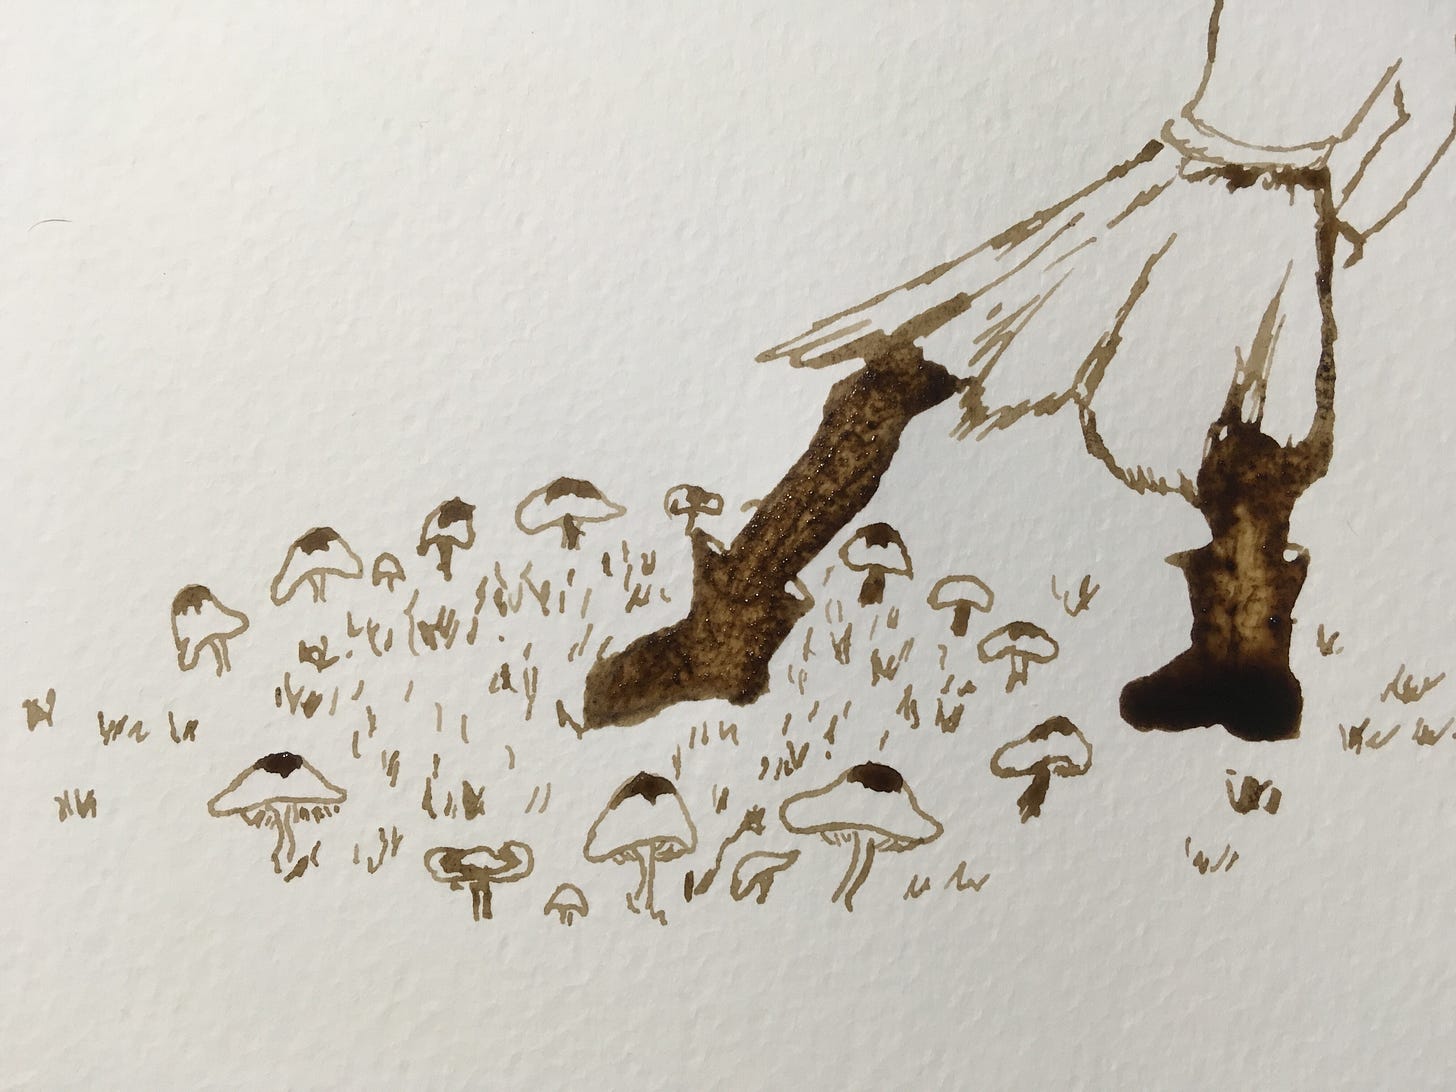
Day 1 of Inktober 2019, the unfiltered ink. The drawing is still wet, here. This was done with glass dip pen on watercolor paper.
Since I had made such a large batch, I left some steeping in the pot after pouring off the first amount to filter. This is the swatch labeled 'steeped' and this was day three of steeping. I will test again over several days of this brew, and it is only partly covered, so there will be some evaporation as well.
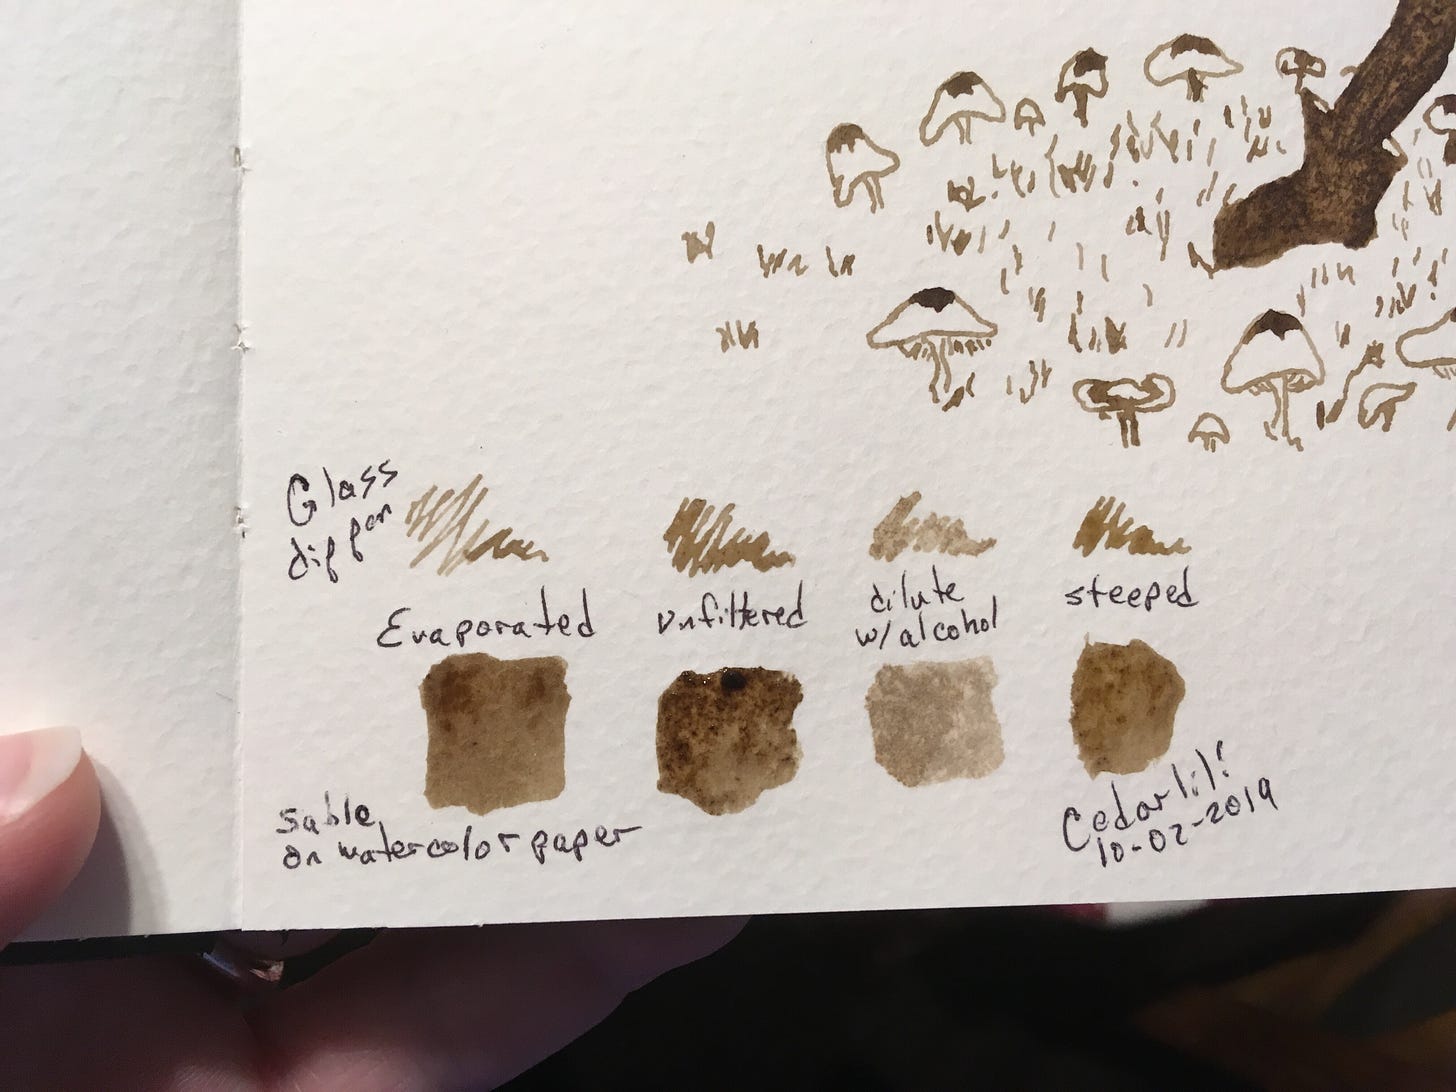
The swatches were done on watercolor paper with a sable paintbrush. I will come back later to check for color fading, but historically walnut dyes and inks are noted to be colorfast, so I don't expect much. I will also continue to write up this ink, as well as the pokeberry ink I also made.
Happy Inking!


